It’s already time for the third edition of SCK Tries where we try out a DIY tutorial to see how it works out and whether we’d recommend it. This time I’ve tried to make a Traveler’s Notebook cover.
What is a Traveler’s Notebook?
In short a Traveler’s Notebook is a refillable notebook that is small enough to carry with you. You can use it however you’d like, for instance Kaila from Rainbowholic makes tea journals. A friend of mine showed me her passport size Traveler’s Notebook and the inserts she made herself. I thought that it looked so pretty and wanted to give this notebook a try as well.
The original DIY
I was looking for a simple tutorial to make a cover that would hold my A6 sized notebooks from Seawhite, Sissy Boy and the Hema. I saw many DIY covers made from fake leather and fabric, but I was looking for an easy tutorial to start with. The DIY Paper traveler’s Notebook DIY from France Wisniewski of Bananafish Studio looked easy enough, because she explains all the steps so well.
Materials & Process
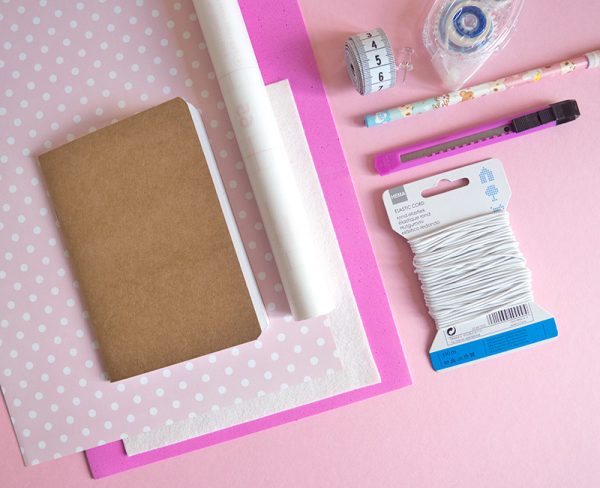
I tried to make a cover with the supplies I already had at home. So they are not all the same as mentioned in the video from France. These are the tools and items that I used:
- Window film sheets – instead of laminated sheets
- Decorated paper
- Felt – instead of funfoam
- Glue, scissors, hobby knife, pencil, ruler
- Tiny notebooks
- Elastic cord
- Push pin (to make holes)
The felt I used is super cheap (I think from the Action shop) and therefore a bit thin and sturdy, which was ideal for this purpose.
I pretty much followed the DIY from France, but with my own measurements so the cover would fit A6 notebooks. Also I didn’t have a hole punch, so I made the holes with a push pin. I enlarged the holes by gently sticking micro screwdrivers through them, until they where large enough to fit the elastic cord.
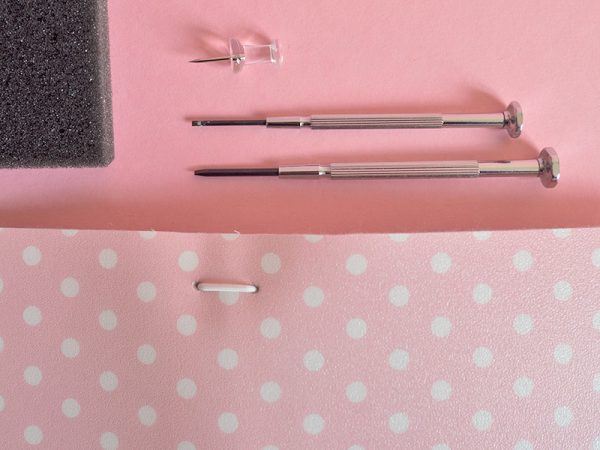
To be honest I was pleasantly surprised by how doable this DIY was. Especially given the fact that I was a bit high on migraine medications ;) It’s really thanks to the clear video from France. I had to alter and even skip a few of the steps because of lack of materials, but still this DIY wasn’t hard to follow.
The end result
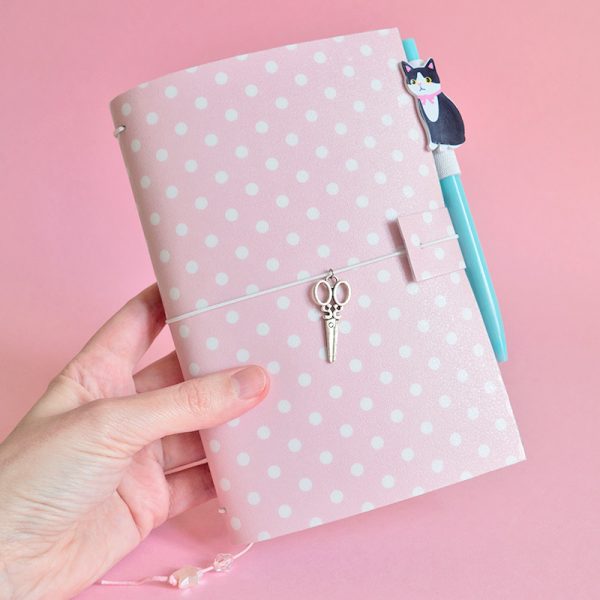
As you can see I’ve altered my cover a bit by adding an elastic pen loop and a charm. In hindsight I should not have used a pencil to mark down the holes on the felt. It was so hard to remove those marks. Also I think that funfoam -as shown in the video- might be more durable.
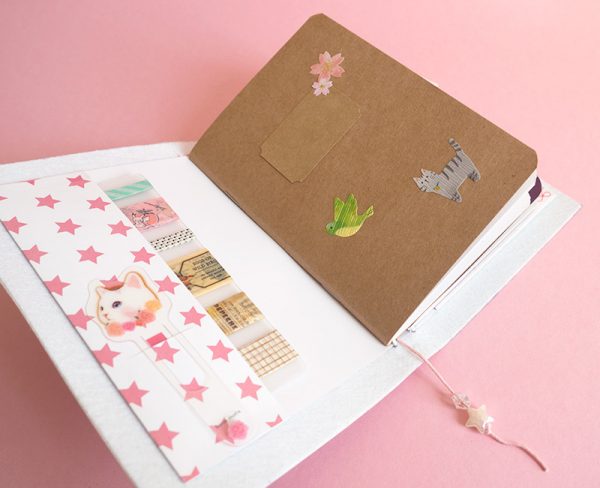
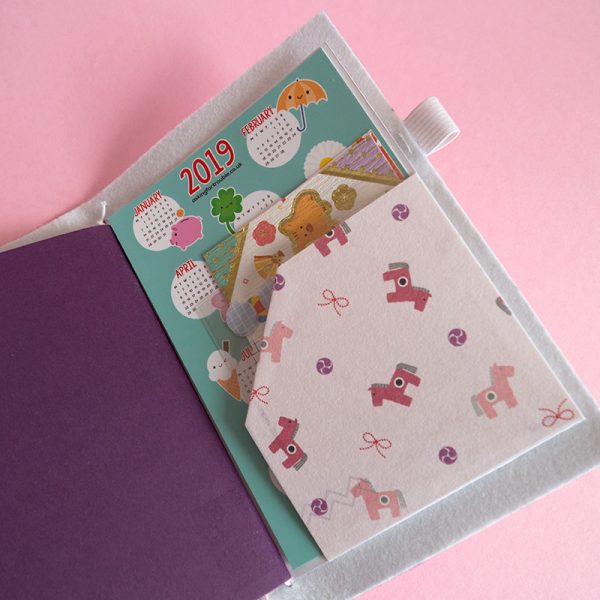
Decorating the inside was much fun as well. I made a cardboard insert for washi tape, stickers and a calendar card (made by Marceline). The costs for this DIY cover were roughly €3,- and the notebooks were about €1,50 each. So it wouldn’t set you back much to make one.
This DIY is a bit more complex than the bookmarks we’ve featured before, but it it still very doable. I would certainly recommend it!


Leave a Reply