
You may remember our epic post of Japanese candy reviews. We also had a tiny cake kit but as I don’t have a microwave I kept until I next visited my parents. With a rainy Sunday ahead we got down to it.
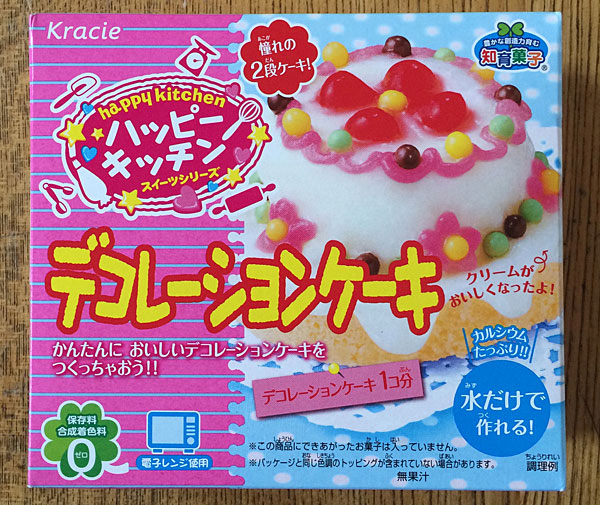
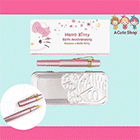
This is a Kracie Happy Kitchen Decoration Cake Kit that I received in my Kawaii Box. After the gummy kit debacle I didn’t have high hopes for this, but I did watch a video first to get the idea, since I couldn’t find a translation of the instructions.
Materials & Process
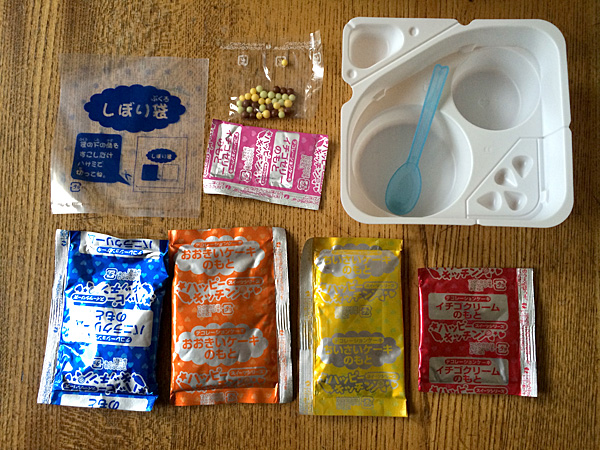
Inside the box you’ll find all this stuff – a plastic container for mixing and microwaving, packets of cake mix, icing powder and decorations, a spoon, and even a little piping bag. The corners of the container are cut off to give you a measuring cup and moulds for jelly decorations. There’s also a cute placemat you can cut out of the inner bag and a little gift card you can cut out of the box – such great details!
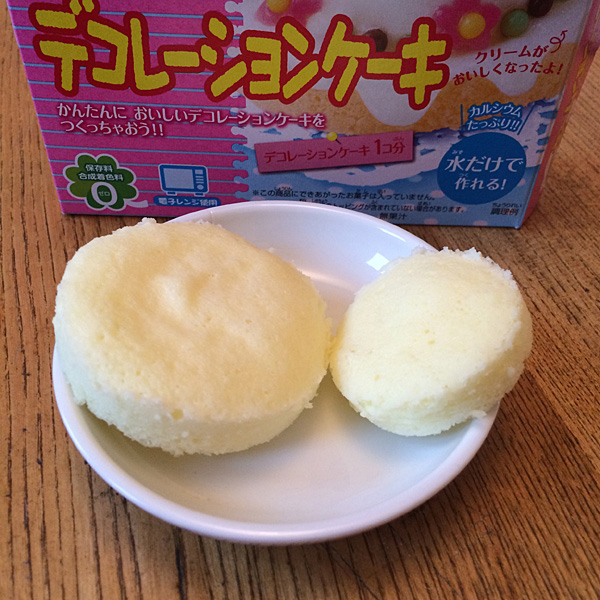
Mixing up the cakes was easy enough and we only had a slight problem when the microwave was more powerful than those listed on the box, but we just microwaved it on medium and it turned out fine. We then left it to cool for a few hours before decorating.
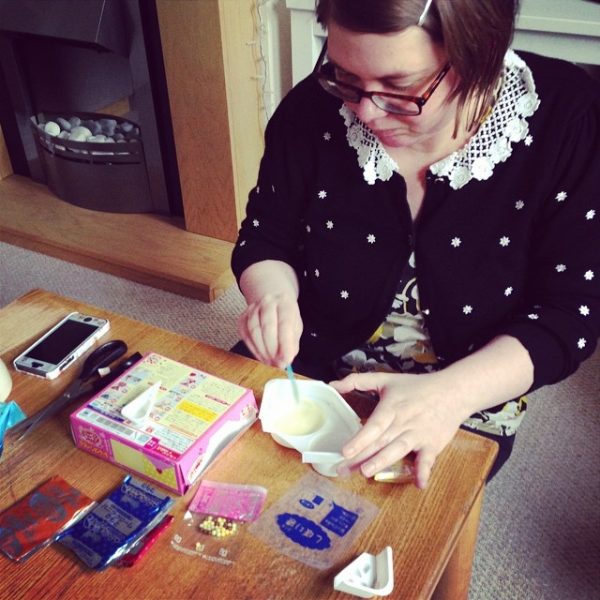
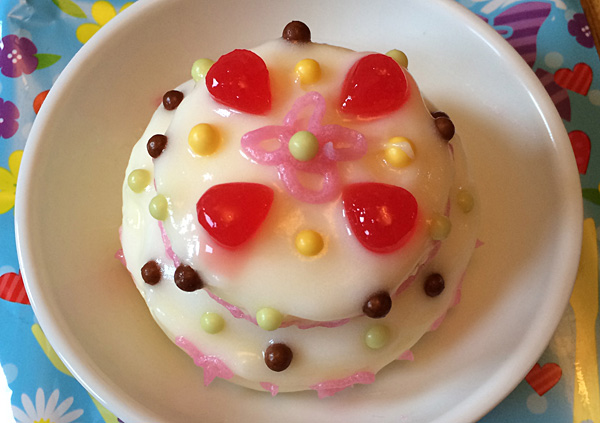
You mix the white and pink icing in the same container and then you can build and decorate your cake any way you like. I pretty much followed the decorations on the back of the box – first covering the cakes with white icing and then adding details with the pink, using the piping bag. I recommend placing your cake on an upturned glass for icing as it’s easier to rotate, and using a small butter knife, if you have one, instead of the spoon. I had quite a lot of icing left over so you can definitely practice a bit first to get an even better finish.
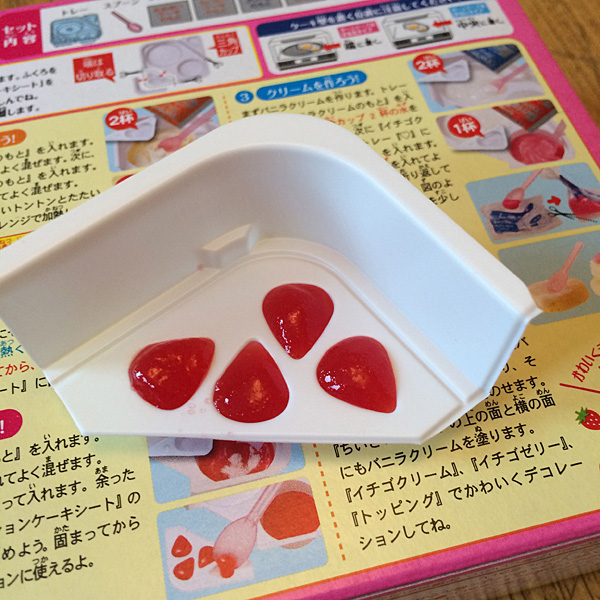
You also make some jelly ‘strawberries’ with a mould, which looked so cute. The video suggests using chopsticks to add the final decorations but I don’t have that good chopstick control so we used some tweezers.
The End Result
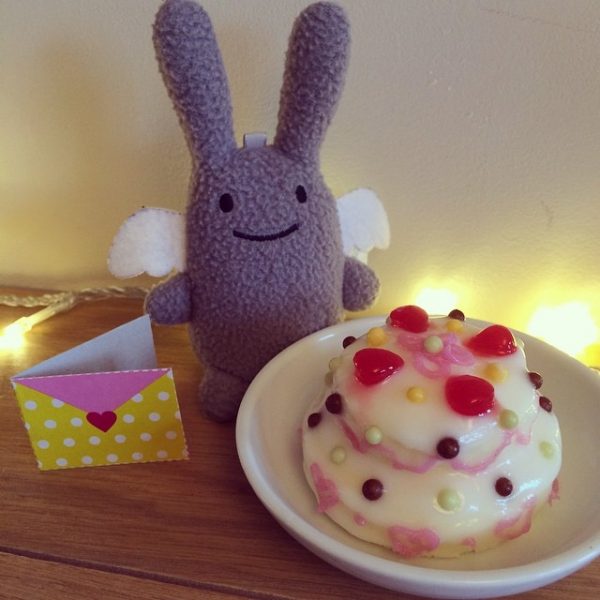
And here’s the finished cake! I gave it to Angel Bunny, as I realised it was his birthday a week previously, and it’s the perfect size for him! I was quite pleased with how the cake turned out, and how fun it had been.
I would definitely recommend this kit – it was pretty easy, but also kept us entertained for quite a few hours. Even if you have no cooking or artistic skills, you could still make yourself a decent cake. But how did it taste?
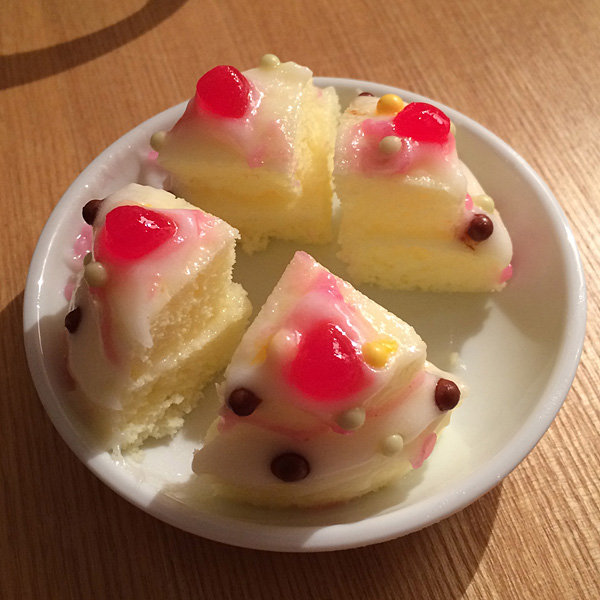
The cake didn’t look quite as good by the evening when we tried it, so I would recommend eating it quickly. It actually tasted pretty good, certainly far better than I expected. There was too much icing and it was a bit sweet for my tastes, but it was perfectly edible. Everyone finished their tiny slice, but no-one really wanted a second slice!


Leave a Reply