
Tiny plushies are great travel companions and they can spice up your photos. This is known as ToyTraveling or Nui-Dori (in Japanese) and another popular term is Secret Life Of Toys. Back in the days I was really into toy and doll photography, but I slowly moved on to other hobbies. Recently I decided to pick it up and share with you what I’ve learned over the years.
Tip 1 – Focus
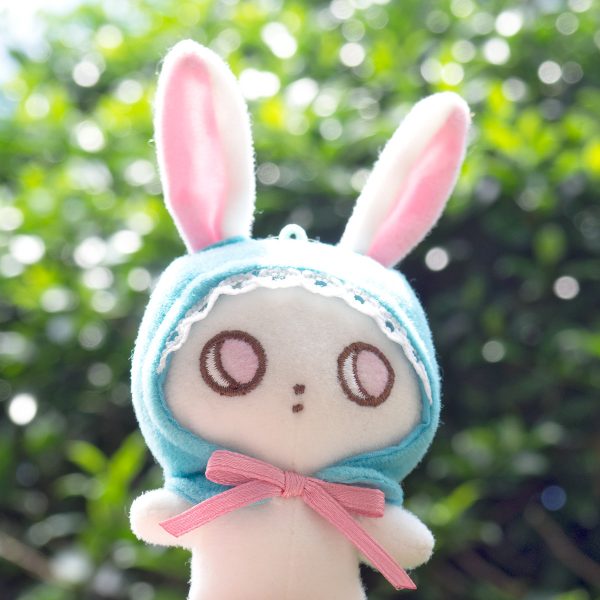
To put emphasis on your plush, you can place it in focus and blur out the background. With most cameras focussing is done by tapping the subject on the screen.
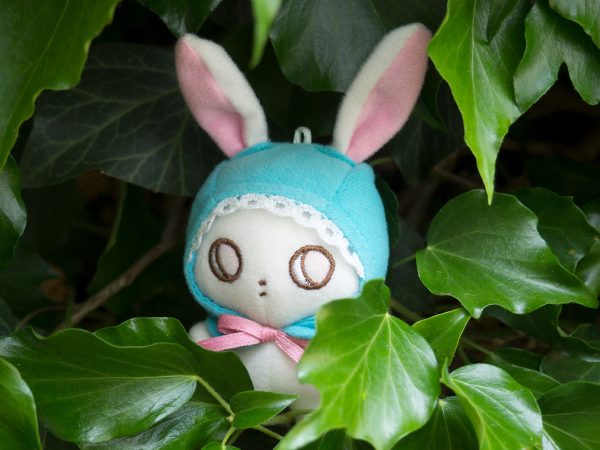
The bokeh in this photo comes from the light falling through the leaves. I zoomed in and kept the plush at an arm’s length, with enough distance from the tree. You can read more about bokeh here.
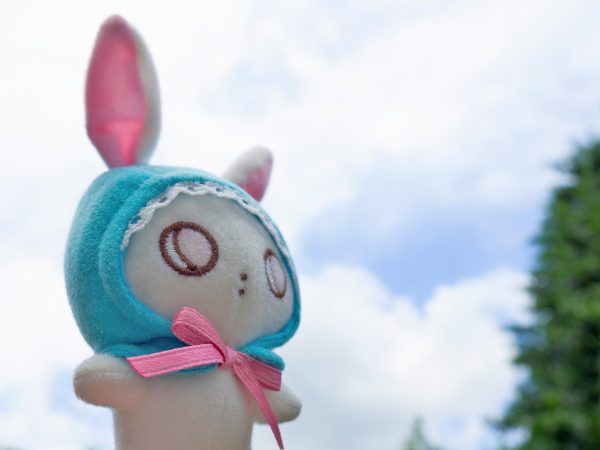
If you want to picture the plush with a sharp background, you can skip focussing or tap right above/next to the plush.
Tip 2 – Level up
With a tiny toy or plush it’s best if you can get to the same level. Slightly looking up to the plush can also be a good point of view. This might mean you have to squat down or position yourself in awkward ways ;) You can also just position or hold the plush at eye level.
Tip 3 – Use natural light
It’s easiest to take photos when there’s enough sunlight. I prefer to work with light in the morning or to shoot in the shade. During midday the sun creates hard light, which can cast hard shadows or create many highlights. You can play with the light and move your plush around to see what works best for your picture.
Tip 4 – Placement tricks
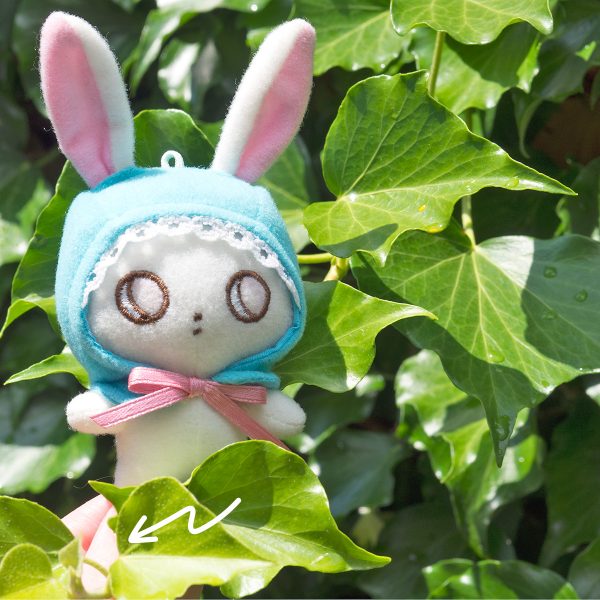
You can hold the tiny plush at the bottom, so your hand doesn’t show in the picture. Or you can find a spot to place your plush on. Try to balance the plush out. If you feel that it might tip over, you can prop something behind it or use a piece of folded tape to keep it in place. No one will know :) If your plush comes with a hanger, you can also attach a piece of transparent (fish) wire to the loop.
Tip 5 – Backgrounds and scenes are everywhere
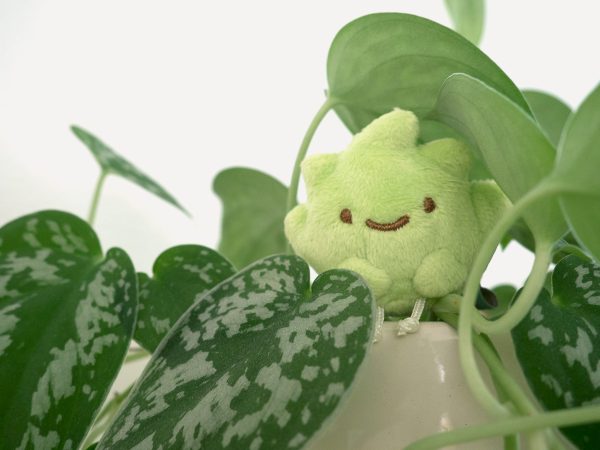
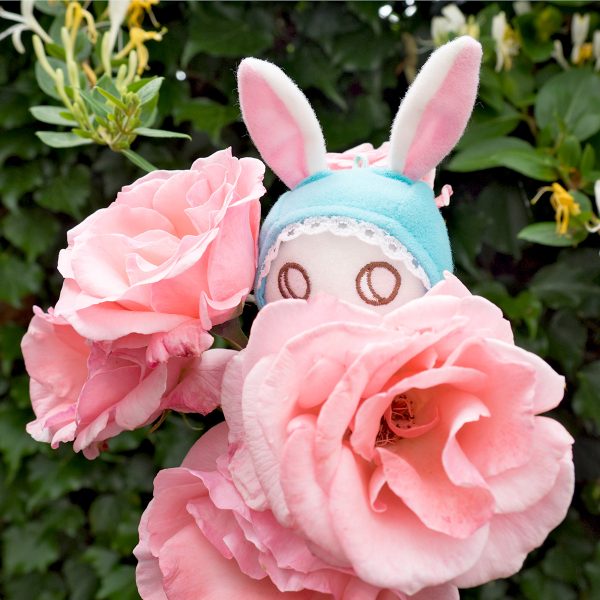
You can use whatever you’d like as a background or foreground. For instance flowers, plants, food, fabric or photo paper, just get creative! There’s no wrong or right way.
Tip 6 – Use props

Maybe you’ve got some small toys, Re-ment or doll furniture that you can use as a prop. You could also make props yourself from card-stock.
Tip 7 – Enjoy the process
When I scroll through my older pictures, I can tell they are really not that good. But I do remember really enjoying photography and learning things along the way. I also got a better understanding of my Olympus E-M10 and iPhone camera by just trying out the settings.
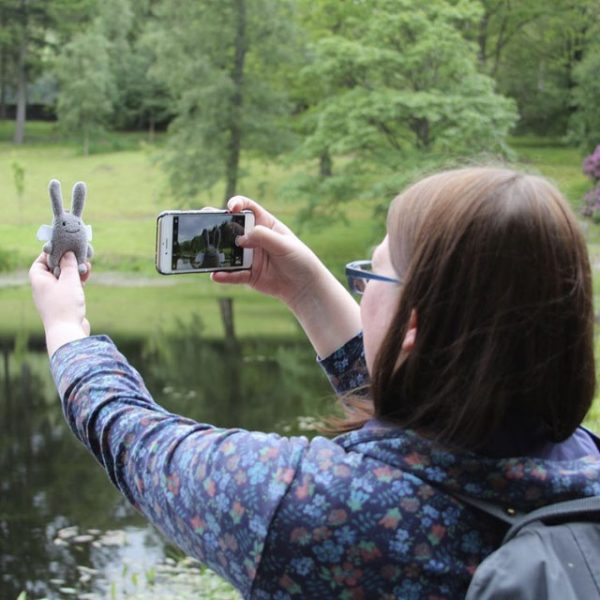
In this picture Marceline shows how to take an iPhone photo one-handed. If you have small hands, or a really big phone, this grip helps to reach the shutter button. Come to think of it, I also hold my phone this way! I’ve got a chunky rubber iPhone case to get a better grip as well.
Most of my pictures are post-processed. I usually make them brighter and remove unwanted shadows. For the iPhone the pictures app works very well to enhance your photos.
Where to buy tiny plush
The tiny green fellow in my pictures is a Zassou tenori plush from Sumikko Gurashi, which is still available at various shops. The plush bunny is a vintage San-X Ruu & Suu keychain mascot, of about 14 cm in height. I think small plushies of up to 20cm would be great to take along.
These shops usually have a nice collection of tiny plush: AmiAmi (JP), ARTBOX (UK), Cuteness.nl (EU), Very Goods (JP) and JapanLA (USA). You can get more shop suggestions from Marceline’s post about mini plush.


Leave a Reply