
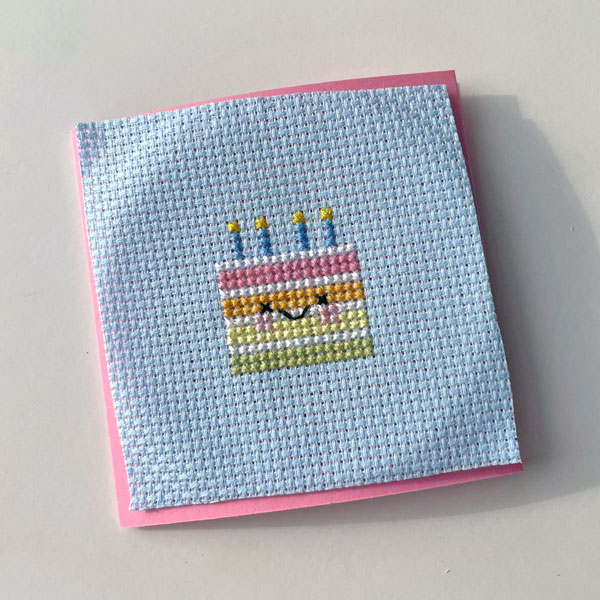
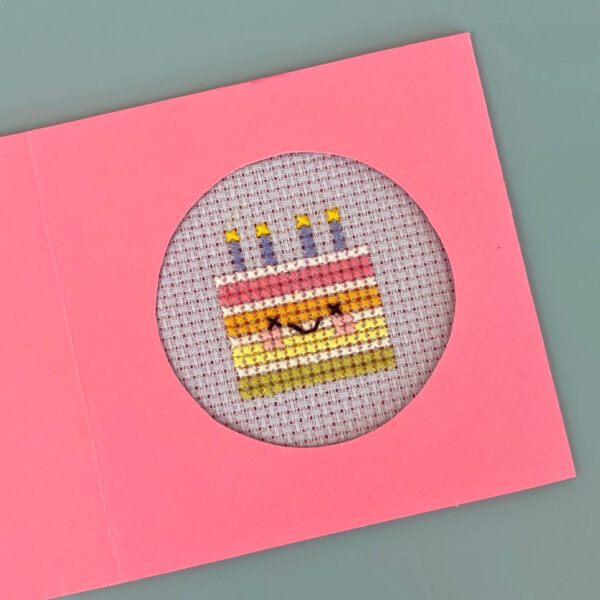
I recently reviewed the new Cute Kawaii Cross Stitch book and was inspired to turn one of the designs into a birthday card. Here’s how to make one yourself.

What you’ll need:
- Cross stitch aida, thread and optional hoop
- A cross stitch pattern of your choice (see below)
- Coloured card to complement your pattern
- + scissors, pencil, ruler and glue or tape
While I chose this adorable rainbow cake for a birthday card, Cute Kawaii Cross Stitch has designs for all kinds of holidays and seasons, as well as general themes like animals, nature and food. You don’t need the book though – you can use any cross stitch pattern you like, as long as it’s small enough to fit on a card. Try browsing on Etsy with search terms like mini kawaii cross stitch pattern or you can even use perler bead or pixel art designs which are often free.
Instructions
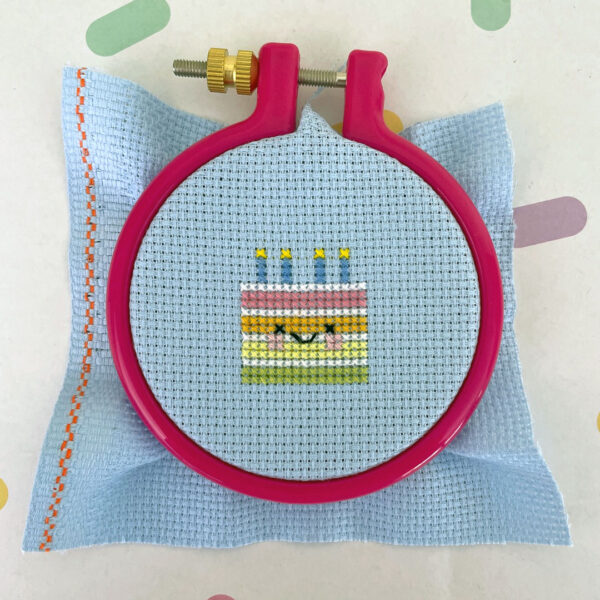
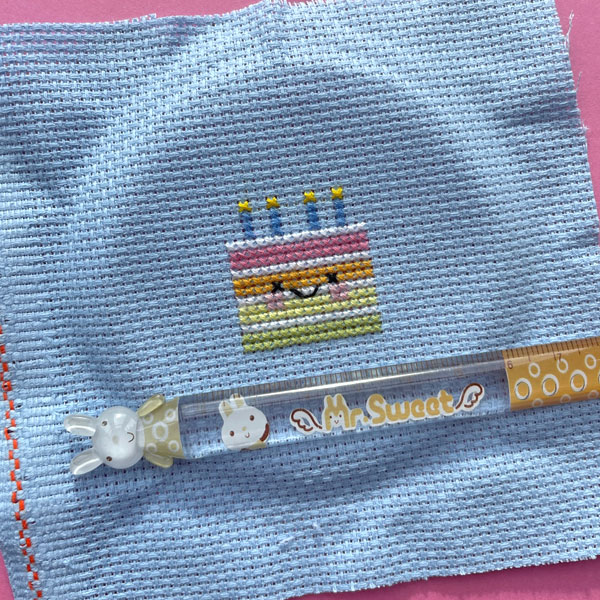
Stitch up your chosen design according to the pattern instructions. I used coloured aida since the design has some white parts. I also prefer to stitch in a hoop but you don’t need to.
As long as you used a big enough hoop, you don’t need to worry about ironing out any creases as they’ll be cut off or hidden. If you do need to, avoid ironing over the stitches as you’ll flatten them. Try to iron around the design or else put something like a tea towel on top first.
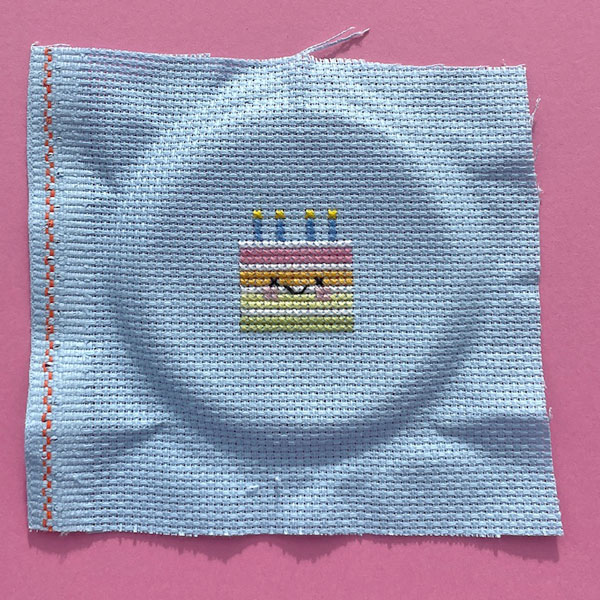
Measure around your design to find the longest part so you know how big the window in your card needs to be. Add a bit extra as a border and note down the number. Mine was 3cm wide so I decided on 5cm.
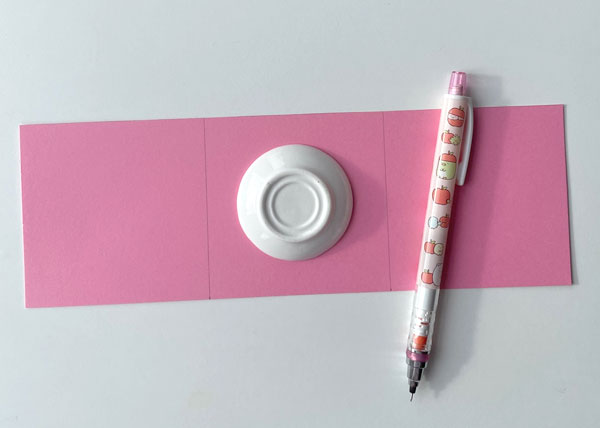
Take your ruler and have a look around the house until you find something round with a similar diameter. I found a few things in the kitchen that were close but this miniature plate was perfect – and very cute for photos!
Time for more maths, sorry! Decide how big you want your finished card to be, remembering it needs to be bigger than your window. You may want to find a suitable envelope and then make your card a little bit smaller to fit inside. I want mine to be extra cute so I’m making a small square card.
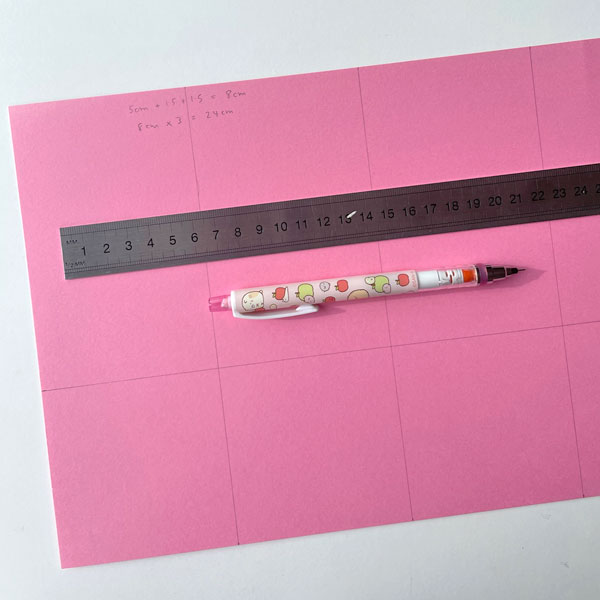
You can perhaps read my calculations: 5cm for the window + 1.5cm border on each side = 8cm. This card needs 3 pages, rather than 2, so that we can hide the fabric inside. You may need to cut the extra page separately if they don’t all fit on one piece of card. Mine is small so I’ve measured 8cm along all 4 sides and joined them up with a long ruler.
(If you have a separate third page, it should be the one on the left hand side. Just leave it there for reference while you follow the next steps)
Place your round item in the centre page and draw around it with a pencil. You can either eyeball it or measure the centre. If you’re making a rectangular card, you can leave more space underneath to write a greeting.
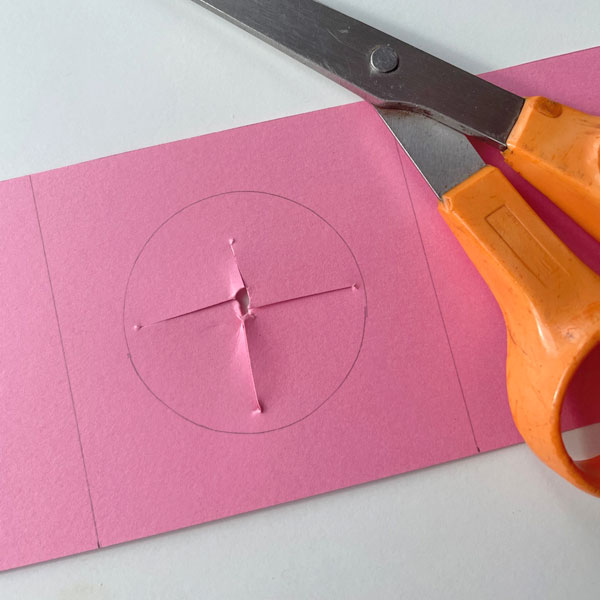
Cut out the circle by stabbing a hole in the middle and then cutting towards the outline. Cut off bits until there’s enough empty space to get your scissors in and cut around the circle.
Check that your design fits nicely in the window and you didn’t mess up your maths!
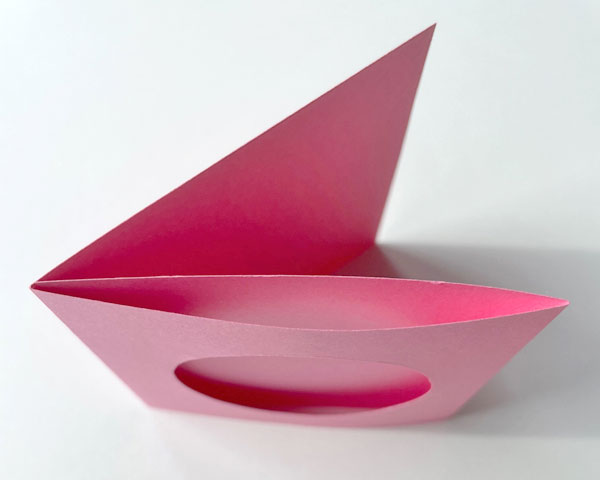
Score the pencil lines lightly with the point of your scissors and fold them inwards so that you have 3 page sandwich as above. If you have a separate page, put it aside for now – your folded card should open like a normal 2 page card.
TIP! It would be wise to add any text or other decorations to the front of your card now and even write your message inside. That way if you mess it up, it’s not so much work to make another one.
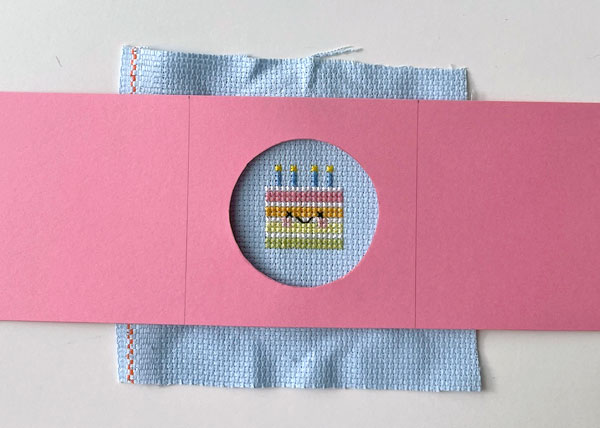
Using your card as a template, cut your aida to size, a little smaller than the card. Use the holes in the fabric to help you cut straight so the design isn’t wonky.
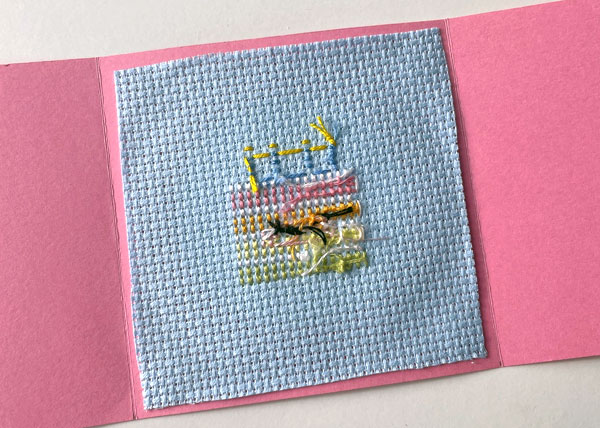
Place the fabric design side down over the window page and secure it. I used sticky glue dots but you could use glue or double-sided tape – or even stitch through the card and fabric for a decorative border.
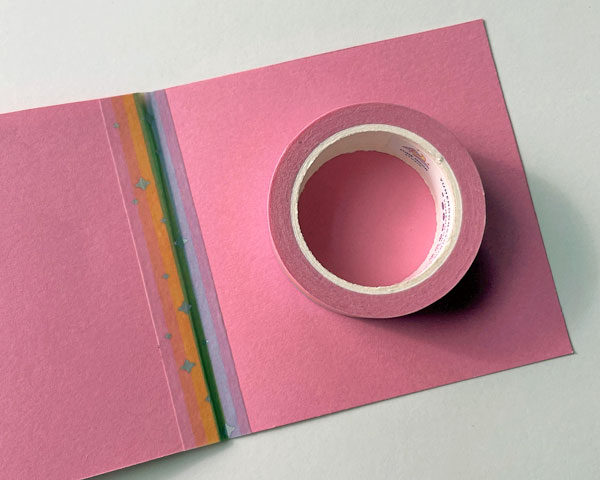
Fold the left hand page over (or place your extra page on top) and secure it with glue or tape inside. The edge of my card was a bit faded so I trimmed that off and used some rainbow washi tape over the join to hide it.
And you’re done! I hope you’ll try this out. If you do, we’d love to see your cards – tag @sckawaii on Instagram. You can also check out all our original DIYs for more fun ideas.
This tutorial was created by Marceline for Super Cute Kawaii and the birthday cake pattern is from Cute Kawaii Cross Stitch. The pattern, images and instructions may not be reposted without credit and permission. Thank you for respecting the rights of artists and makers.


Leave a Reply