
2023 is the year of the rabbit and I sent out new year cards for my family & friends with a cute snow bunny. Snow bunnies (Yukiusagi) have been made in Japan for centuries and are decorated with leaves and berries.
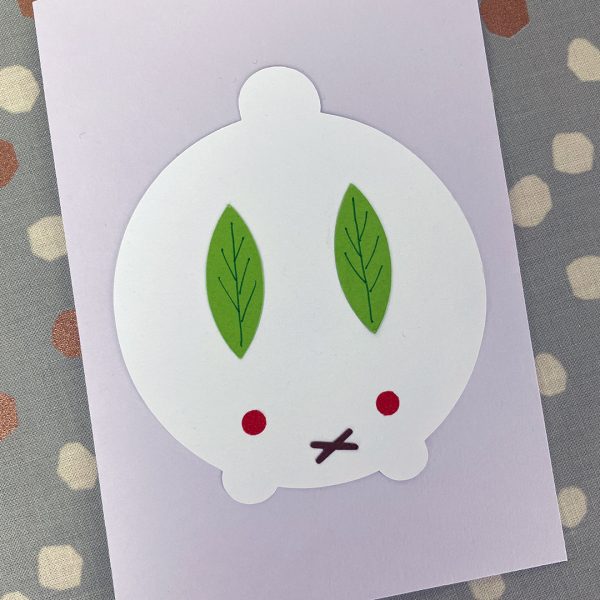
While Japan doesn’t use the lunar calendar, it’s still a cute theme that can be adapted for Lunar New Year and I’ve created a tutorial so you can make some yourself for cards or decorations. It’s also never too late to send a general new year greeting to friends and it works for a winter theme too. I’ve also included an additional template and tips for making a felt brooch.
What you’ll need:
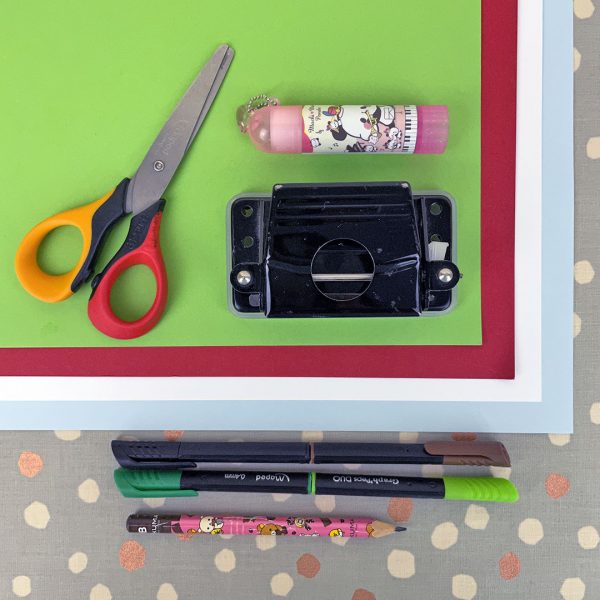
- Card in white, green, red and a background colour (I recommend a light pastel)
- Scissors
- Pencil
- Green and brown pens or pencils
- Glue or double-sided tape
- Hole punch – optional
- Printable template – download from Ko-Fi (and consider a donation to support SCK) – optional
Instructions
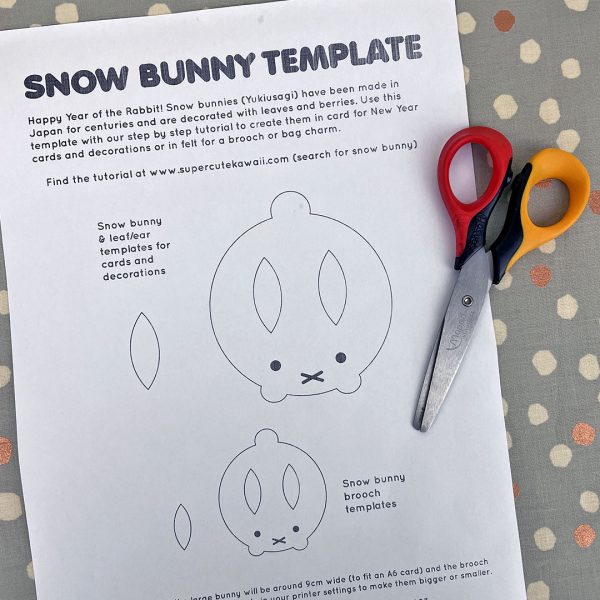
If you have a printer, download and print the template. At 100% size the finished snow bunny will be around 9cm wide so adjust the scale if necessary. Cut out the bunny for your template.
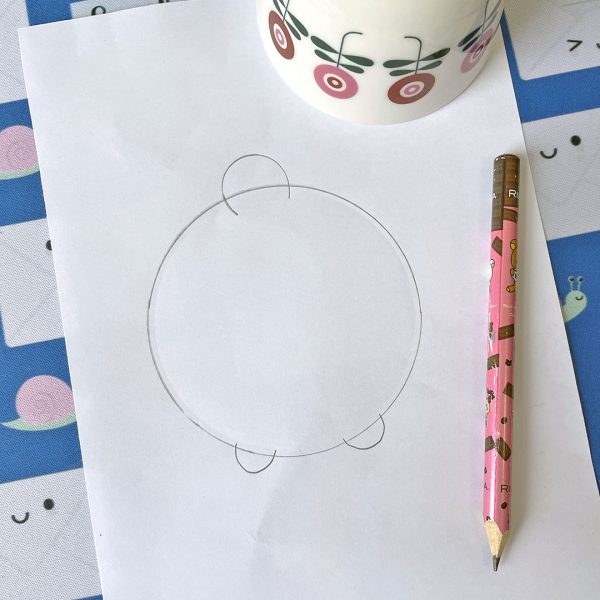
If you don’t have a printer, you can make your own template using a round item like a small bowl or lid. Your finished snow bunny will be the same diameter as whatever you choose. Take a sheet of paper, place your round item in the middle and draw around it. Freehand or use smaller round things to add a tail on the top and two paws on the bottom. Cut around the line to create a template.
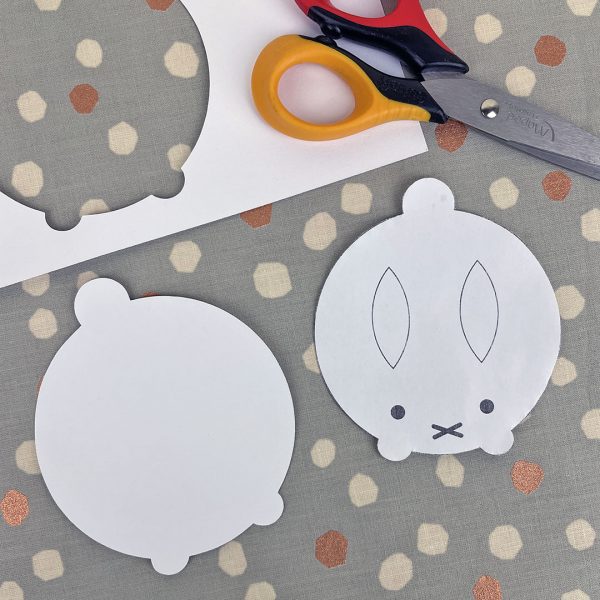
Place your template on the white card, draw around it with a pencil and cut out. If you want to make multiple cards or decorations, repeat until you have enough.
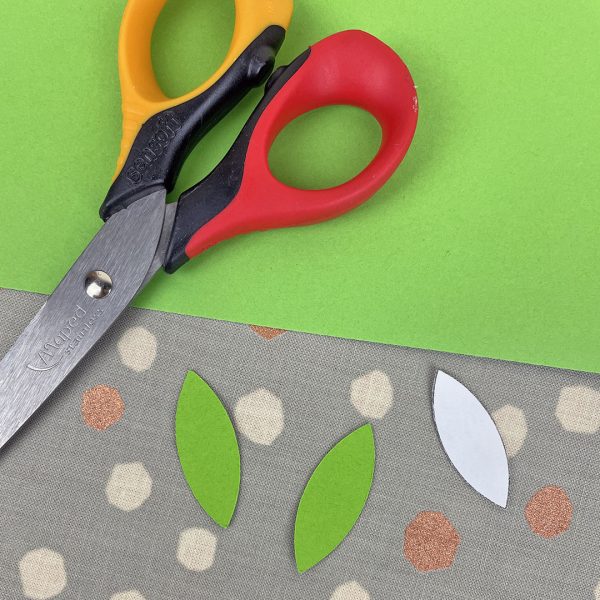
Cut out an ear shape from the template (or freehand some, using your round item to help with the curves) and draw around it on the green card twice for each snow bunny. Repeat as necessary. Remember that the leaves used for real snow bunny ears wouldn’t be perfect so don’t worry if they don’t quite match.
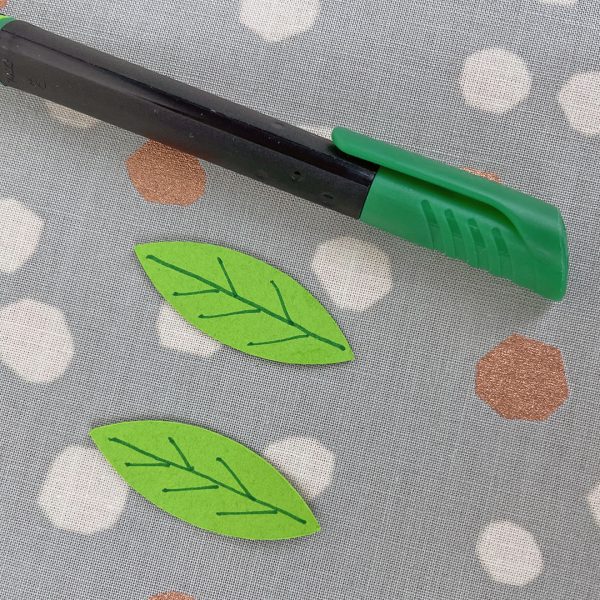
Use your green pen or pencil to draw veins on the leaf. I did a straight line up the centre and then alternated strokes on each side. Again, wonkiness is totally realistic!
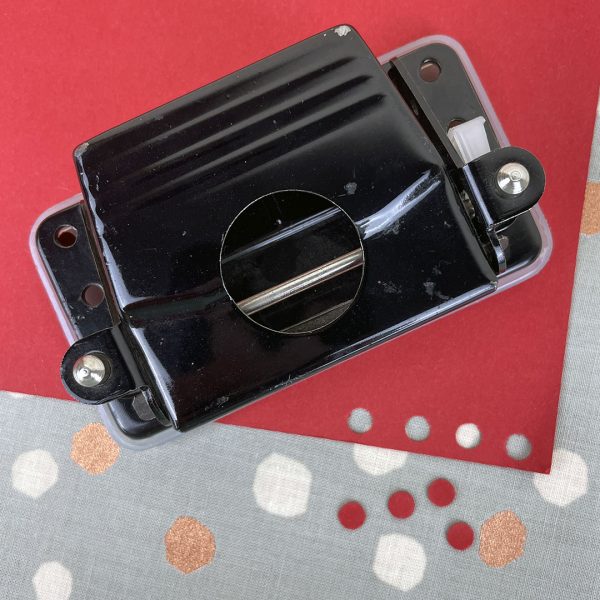
For my original cards, I used a hole punch to cut red berry eyes from glitter sticker paper but you can do the same with red card and glue, as long as you printed the file at 100%. Otherwise, just draw them on with a red pen or pencil.
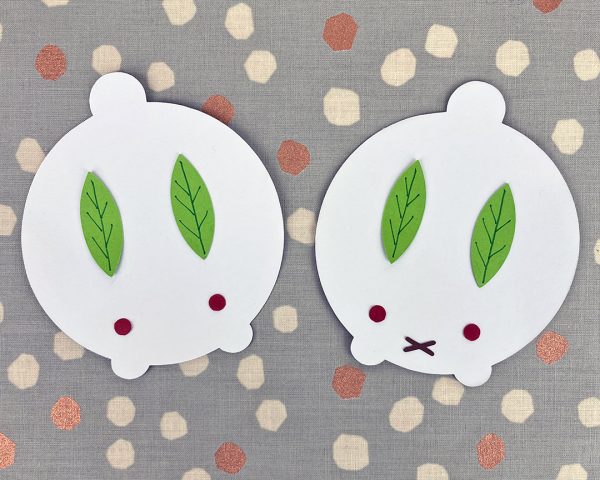
Use the template or photos as a guide to place the decorations and stick them down with glue or tape. I had also used my Silhouette Cameo to cut little Miffy-style twig mouths because I think it’s cuter but traditional snow bunnies don’t have one. Up to you whether you draw on a mouth or leave it.
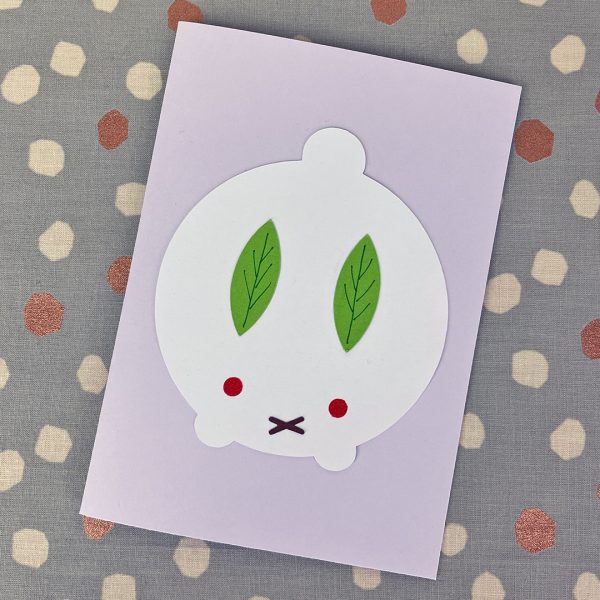
You should now have a finished snow bunny – or a whole gang of them. There are loads of ways to use them and here’s a few ideas:
- Glue or attach to flat or folded card
- Write directly on the back and use as gift tags or notelets
- Create a garland by taping a long piece of string to the back – or use small pegs
- Tape a loop of string on the back for a hanging decoration
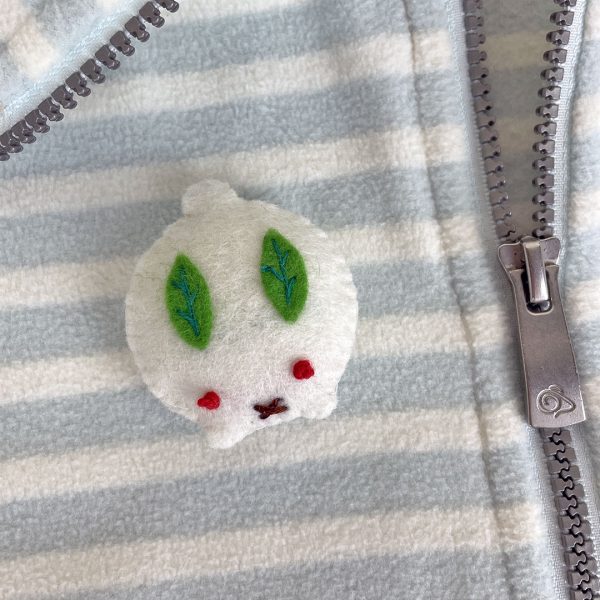
Bonus! Make a felt brooch
I’ve included an extra mini sized bunny in the PDF so you can use it to sew a felt brooch. This only took me an hour to sew so it’s a quick project. You can use my Felt Frosted Cookies Tutorial as a guide, which includes tips on sewing and cutting felt, but here’s a basic step by step too.
- Use the paper template to cut 2 bunny shapes from white felt and 2 leaves from green felt
- Poke a pin through the paper template near the end points of the leaves and then use a pen to mark them on to one of the white felt bunnies.
- Place a leaf on to one set of marks. Use a contrasting shade of green thread and back stitch to add leaf veins and attach it to the white felt. Repeat with the second leaf.
- Mark the eyes on the felt as above, and sew them on with red thread. French knots with 6 strands of embroidery floss make the perfect berries but they can be tricky so you could use red beads or sequins instead.
- Optional – add a mouth with brown thread and back stitch.
- Sew a brooch pin on to the back of the other white felt bunny (or you can glue one on at the end), or sew on a loop for a bag charm or keychain.
- Using white thread and blanket stitch, sew the 2 bunnies together, right sides out. Stop while there’s still a small gap left and add in some stuffing to make it more round and squishy. Then finish sewing it up.
- You’re done!
I hope you’ll try this out. If you do, we’d love to see your bunnies – tag @sckawaii on Instagram. You can also check out all our original DIYs for more fun ideas.
This tutorial was created by Marceline for Super Cute Kawaii and the images, template and instructions may not be reposted without credit and permission. Thank you for respecting the rights of artists and makers.


Leave a Reply