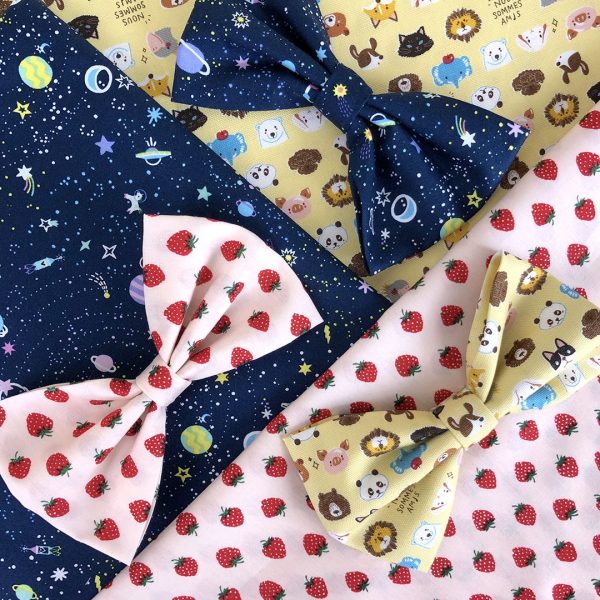
I love sewing and collecting cute fabric so I was very happy when Modes4u let me pick some favourites from their huge range of kawaii fabric for a project. I decided to make some hair bows from our book, The Super Cute Book of Kawaii, and also give you some extra tips on choosing fabric and creating the perfect bow.
How to choose the right fabric for a project
If you’re new to sewing or crafting with fabric, the choice can be overwhelming and confusing. Modes4u have over 4500 kawaii designs to choose from so where do you start? Luckily, they make it very easy with lots of categories and filters. You can choose a favourite theme like animals or fairy tale and then use the drop downs to filter the results by the type of animal, colour, material etc.
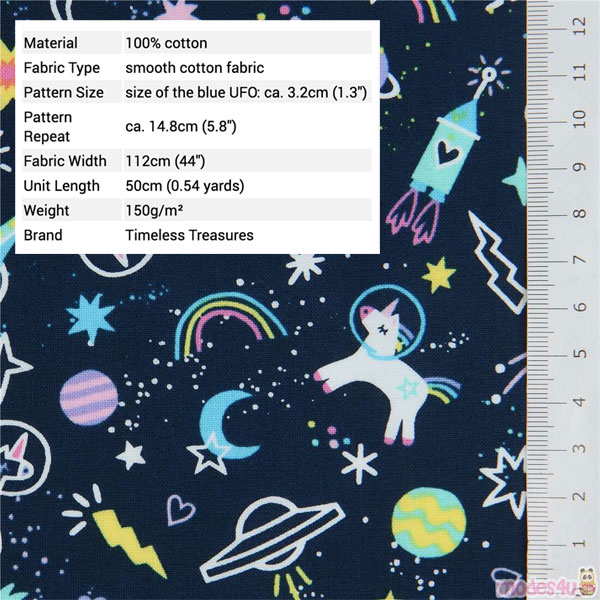
A tutorial will usually tell you what type of fabric to use and how much you’ll need. For these bows, we need a light fabric that will hold its shape – something like cotton or poplin. A small scale print or pattern is also advisable as a larger design would get cut up and squashed in the folds. Modes4u helpfully add rulers in the photo to show scale plus lots of information on measurements including a specific element in the design.
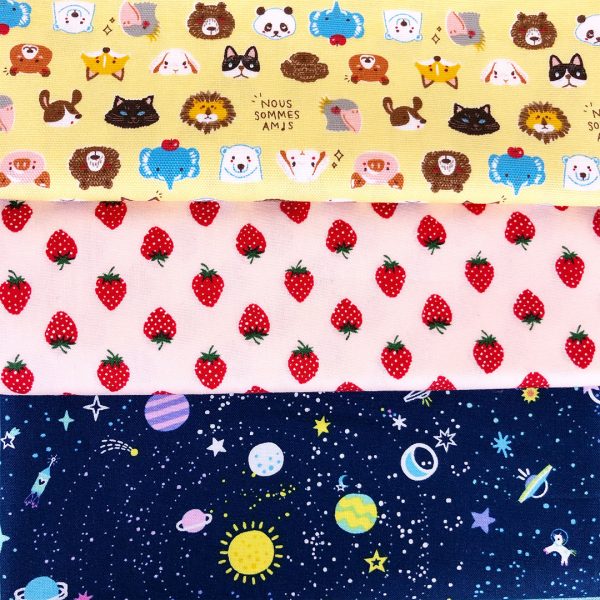
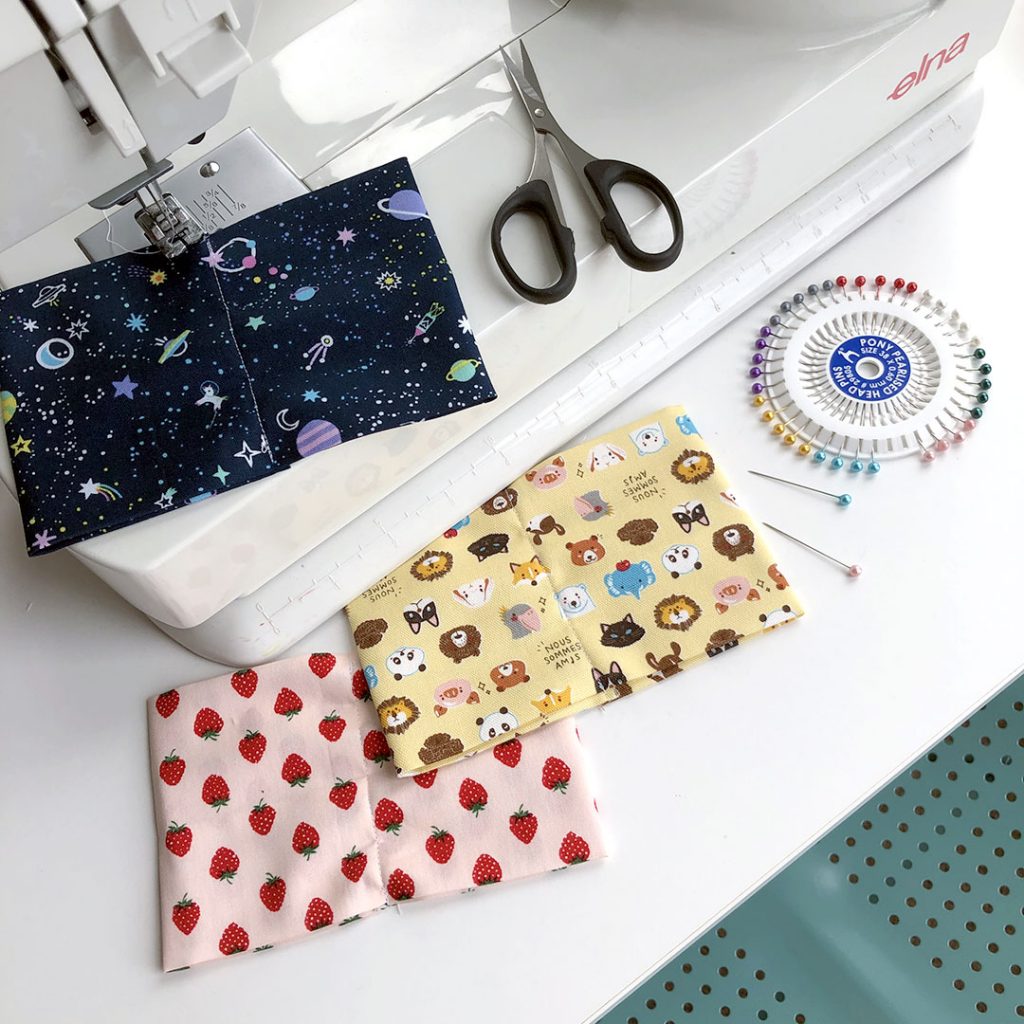
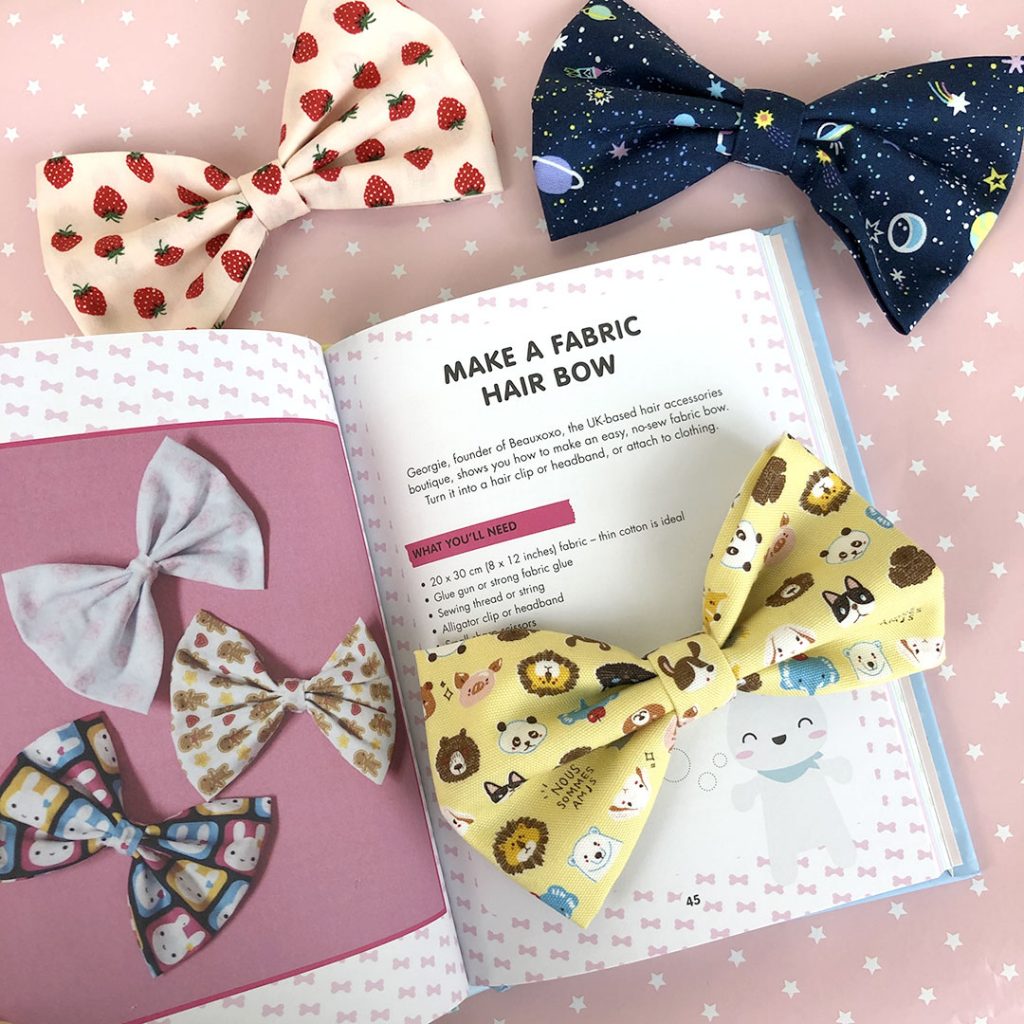
After much browsing, I ended up with 3 favourites: animal faces, space unicorns and tiny strawberries. As a bonus, these all have scattered prints so I didn’t need to worry about the design being upside down! They arrived in around a week from Hong Kong and looked even cuter in person, and really nice to sew with.
Making kawaii fabric hair bows
Hair bows are a great starter project with fabric as you can make them with a sewing machine, sew by hand or just use glue. All the seams are hidden inside so no-one will know if it goes a bit wonky! I used the tutorial by Beauxoxo in The Super Cute Book of Kawaii but if you don’t have a copy you can find lots of similar tutorials and videos online. All it takes is cutting a rectangle, sewing a couple of straight lines and then shaping it into a bow.
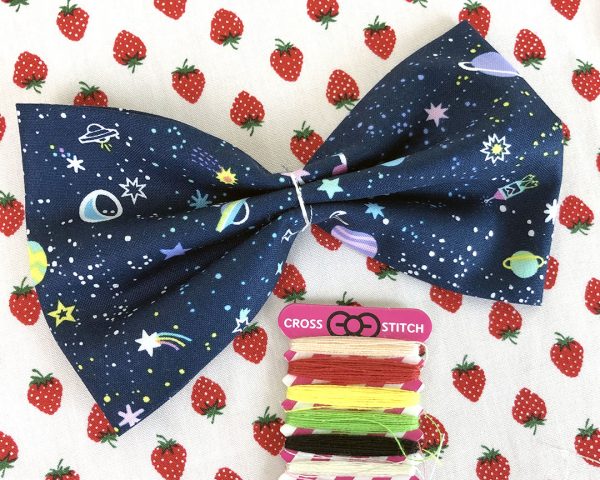
One top tip is to use a piece of thread to hold your bow together once you’ve shaped the folds. It gives you a chance to make sure the two sides are equal in size and keeps everything in place while you glue on a strip around the middle.
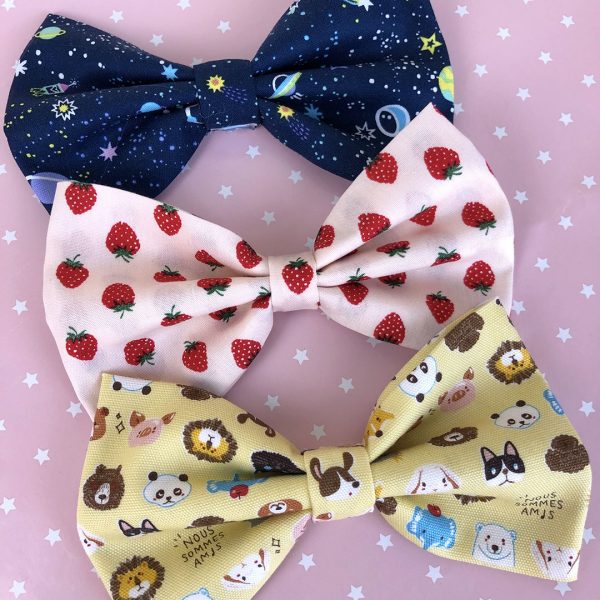
I also recommend cutting a strip much longer than you need so you can arrange it for the cutest placement. That little doggy in the middle of the animals bow is my favourite thing! I really recommend a glue gun for this part – they’re really affordable now (I have this one) and the glue dries quickly without sticking your fingers together.
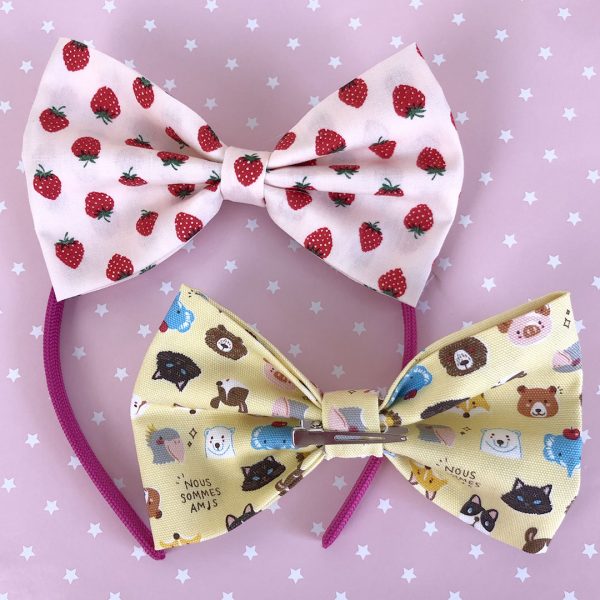
Then your hair bows are ready for wearing! Here I’ve added an alligator clip to one and a hairband on the other. They slide right off if you want to change them up. Just leave a gap between the back of the bow and the strip around the middle, or you can glue them on permanently. You could also attach the bows to clothing, hats, bags or shoes.
I had such a fun afternoon making these bows and I think they turned out super cute. I really want to make more!
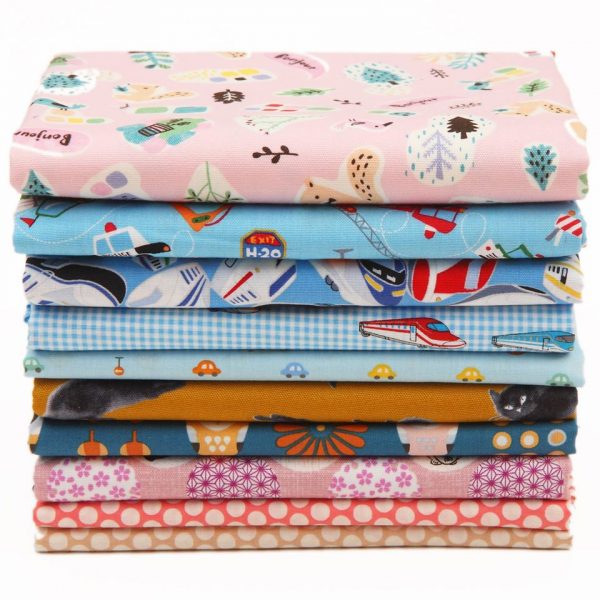
Modes4u Kawaii Fabric Sale & Giveaway!
II definitely recommend buying your kawaii fabric from Modes4u – there’s so much choice with all the best Japanese brands, cute characters like Hello Kitty and even Halloween and Christmas fabric. Modes4u also ship worldwide and you can get 20% off everything (except products on sale) until Wednesday in their Easter Sale! Use the code Easter2020 at checkout. Make sure to enter their Japanese Fabric Bundle Giveaway too for a chance to win the 10 gorgeous Japanese fabrics above.
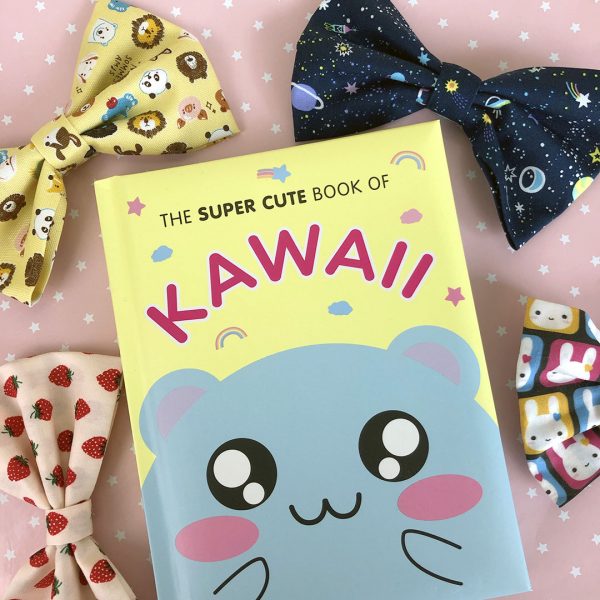
The Super Cute Book of Kawaii
If you’d like to try out this tutorial, The Super Cute Book of Kawaii is available worldwide as a print and ebook and includes many more DIYs + recipes, kawaii characters, outfit and home inspiration and so much more.
(Fabric was provided by Modes4u for review but all words, photographs and opinions are my own. Tutorial by Beauxoxo for The Super Cute Book of Kawaii.)



Leave a Reply