It’s Cat Week on SCK and we’ve got a new original DIY for you to make some paper craft cats for cards or decorations.
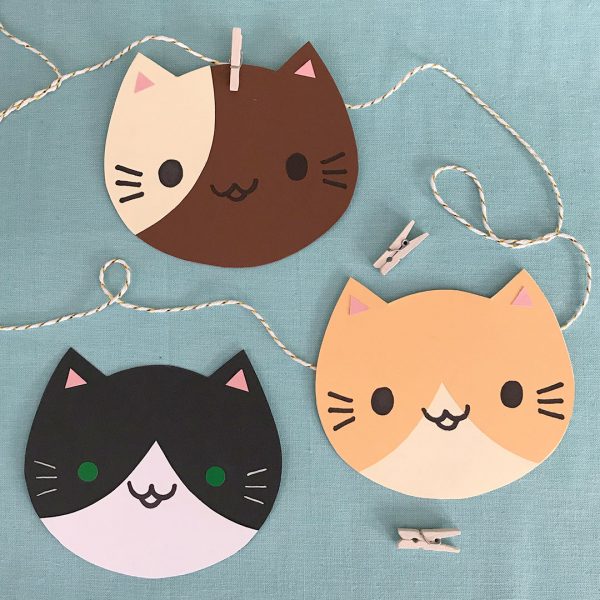
They’re easy to make with coloured card and can be used for decorations, crafts and more.
What you’ll need:
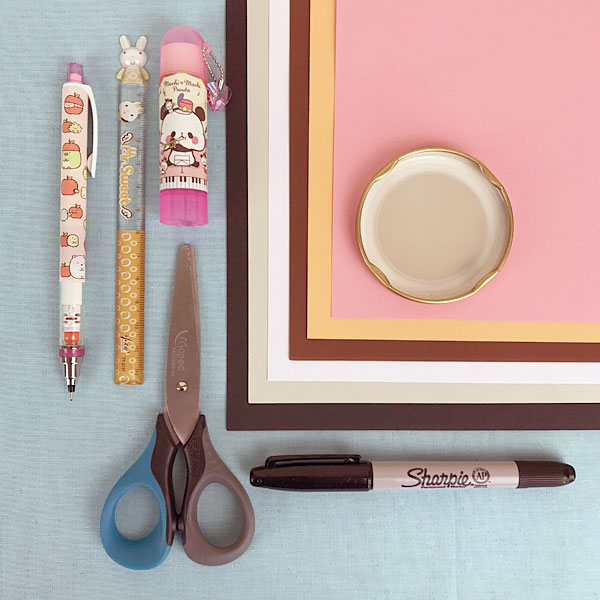
- Paper
- Coloured card
- Scissors
- Pencil and black marker pen
- Ruler
- Glue or double-sided tape
- Something round*
*I used a jar lid that’s approximately 7cm (2 3/4″) but you can use anything. Your finished cats will end up a little smaller than twice the diameter.
Draw your cat template
(I drew some diagrams here so it’s easier for you to copy)
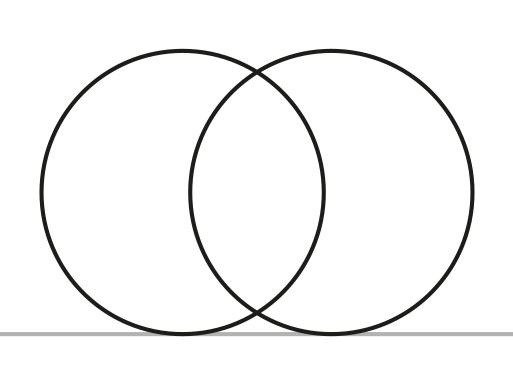
Take a sheet of paper and draw a straight line with your pencil as a guide. Place your round item on the line and draw around it. Draw another circle on the line so that they are overlapping in the middle.
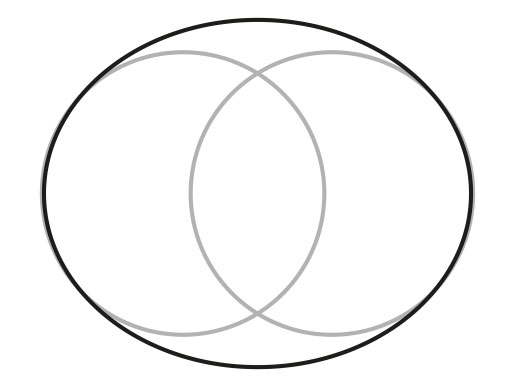
Join the two circles into an oval shape.
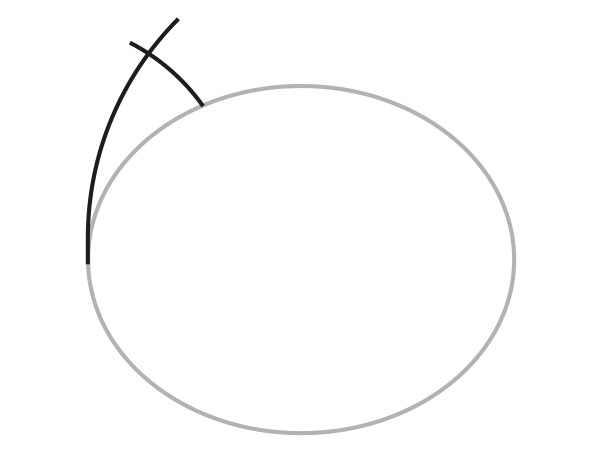
Draw a curved line from the side of the head over to the top and then add another line to create an ear shape.

Fold your paper across the middle of your oval shape and cut out so you have a symmetrical cat shape. This is your template.
Make some cat heads
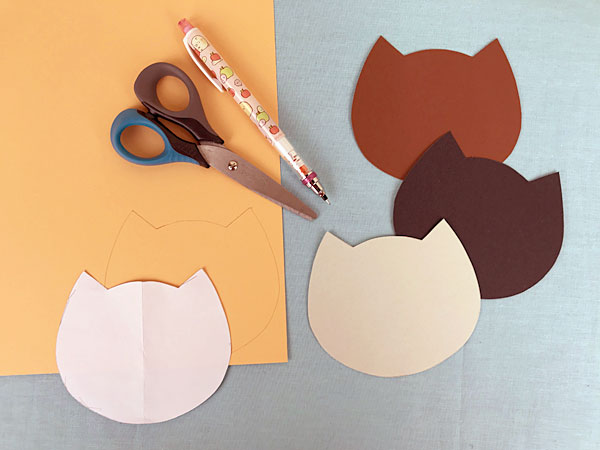
Choose your favourite colours of card, draw around your template and cut them out to make as many cats as you want.
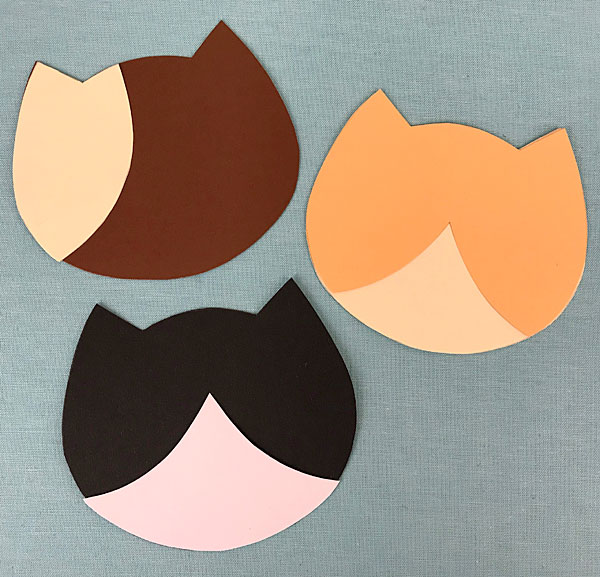
To make fur markings, cut a shape from a different coloured cat head so they’ll fit at the edges. I’ve drawn one curve for an ear patch and two overlapping curves to make the v-shape. You could create your own pets or your favourite kawaii cat characters!
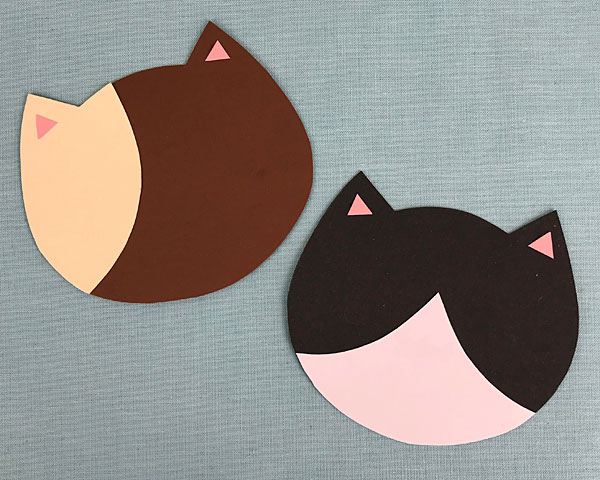
Cut out some small pink triangles for the ears too then using glue or double-sided tape, join all the pieces together. Trim any overlaps around the edge for a neat finish.
Add faces
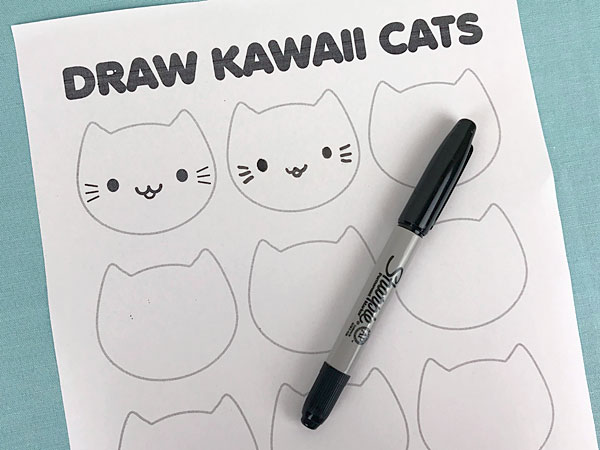
We’ll be drawing the faces with pen so I’ve made a printable practice sheet for you – download from Ko-Fi (and consider adding a donation to support SCK). There’s a simple face to try or you can get inspiration from your favourite cat characters. Keep all the features at the same height low on the face for a kawaii look.
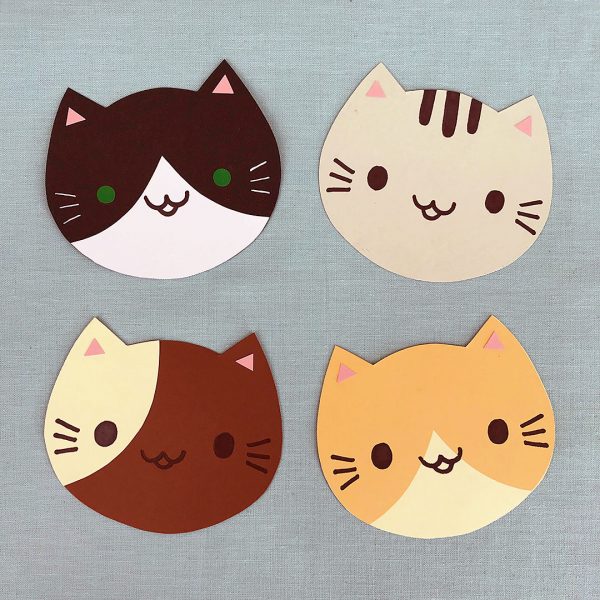
Once you’re confident, draw faces on your card pieces with pencil and then ink with a marker. If you want all your cats to have the same face, use tracing paper to copy one. For the black cat, I used stickers for the eyes and a white pen for the whiskers.
Turn your cats into something cute
Now you’ve got some finished cats, there are loads of ways to use them. Here’s a few ideas:
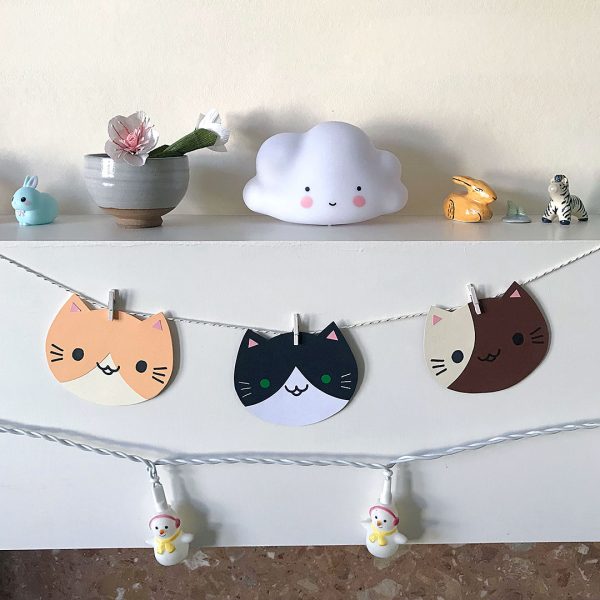
- Use small pegs and string to create a garland
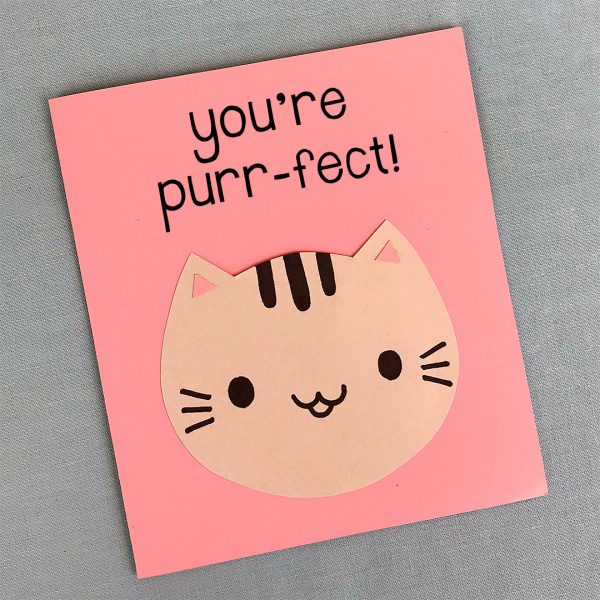
- Glue on to folded card to make a cute greeting card
- Make a hanging mobile (I have some tips here)
- Tape a loop of string on the back for a hanging decoration
- Write on the back and use as gift tags or notelets
I hope you’ll try this out. If you do, we’d love to see your cats – tag @sckawaii on Instagram. You can also check out all our original DIYs and Andi will have some more cat crafts later this week too.
This tutorial was created by Marceline for Super Cute Kawaii and the images and instructions may not be reposted without credit and permission. Thank you for respecting the rights of artists and makers.



Leave a Reply