
It seems like everyone is getting a lot more take-out these days and I have an easy shrink plastic craft that upcycles those take away containers into kawaii charms.
You only need a few supplies that you probably already have at home and it’s a great craft to do with kids too.
What You’ll Need
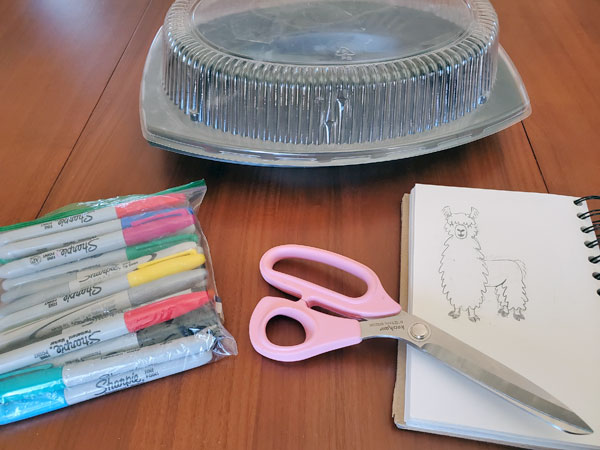
- #6 plastic take-out container (see note below)
- permanent ink pens
- scissors
- hole punch
- oven or toaster oven
You can use any plastic marked with a 6. I’m using a take-out Mexican food platter but the most common type is a clear clam shell.
Instructions

Trim away the outside until you have just the flat piece. Then find a cute design – I’m using a kawaii llama design I drew for a llama-themed party. You could trace something from a book or online (as long as your finished charm is for personal use) or there’s lots of beginner drawing tutorials in our Art & Drawing section.
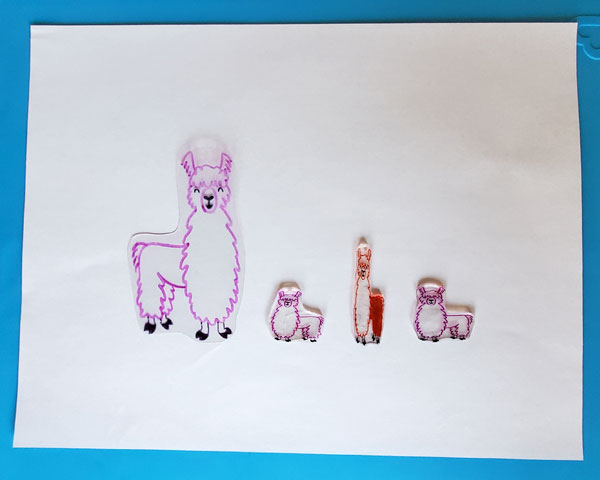
Things to remember when choosing a design and colors for shrink plastic – the drawing will shrink to about 1/3 the original size and colors will come out darker than the original marker.
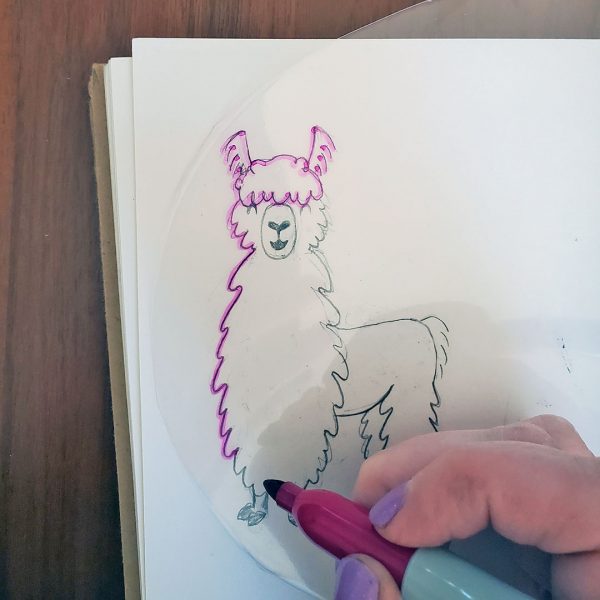
Place the plastic over the design and trace using indelible ink. Then cut out your design. Detailed cuts can be difficult with plastic so you might want to start with simple shapes like hearts, ovals, and squares.
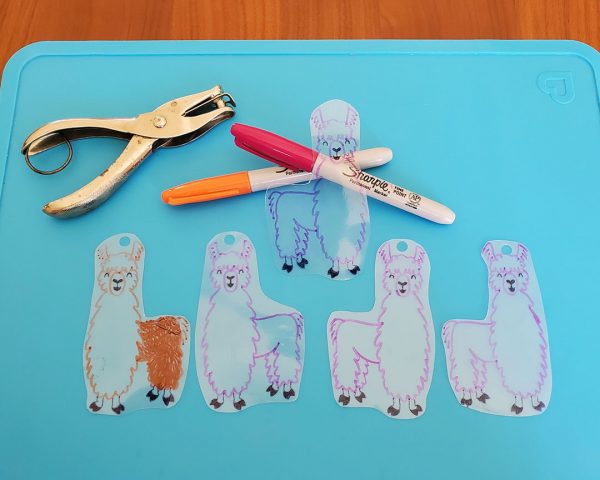
Now, this is important – don’t forget to punch a hole in your charm. If you want to attach it to a necklace, earrings, or even hang it in a window it will be difficult without a hole. Once the plastic shrinks down, it’ll be too thick to hole punch (you can use a very tiny drill, which is what I will be doing as you can see I missed punching 1 hole).
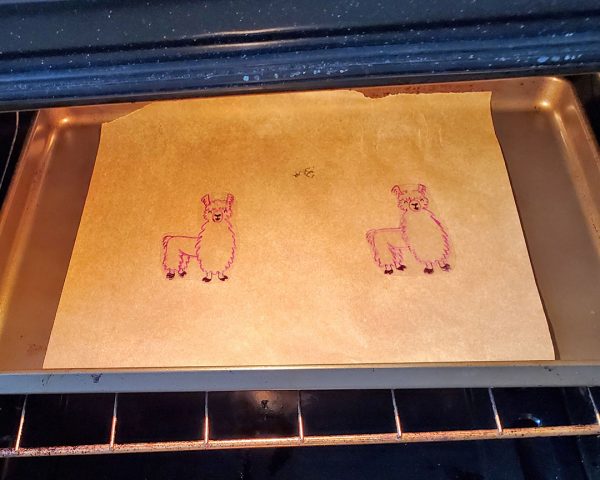
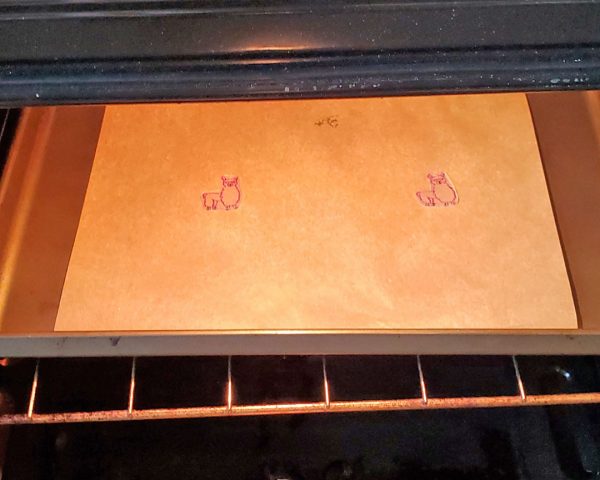
Set your oven to 325F/160C/Gas Mark 3. While the oven heats, set your charms on a piece of baking paper. Space them pretty far apart – it is typical for this plastic to curl while it is shrinking and you don’t want it to curl onto another one. Put the charms in the oven and settle in. It only takes a minute for the plastic to start shrinking and it’s so much fun to watch. If your charms curl, wait till they flatten out (about 3-4 minutes total), then take out and let cool.
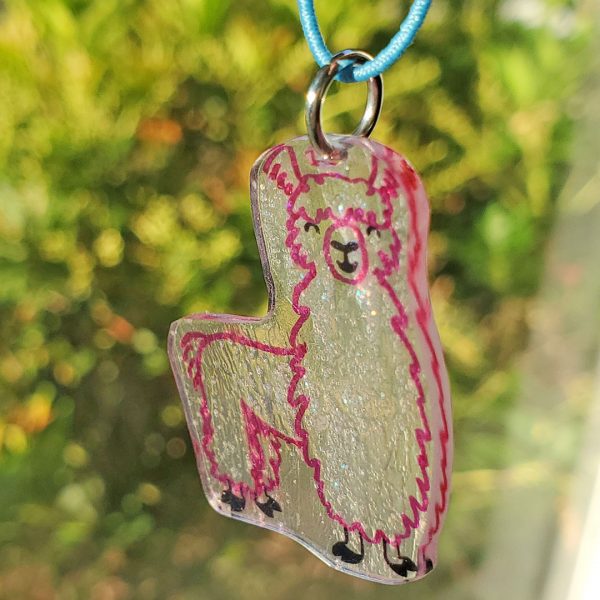
Your charm is technically done. However, after shrinking the ink can rub off. To make it more permanent, you’ll need to seal it. This step is optional but good if you’re making a pendant or something likely to rub on your skin frequently. I read that you can use nail polish as a seal and decided to try it. I used a clear sparkle nail polish and it did work to seal it. However, I had to brush with as few strokes as possible, otherwise it started to smear the ink. The result is still oh so kawaii and perfect for the llama party.
If you have any kid time coming up, this is an amazing craft to do with kids too. For very little kids, you can trace a design for them and then flip the plastic over and let them color on the other side. Older kids can trace their favorite character themselves. And everyone loves watching the plastic shrink. It’s adorable seeing everyone crouched around the tiny oven window.
Let us know if you try it! You can tag us @sckawaii on Instagram.
This tutorial was created by Nova for Super Cute Kawaii and the images, instructions and files may not be reposted without credit and permission. Thank you for respecting the rights of artists and makers.


Leave a Reply