
Mother’s Day is just around the corner here in the US. It is very popular to give mothers a hanging basket of flowers for Mother’s Day. However, this year I wanted to do something more kawaii. Enter the Totoro fairy garden.

What You’ll Need
The basic materials include a wide pot, a few rocks, some dirt, a small bag of potting soil, a small plant or 2, and some decorative figures and items. I mostly used items I already had with charming results. You can find similar Totoro mini figures on DHGate (China) and Amazon (US / UK) and other decorations at stores like Dollar Tree. The whole thing took me less than an hour to assemble (including finding rocks, digging up dirt, and collecting moss)!
Instructions
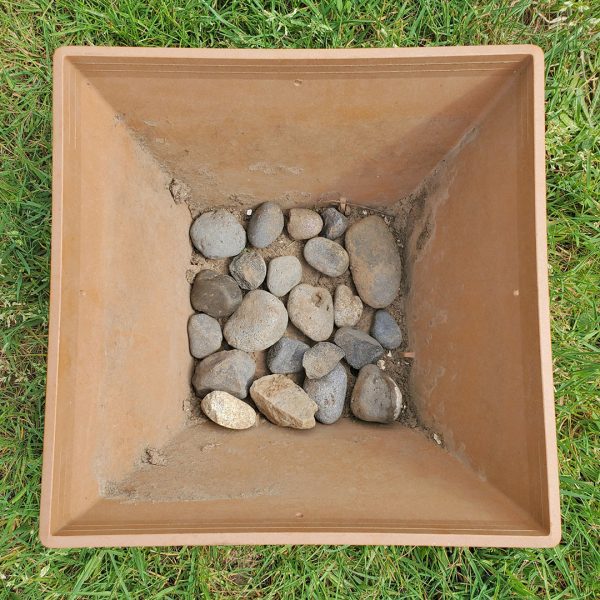
First, put a layer of rocks at the bottom of your pot. This helps with drainage. I picked these rocks off the ground from around our driveway.
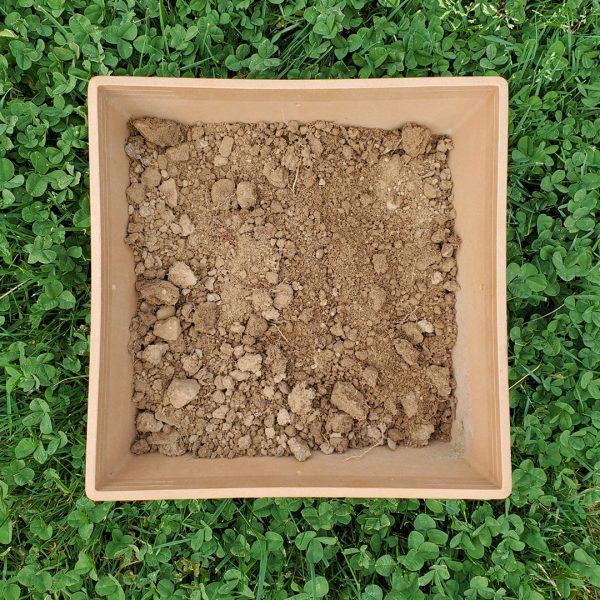
Second, fill your pot with dirt. I used a few shovelfuls from our back garden. If you don’t have access to dirt, you can fill the pot with the potting soil. Time for the fun bit!
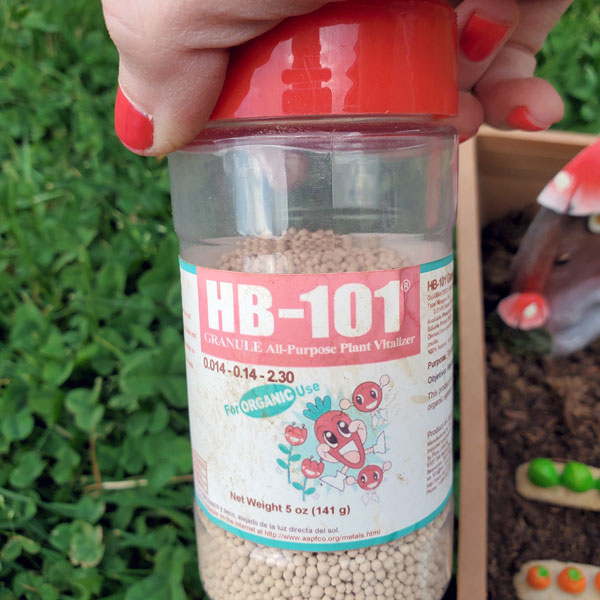
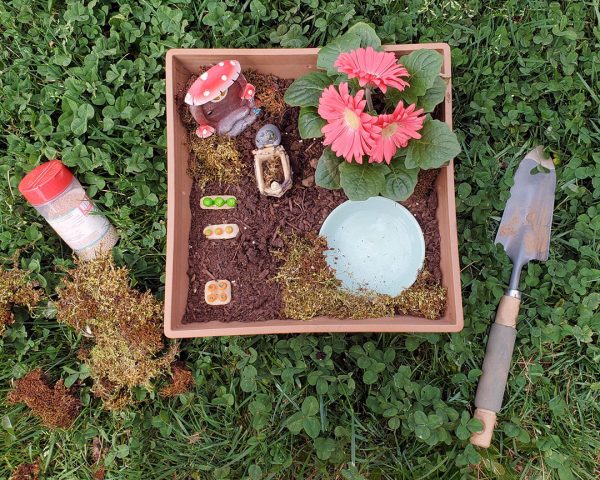
I bought a pink gerbera daisy plant for my pot. Dig a small hole in the pot and put a few sprinkles of plant food in the bottom of the hole. I like this Japanese organic plant vitalizer HB-101 that I got at our Japanese grocery store. (You can get a free sample on the HB-101 website.) Then I added the daisy.
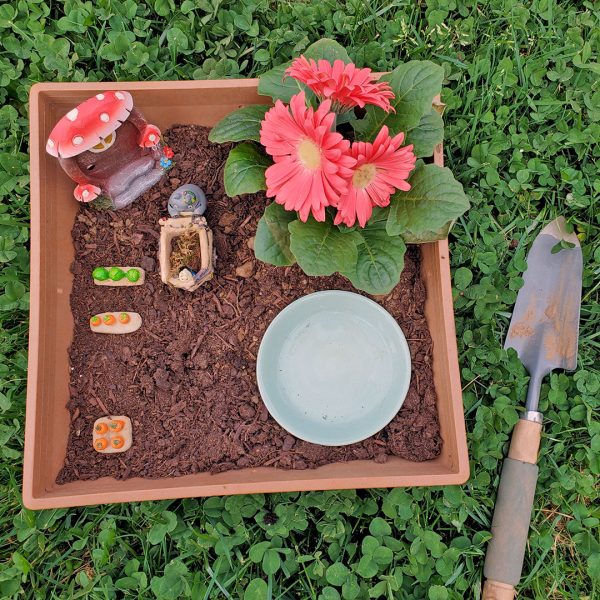
Once your plant(s) are in, it’s really good to add a layer of mulch or potting soil to the top. It helps keep moisture in, but it also looks pretty. I also added a small shallow dish to the mini garden. It looks like a tiny pond but is actually a water station for visiting bees. Now you can start positioning any character-themed decorations.
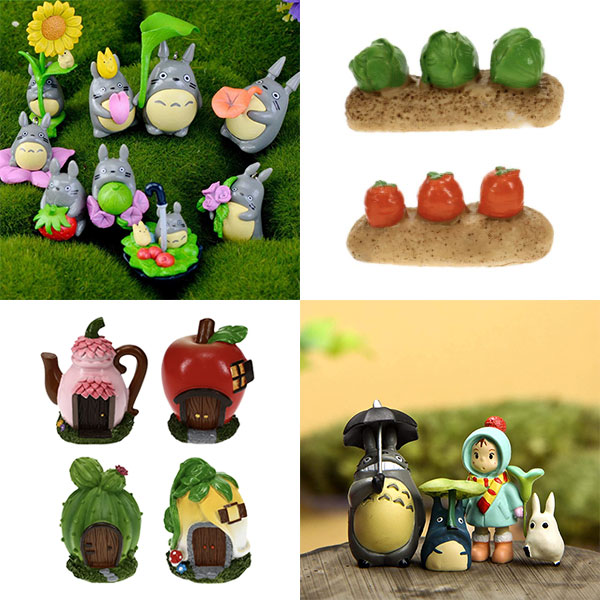
It is popular to use fairies, but I decided to use an adorable miniature Totoro planter I had and a few cute mini garden items. You don’t need to buy expensive items from a garden store, you might even use items you already have. Resin figurines hold up very well outside.
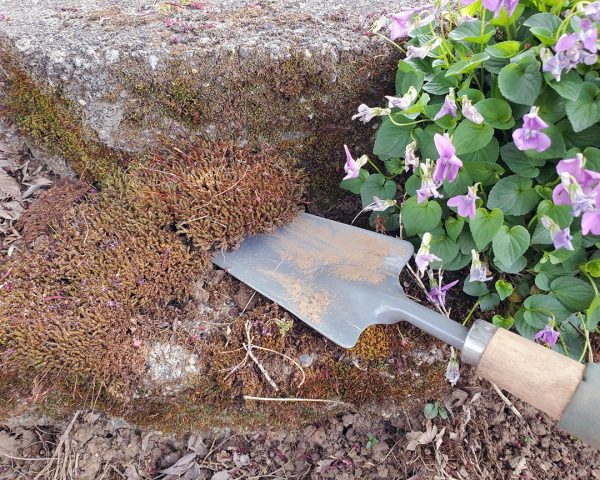
To give the whole mini garden a magical feel, I added a layer of moss. The Pacific Northwest has a very wet climate and moss is everywhere. So instead of buying moss I simply harvested some. You can find moss in most shady paved areas like the sidewalk or the pavers around a flower bed. Simply scoop the moss off the stone (I used a spade but you could easily use a spatula).
Tear the moss into the size you need and press firmly on top of your soil. For a sneaky bonus, add a few flower seeds in a spot or two not covered in moss. These will sprout after your gift has been received and add a fun surprise.
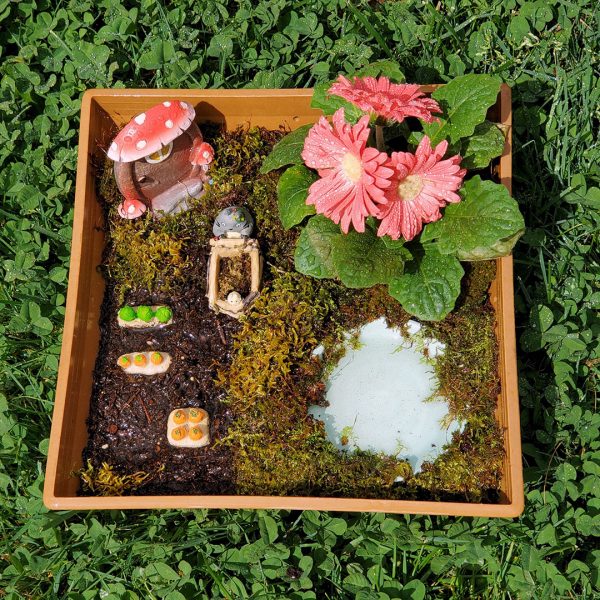
When you are finished, give the whole pot a gentle but thorough drink of water. Keep watering until you see water come from the holes in the bottom of the pot. Then enjoy passing on a gift that will only get more kawaii over time!

I’m so pleased with the way this turned out. What character theme will your mini garden have?
This tutorial was created by Nova for Super Cute Kawaii and the images and instructions may not be reposted without credit and permission. Thank you for respecting the rights of artists and makers.


Leave a Reply