
Halloween is already upon us, but it’s never too late for spooky cute crafts! If you’d like something cute to hang up for Halloween – or just to keep the spooky vibes year round – keep reading for a Halloween cookie garland using clay & resin.

Materials
- air dry clay (I used about 80-90g of a 149g pack of Hearty clay)
- UV resin
- purple, green, and orange resin dyes
- acrylic paint in yellow ochre, chocolate brown, + black
- Halloween + circle cookie cutters
- clay roller
- something to texture the clay with – e.g. old (clean!) toothbrush, tinfoil, etc.
- paintbrush or makeup sponge
- puffy paint or clay paste (for icing details)
- baker’s twine, embroidery thread, or ribbon
- eyepins (optional)
- nail art/resin findings (optional)
Substitutions
Please note that this project is highly adaptable based on the materials you have or can find! Other clays can be used instead, and you can substitute UV resin for epoxy resin, or even translucent glass paint. Also feel free to hand cut your cookies with an Xacto knife or something similar if you don’t have Halloween cookie cutters. If you’re new to resin crafts, you’ll find lots of resources and tips in my guide to Getting Started With Kawaii Resin Crafts.
Instructions
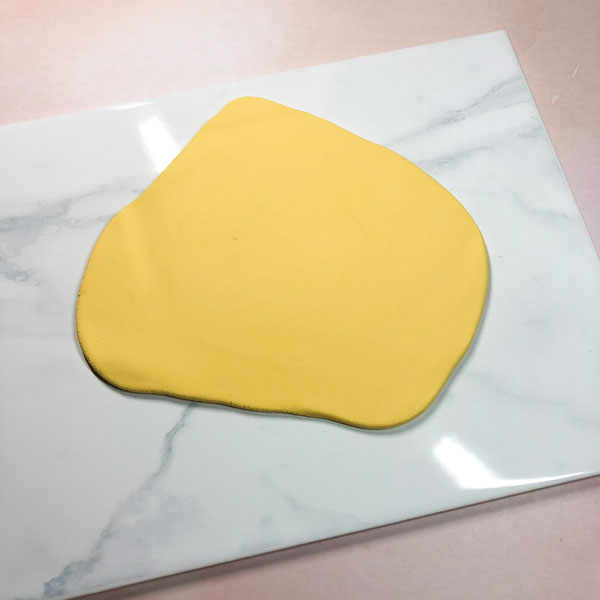
Start by mixing the yellow ochre (or similar shade) paint with your air dry clay until you achieve a dough color, then roll it out to your desired thickness.
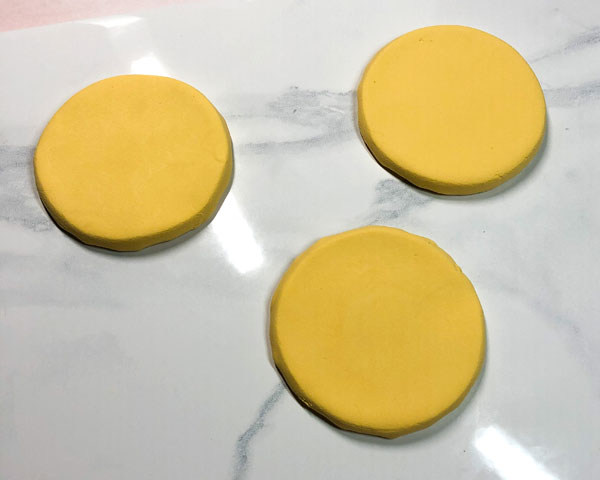
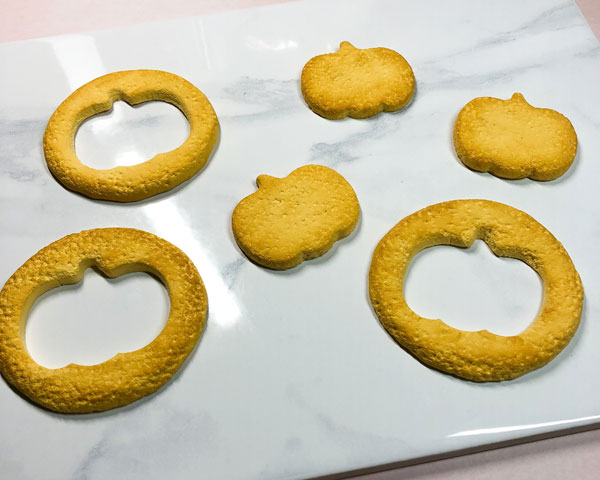
Use your cookie cutters to cut out the base cookie shapes.
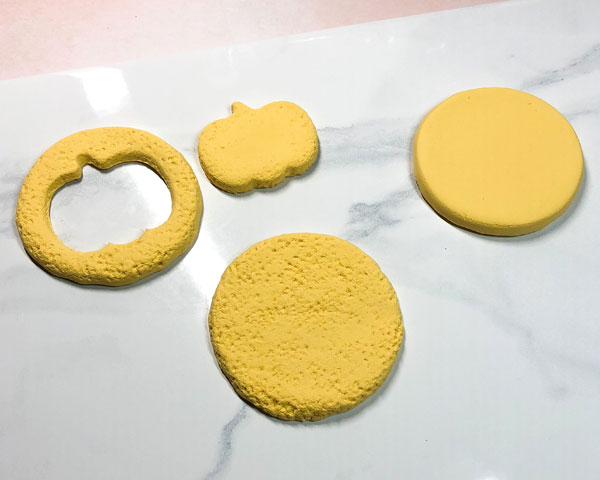
Once you have your cookies cut out, texture them with your toothbrush or tin foil, then using a smaller cookie cutter, create the inside cut out. In my case, I was using a small pumpkin cutter, so I decided to keep the shapes and decorate those as cookies too! Create as many cookies as you’d like, and then set them aside to dry. (Tip: setting air dry clay projects on absorbent material like a dish cloth can shorten dry time.)
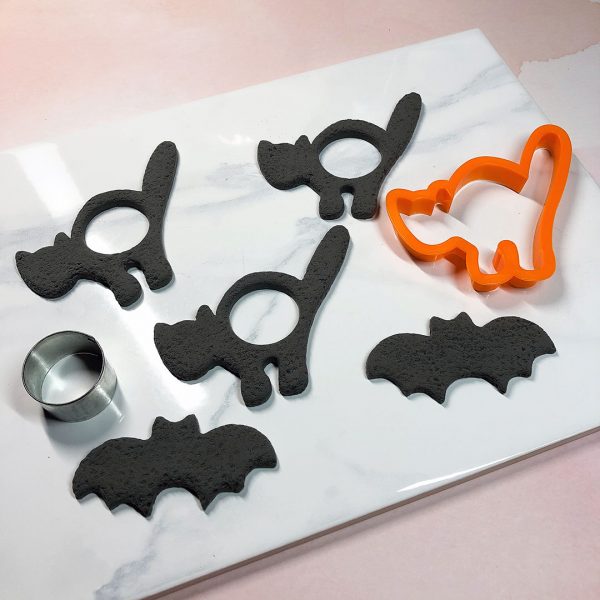
If you want black cookies, follow the same process by mixing your clay with black paint instead. I couldn’t achieve a true black with the clay brand I used, so I just mixed in the paint in increments until it couldn’t get any darker. (Oversaturating air dry clay with paint can make it too sticky, so be careful with this step.)
The next step is to shade to make them more realistic! You can use colored pastels, but I find a little paint mixed with water works best for shading air dry clay. To shade the first batch of cookies, I mixed some yellow ochre with a little bit of chocolate brown. And because the black cookies looked more like a dark gray, I added water to some black paint and dabbed it on until they looked closer to a true black. After you finish shading, set the cookies aside to dry for at least 6 to 8 hours.
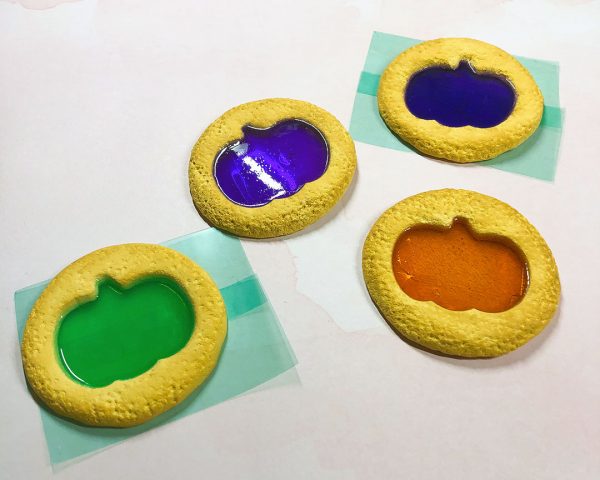
Once the cookies are dry enough to be handled, you can work on making the ‘stained glass’ centers! Stick the cookies face up on tape—make sure it’s not too sticky—and fill in with your material of choice; I mixed UV resin with liquid resin dye on a scrap piece of wax paper, then carefully scraped it off the paper into the center of the cookie, then cured it with a UV lamp.
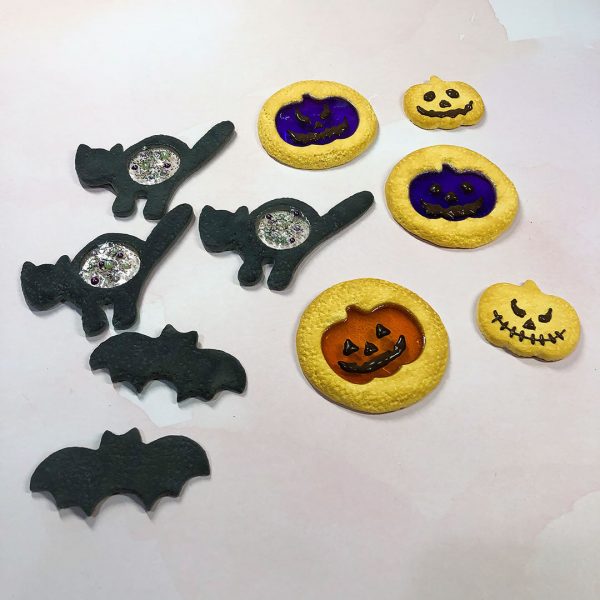
For the black cats, I added the resin in two steps; first step was a thin layer, then I cured, poured a second layer, added my fake sprinkles (nail art beads), then cured again. You could do the same for epoxy resin, and just let it cure for 24-48 hours, or use a thin layer of glass paint to achieve a similar look.
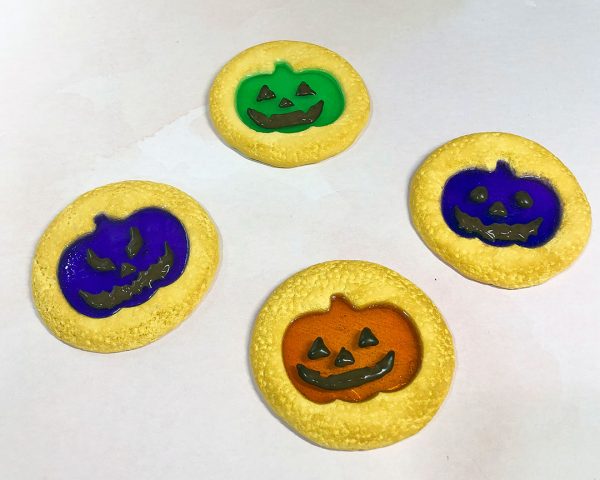
As long as your resin or glass paint is fully cured/dry, it’s time for the ‘icing’! You can use clay paste mixed with a little paint inside a DIY piping bag like I did, or use puffy paint. The method I used offers more control, but using puffy paint is a lot less work! Set everything aside to dry completely.
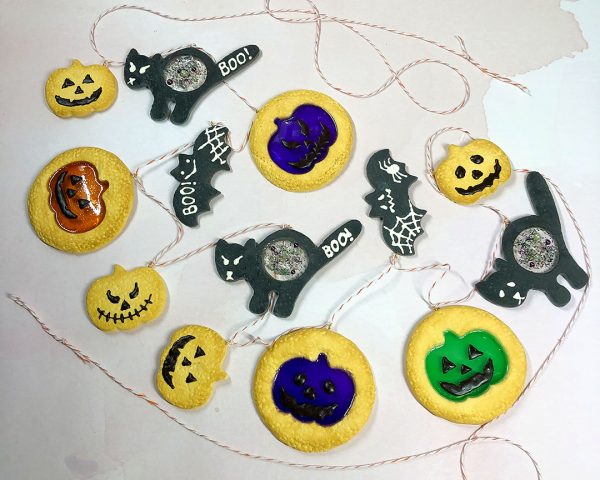
When they’re dry, you can insert the eyepins with a little glue, or glue a small loop of ribbon or twine on the back of the cookie to thread onto your garland; thread each cookie onto the twine, and tie a knot to secure the place on the twine so they don’t move around. Once you’re satisfied with the spacing and placement of each ornament, tie a knot to create a loop at each end of the garland, and you’re finished!
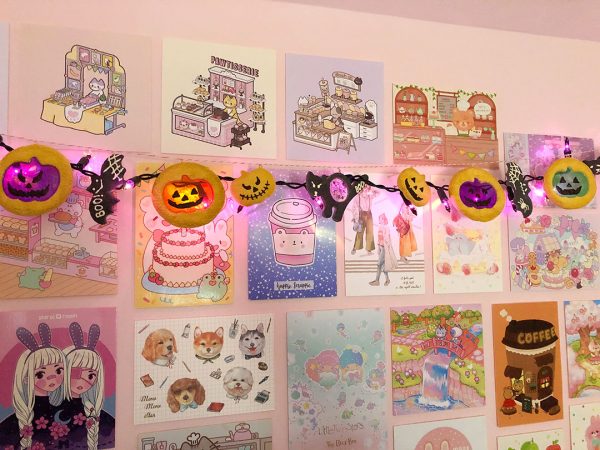
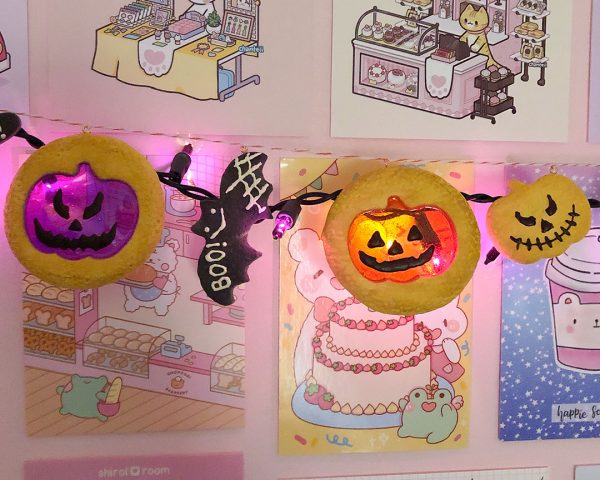
The faux stained-glass cookies are perfect to pair with string lights!
If you enjoyed this tutorial or make this project yourself, leave us a comment below and tag us on social media! You can also find more crafts to try in the SCK Original DIYs category.
This tutorial was created by Andi for Super Cute Kawaii and the images and instructions may not be reposted without credit and permission. Thank you for respecting the rights of artists and makers.


Leave a Reply