I’ve got a sweet new tutorial inspired by Animal Crossing to make felt frosted cookies that you can turn into Valentine’s Day decorations or cards.
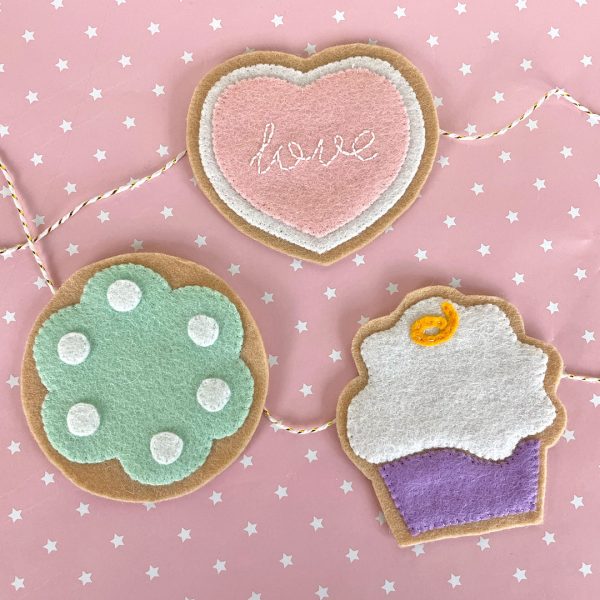
I love all the new dessert recipes in New Horizons and think the frosted cookies are so sweet. I really wanted to make some out of felt and thought they’d be perfect for Valentine’s Day, even though it’s not a holiday I personally celebrate. With this tutorial, you can recreate them in felt to stick on a card or turn into a garland.
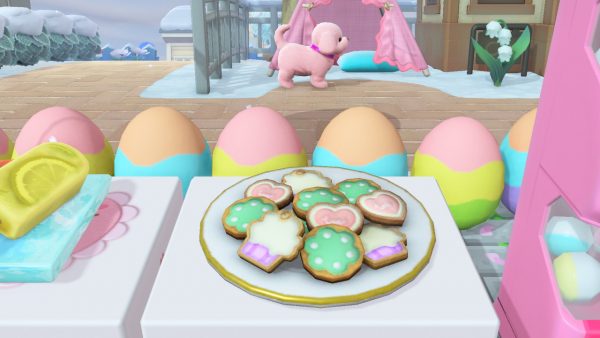
You can also use card if you prefer (and I’ll include instructions for that at the end of the post), or even use the templates to make real cookies. They’re especially fun for Animal Crossing players who will recognise them from the game, but the design is cute enough for anyone.
What you’ll need:
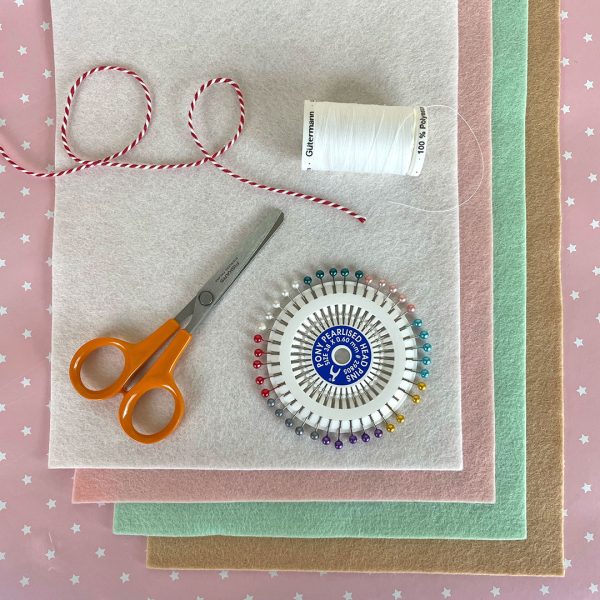
- White, pink, green, brown & purple felt (or use what you have) – see note below
- Small embroidery/fabric scissors & paper scissors
- Pins
- Thread (either matching colours or white)
- Glue stick
- Printable template – download from Ko-Fi (and consider a donation to support SCK)
- Optional: strong fabric glue, embroidery thread, tissue paper, string
Note: I bought 1mm wool felt sheets from Cloud Craft (UK) that were perfect. You can fit 6 cookies on the 20x30cm size. Colours above are Brand Spanking White, Cheek, Pistachio and Creme Caramel. I used a random purple from my stash but Carousel looks like a good match.
Instructions
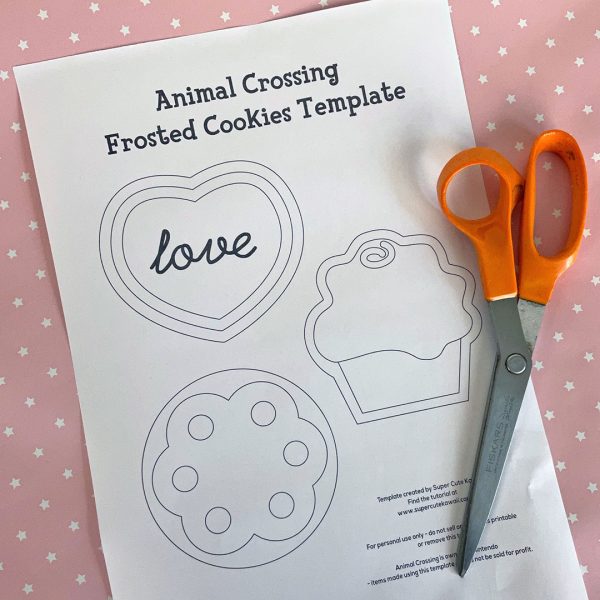
Download and print the template. At 100% size the finished cookies will be around 10cm square so adjust the scale if necessary. If you follow my instructions below, you only need one copy but if you want to keep all the templates and make this again, you’ll need 3 copies, 1 for each layer.
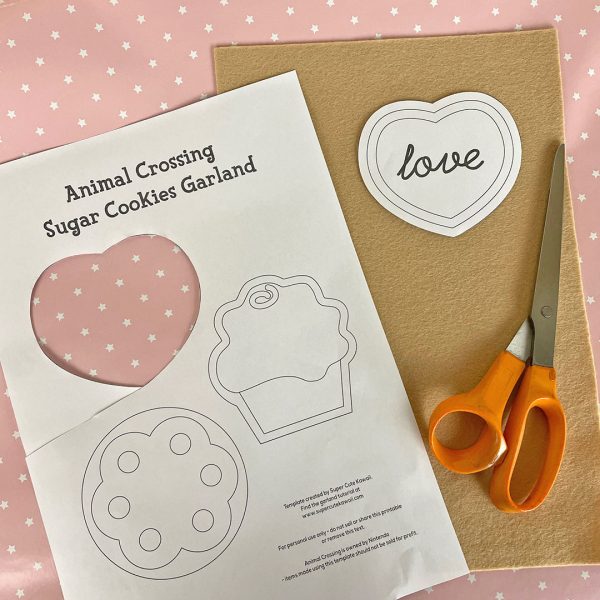
All 3 cookies are made in the same way so I’ll be showing you how to make the heart cookie from start to finish with a few tips for the others. Start by cutting out the full heart from the template (with your paper scissors!), which will be the cookie base.
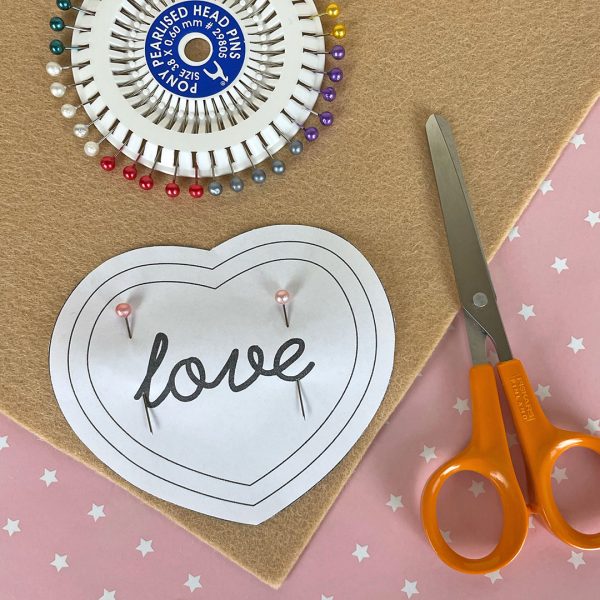
Pin it to your brown felt and cut out (with your fabric scissors!). If you’re making a garland, or multiple decorations, cut more of these now before we make the template smaller.
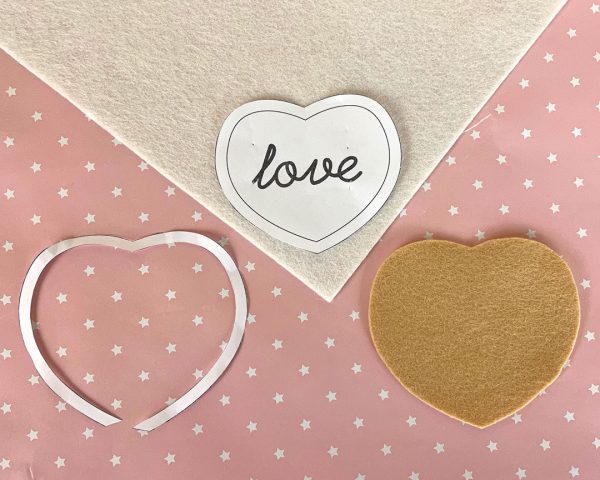
Cut the paper template down to the next line (with your paper scissors!). Pin and cut from white felt (with your fabric scissors!), making extras as required.
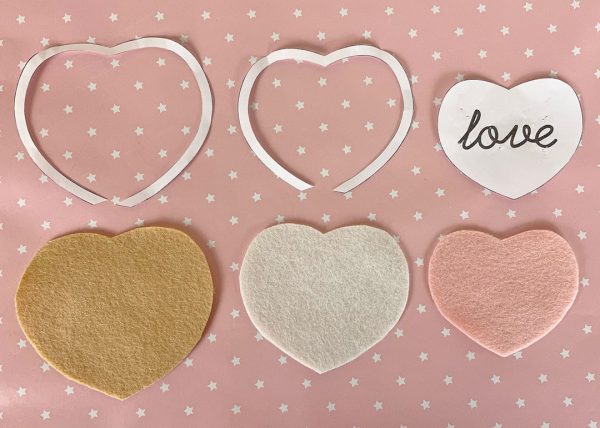
Repeat the process with the final piece and pink felt. Don’t worry if yours don’t look quite so neat – they’re meant to be homemade cookies and a little wonkiness just adds charm.
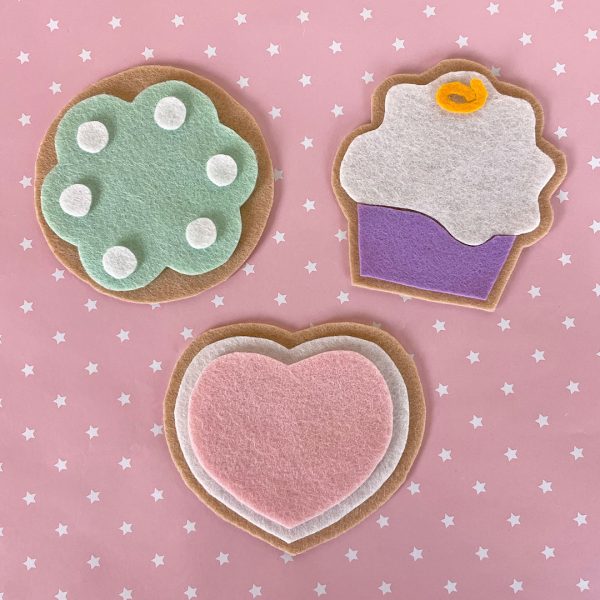
Repeat the steps above to make the round and cupcake cookies. For the tiny pieces, instead of pins, use a glue stick on the paper template and it will stick to the felt long enough to cut around it. The little gold swirl is a nightmare to cut so you may want to skip it, embroider it (see below) or use something like a sequin instead.
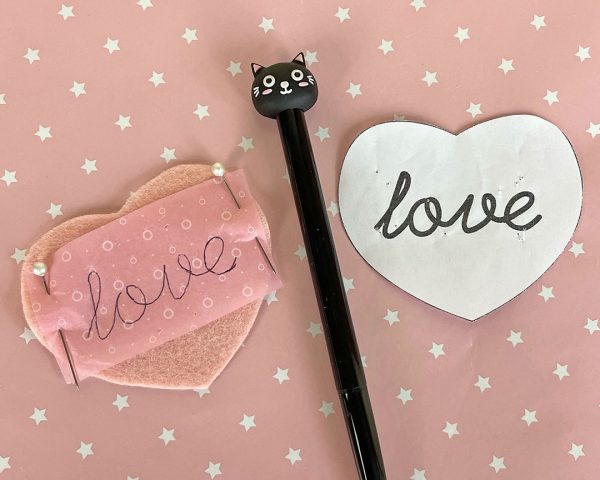
The heart cookies have a squiggle that I have turned into the word ‘love’. You could also change this to another word or name (the font is Hand Writing Mutlu), or do something more simple like XO. Trace the word on to tissue paper and pin it to your pink felt piece.
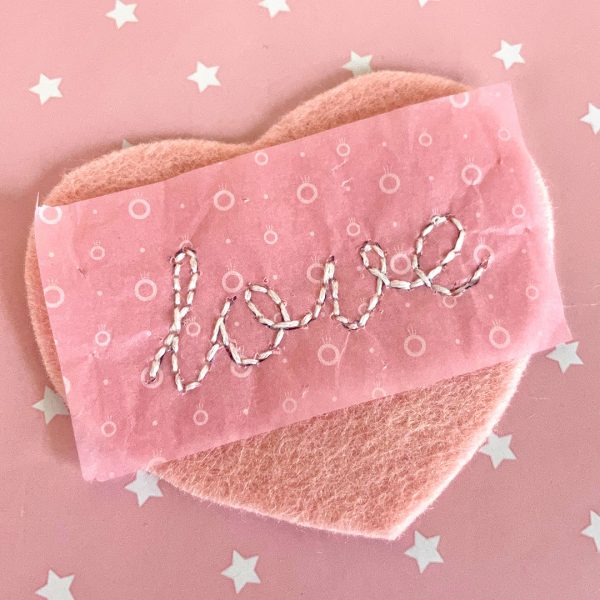
Back stitch along the the lines using 3 strands of white embroidery thread. Again, any wobbly stitching will just add to the homemade look.
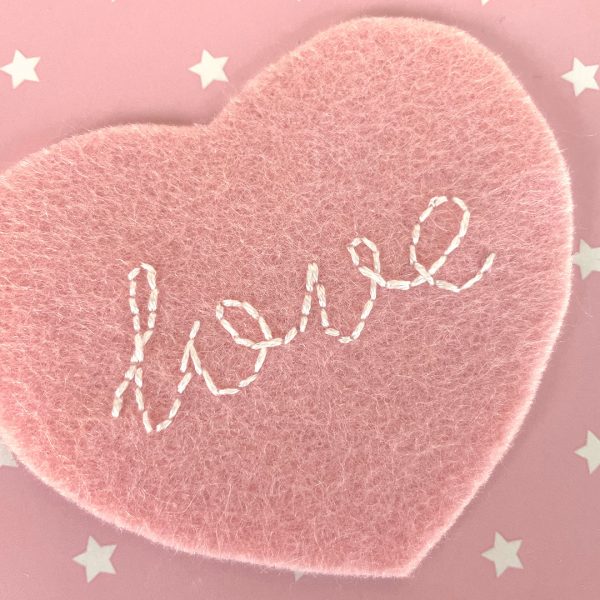
Carefully tear off small pieces of the tissue paper until it’s all gone. Repeat the process if you’re making more hearts or want to add embroidery to the other cookies – like that cupcake swirl.
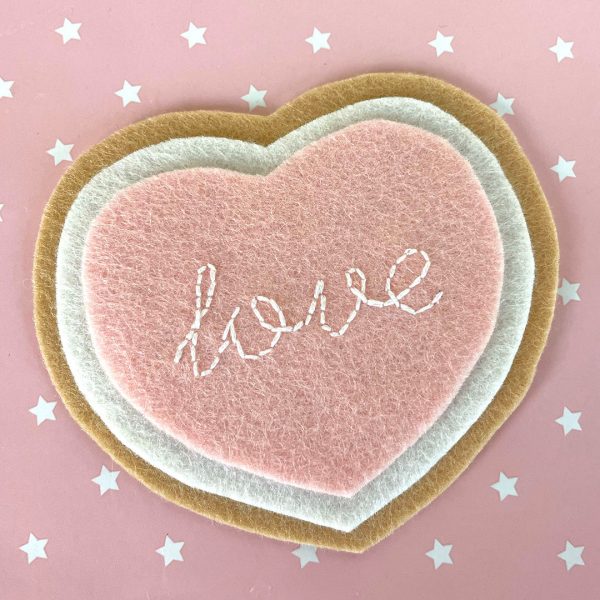
Once you’ve finished cutting and embroidering all your pieces, it’s time to sew! You can either pin the layers in place or use a little bit of fabric glue (I recommend Gutermann HT2 textile glue as it’s strong and dries quickly). Don’t use too much and try to keep it away from where you’ll be sewing. Sew each layer together using sewing thread and slip stitch.
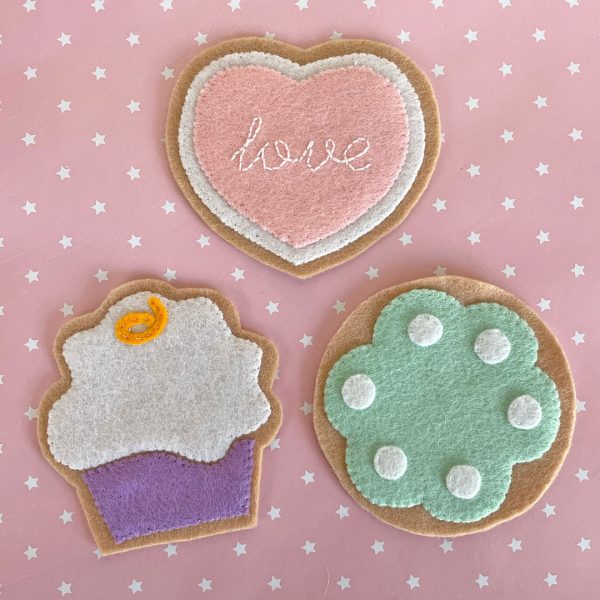
Repeat with all your cookies and you’re done! Don’t they look adorable? Keep reading for some ideas of how to use them.
Making the cookies from card
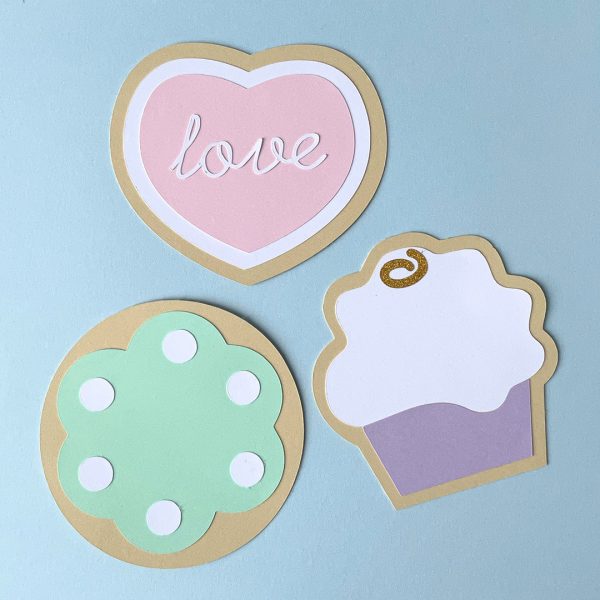
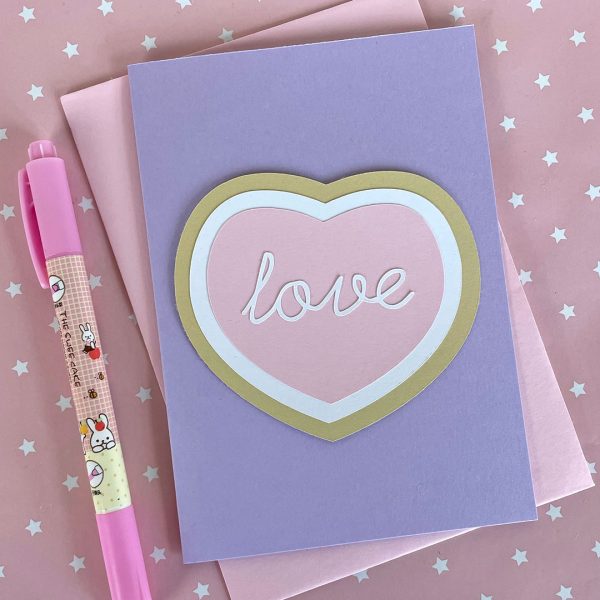
If you prefer to use card, the steps are very similar – I used card for my matching Spooky Cookies Halloween Garland Tutorial so that there’s a tutorial for both materials. I cut these with my Silhouette Cameo to save time and really didn’t expect it to manage the writing but it did a great job! I also cut the swirl from glitter sticker paper for a fancy touch.
How to use your cookies
Now you’ve got some finished cookies, there are loads of ways to use them. Here’s a few ideas:
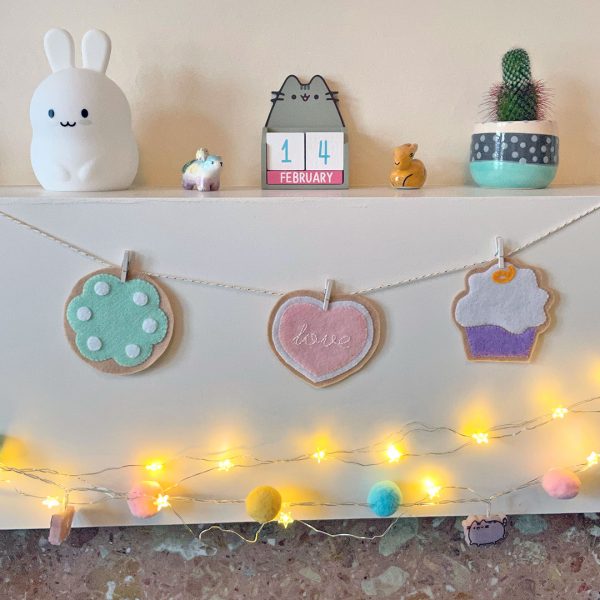
- Sew or tape a long piece of string to the back – or use small pegs – to create a garland
- Glue or attach to folded card to make a Valentine card
- Sew or tape a loop of string on the back for a hanging decoration
- Use as place cards for the dinner table
- Make them in mini size and sew a brooch pin on the back
I hope you’ll try this out. If you do, we’d love to see your cookies – tag @sckawaii on Instagram.
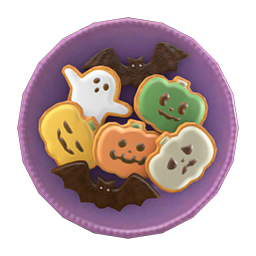
Annnnddd… there’s a similar set of Spooky Cookies that will be unlocked at Halloween (or if you time travel)! I love them and definitely want to make some. I will do my best to share a new template nearer the time.
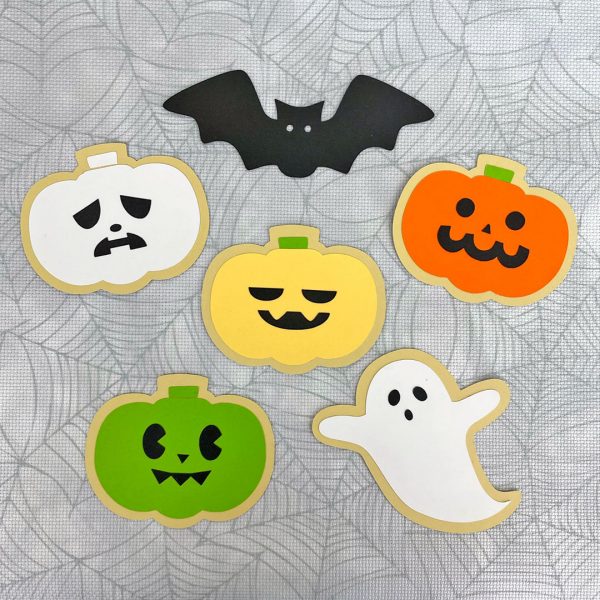
UPDATE: …and I did! Here’s my Animal Crossing Spooky Cookies Halloween Garland Tutorial.
This tutorial and the template were created by Marceline for Super Cute Kawaii and the images, instructions and PDF may not be reposted without credit and permission. Animal Crossing is owned by Nintendo and items made using this template should not be sold for profit.




Leave a Reply