
It’s another edition of SCK Tries where we try out a DIY to see how it works in real life and whether we’d recommend you give it a go. This time I’m trying to make a Pusheen plush!
The Original DIY
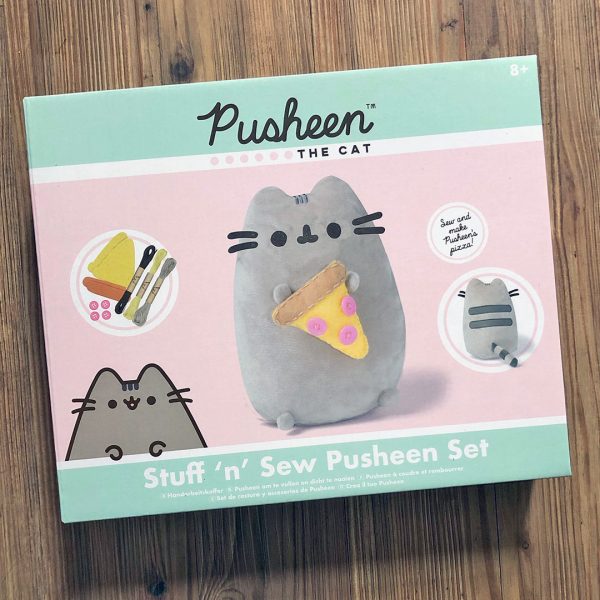
I spotted a new set of Pusheen craft kits recently and really wanted to try the Grow Your Own Pizza Garden kit, but I also picked up this Stuff ‘N’ Sew Plush Kit since they were all half price. I’m not sure if I will write about the pizza garden as it will likely be sold out by the time the herbs are fully grown – I’ve been sharing progress on our Instagram Stories though.
Materials & Process
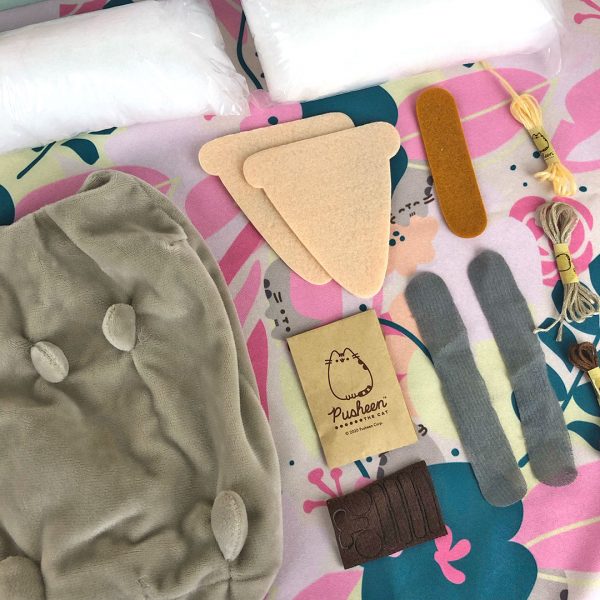
I wasn’t really paying attention when I bought the plush kit and had thought it was all made of felt but you actually get a plush skin, much like the Noodoll Ricemonster kit I made recently. It’s missing Pusheen’s face, whiskers and stripes so that’s where you come in. The kit technically comes with everything you need – fabric pieces, thread, needle and felt pieces and buttons for a little pizza – but the thread colours didn’t match the pieces very well so I ended up raiding my own stash. The needle was also too blunt for my liking so I used my own.
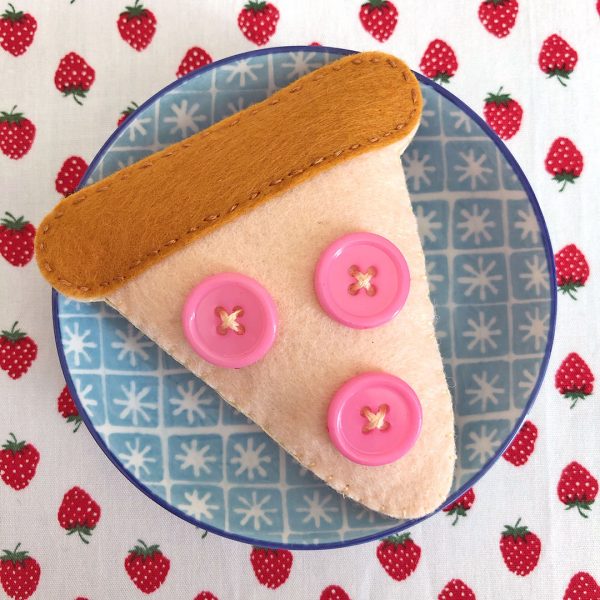
I started with the pizza and soon discovered this is not a high quality kit. Firstly, the pizza pieces are different colours to those shown on the box, and not very pizza-like. The kit is also clearly aimed at kids and beginners and yet the instruction sheet barely explains anything, not even how to sew on a button. I stitched on the crusts as directed and then discovered the 2 sides were not symmetrical and had to pick one off and re-stitch on the other side – arrrgh! I used a blanket stitch to join the pizza for a neater finish and hold in the stuffing better.
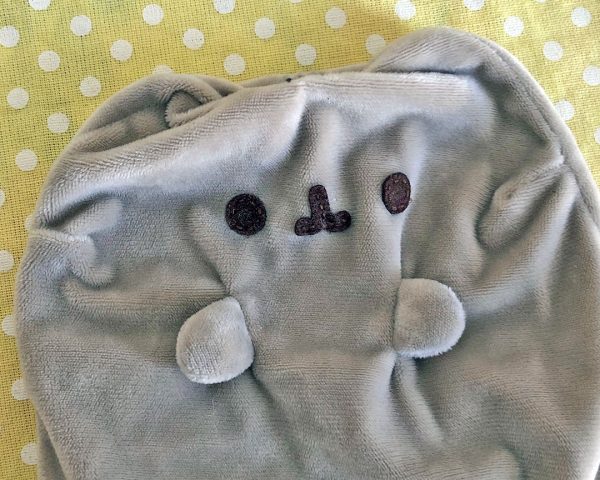
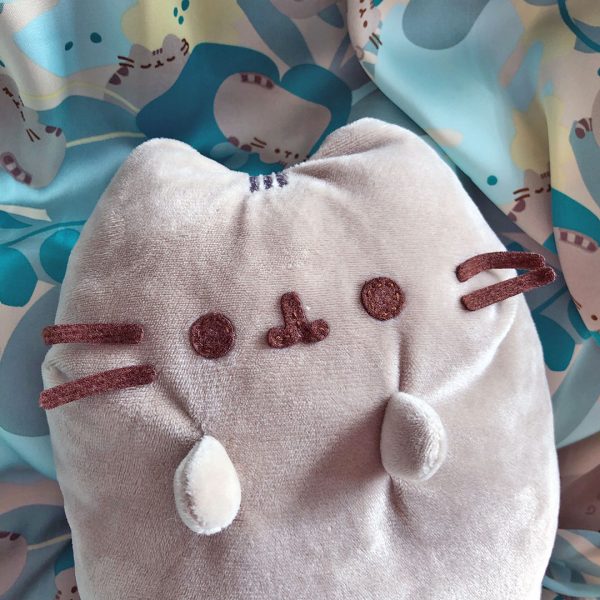
Then on to Pusheen! I’m really glad I made the Ricemonster kit previously as that helped me plan things and I used a dot of fabric glue to keep the face in place before stitching on. There’s only a tiny hole in the plush seam so it was really tricky to do this neatly without accidentally stitching through something else. I left the the whiskers until later as I knew it would be impossible to place them correctly while it was unstuffed.
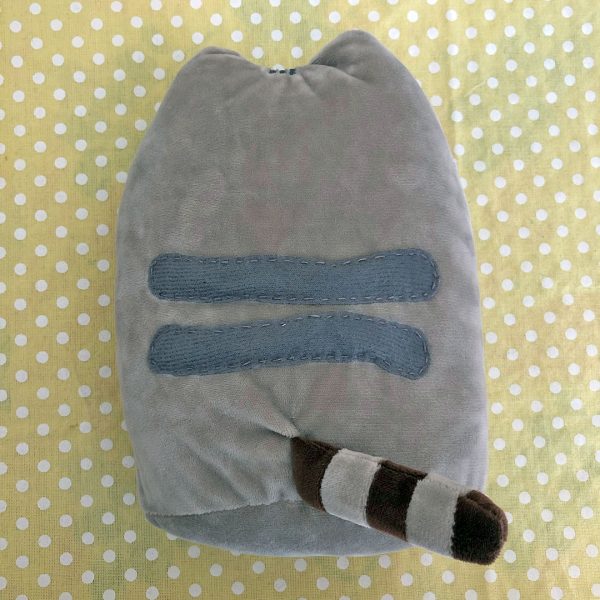
The stripes on the back were a total nightmare using a super thin stretchy fabric that would not stay flat. The first one went on very wobbly but I didn’t think it would survive an unpicking so I had to leave it. I used lots more pins for the second one and that was a bit neater but not much. I could have removed them and made new ones from felt but I was sick of stitching through a tiny hole. So I gave up and stuffed it, gluing on the whiskers at the end.
The End Result
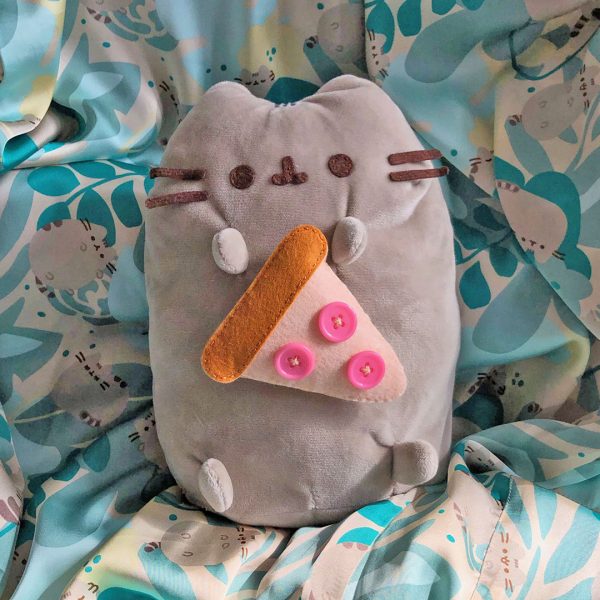
Here’s my finished plush! It actually looks very cute and would easily pass for a shop-bought toy – as long as you don’t look at the back! The fabric is soft and there’s just enough stuffing to make her squishy and cuddly. She stands up well on her own but can’t hold the pizza so I pinned it on for these photos. Are you supposed to sew it on? Who knows! The pizza itself is cute too and could be turned into a keyring if you don’t want to use it with the plush.
I don’t think I would recommend this kit unless you’re in the tiny group of experienced sewists who like fiddly yet unchallenging projects! You could have some fun customising it though. Beginners would have a really tough time and would likely be disappointed with the results. You’d be better off trying one of the sock plush DIYs on Youtube. Since I bought it on sale for £7.50 it doesn’t feel like a total rip off but I wouldn’t advise buying it at full price.
What do you think? Would you still like to try this?


Leave a Reply