
Last winter, I was a little bit obsessed with making pom poms and created a cute pom pom snowman for Nicolette. This year, I’ve made another one so I can share the tutorial with you.
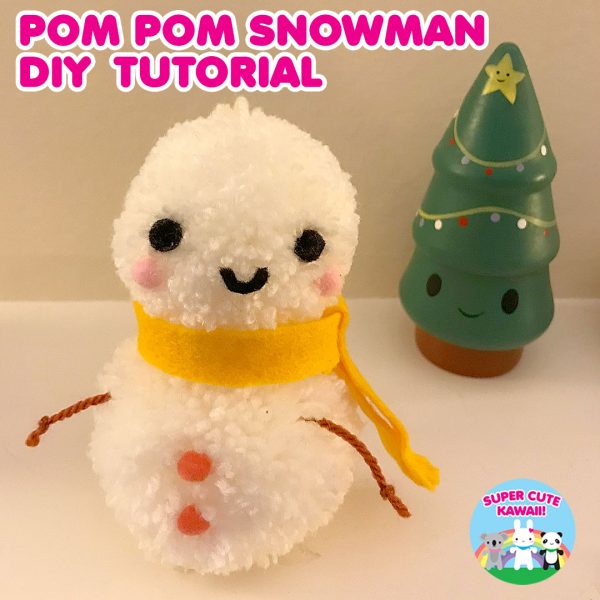
Pom poms are really easy to make and you can use them for so many crafts and decorations. If you’ve had trouble making pom poms in the past, the new pom pom makers are so much better and trimming turns even the ugliest looking pom pom into a beauty.
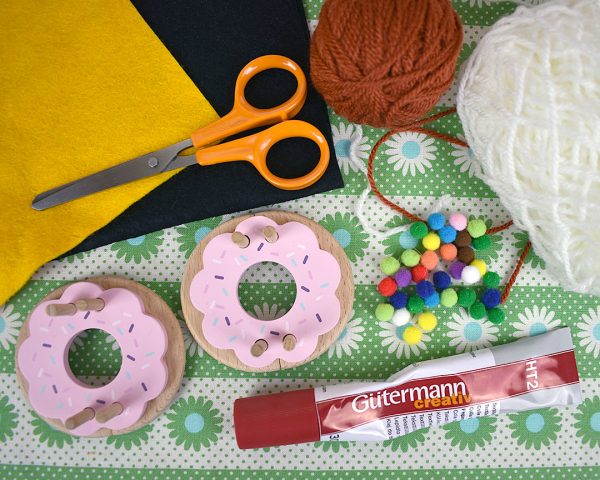
What you’ll need:
- Pom pom maker (see note below)
- Ball of white yarn
- Small amount of brown yarn
- Black felt + a colour/pattern of your choice
- Mini felt balls (similar to these)
- Long tapestry or sashiko needle & thread
- Glue gun or fabric glue
- Small sharp scissors
I’m using a wooden donut from Pom Maker, which I love, but you can also use plastic Clover brand makers (UK / USA) or make templates from card.
Make your pom poms
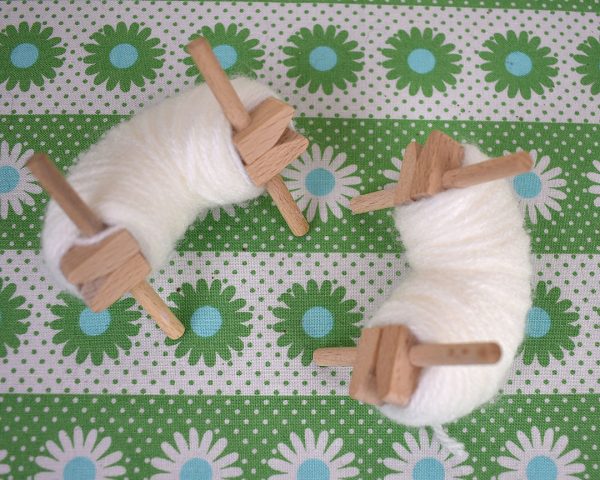
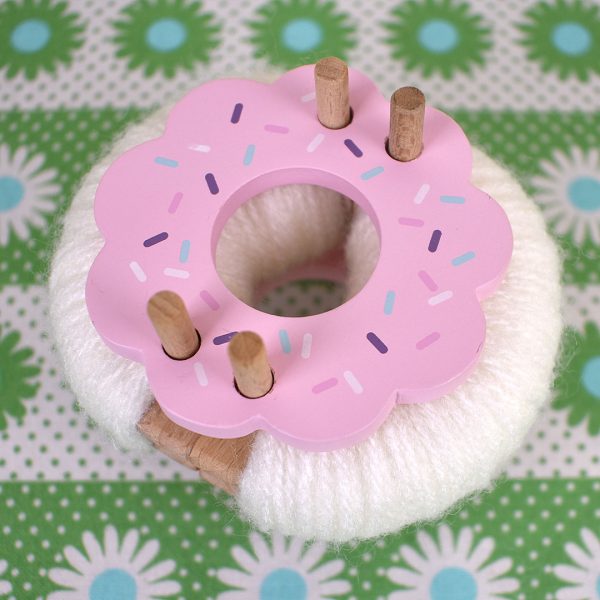
Follow the instructions on your pom pom maker, to make two white pom poms – here’s Pom Maker’s tutorial.
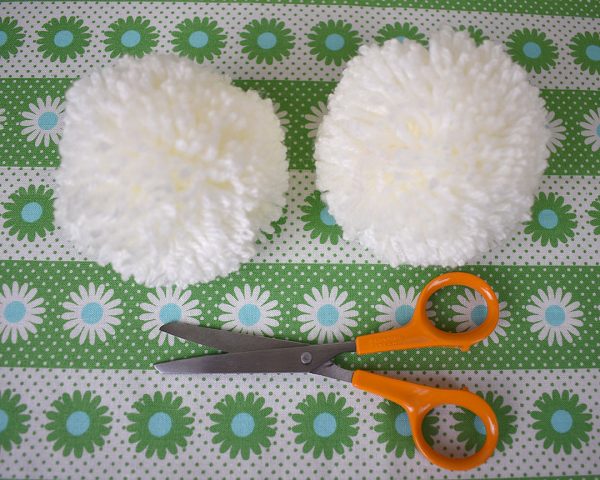
The size will depend on your pom pom maker and the yarn thickness but it doesn’t matter too much.
Trim your pom poms
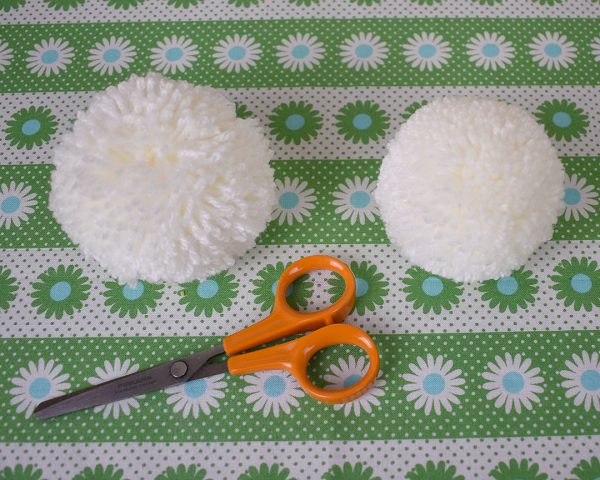
This is a really important step to turn your messy pom poms into perfect balls. Trim all over with your scissors, cutting off small amounts of yarn. Take your time and keep turning the pom pom and fluffing it up until you get a nice neat round shape. I recommend cutting over some folded paper or an empty box as the yarn fluff can get everywhere, but you can reuse it as fake snow.
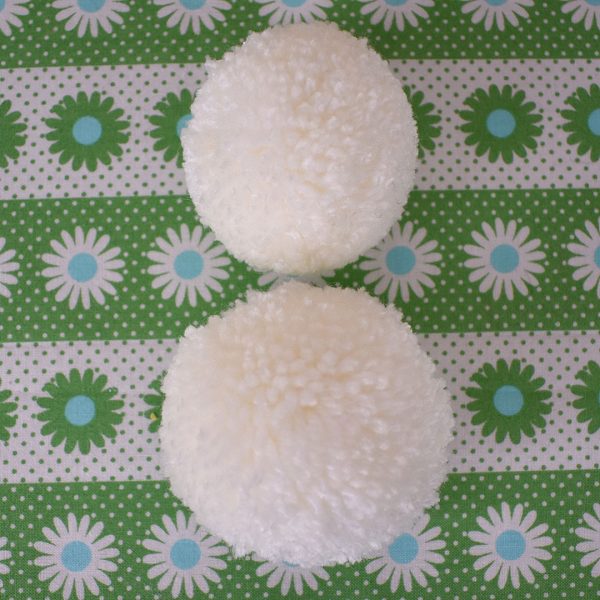
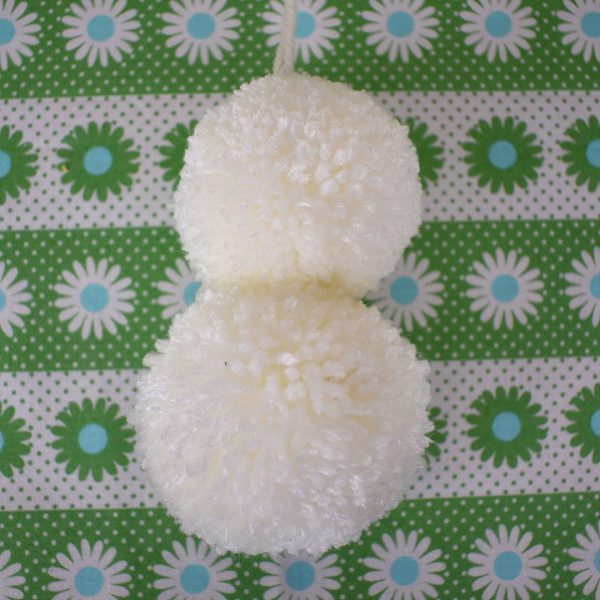
Trim more off your second pom pom so one is smaller than the other and you should have something that looks like a snowman already.
Join together
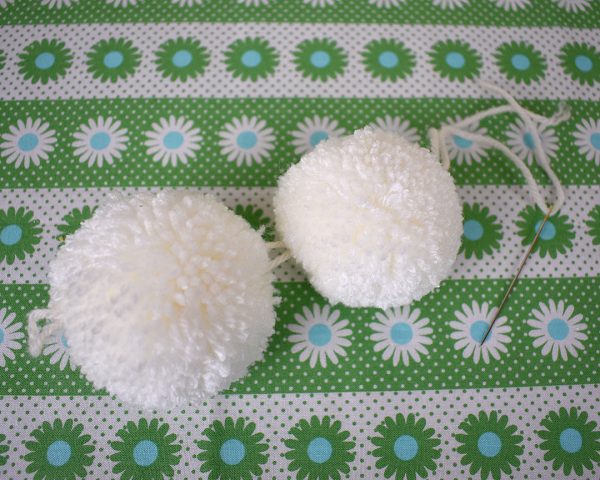
Join your pom poms together with a long piece of yarn or thread. You want to start at the top of the smaller pom pom and push the needle through from top to bottom. Then push it through the larger body to join them. Push the needle back through both pom poms so both ends of thread are sticking out of the top of the head.
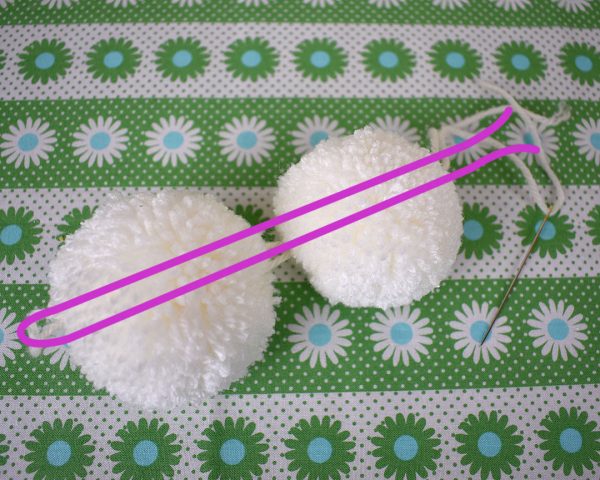
I’ve drawn an exaggerated version here so you can see more clearly. Try to keep the two strands a bit closer together in reality.
Tie in a double knot, not too tightly. Leave the loose ends for now.
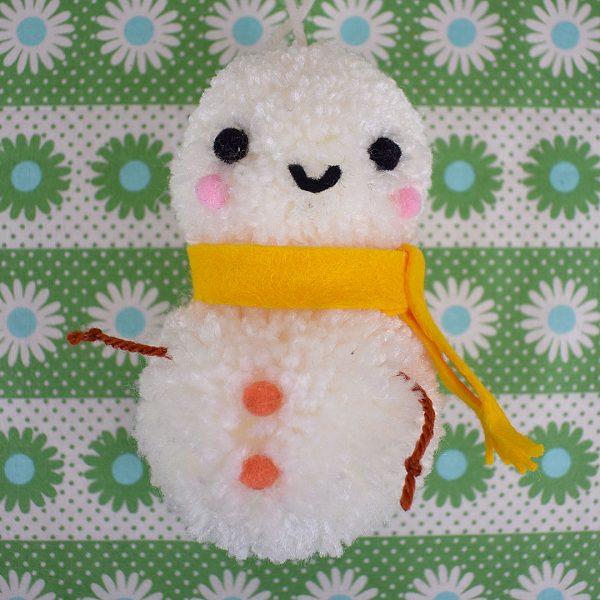
Make a face
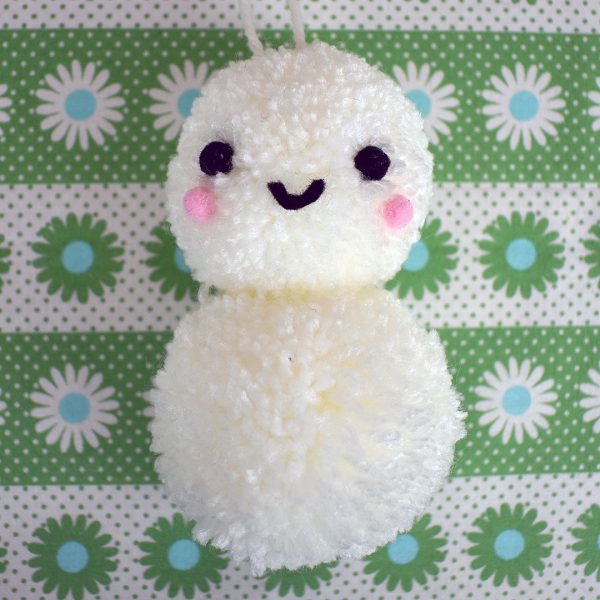
Lay out a face on the smaller pom pom. I cut a mouth from black felt and used mini felt balls for the coal eyes and pink cheeks. Once you’re happy with the placement, glue them on. For the felt balls, make a little gap in the pom pom strands and push the ball down inside so it will stay firmly attached.
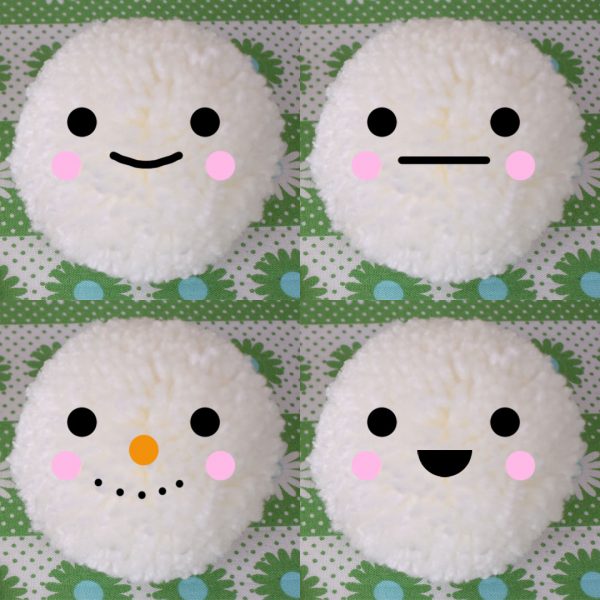
Here’s some more ideas for faces.
Decorate the body
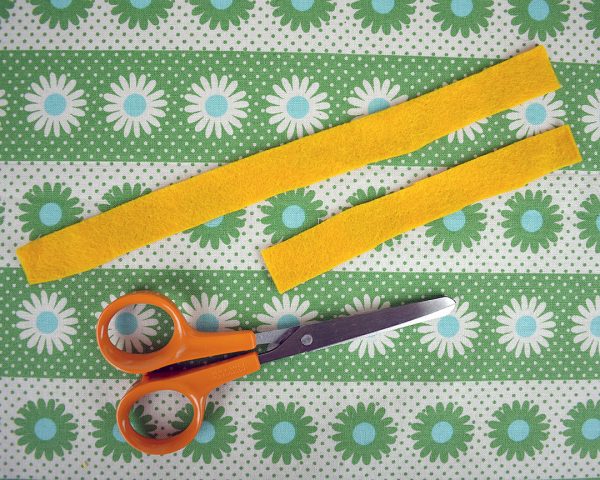
Cut 2 rectangles from your coloured felt making sure one is long enough to go all the way around your pom poms.
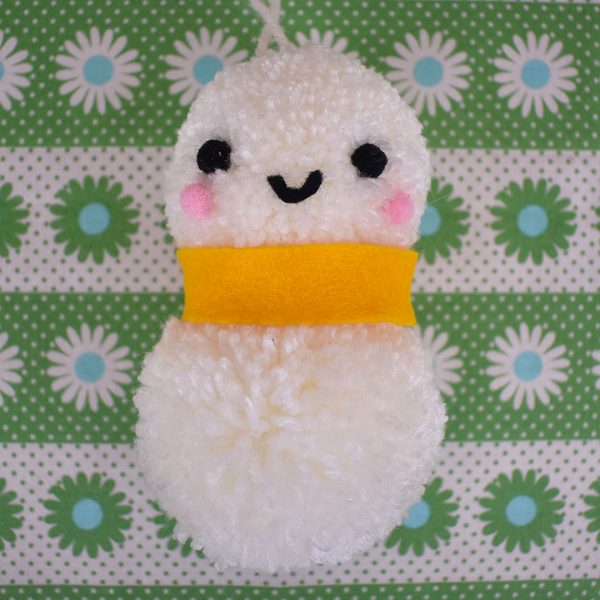
Wrap the longer one around the neck, not too tightly. Trim to size leaving a small overlap and glue together. If it looks a bit too wide, you can trim around before or after gluing.
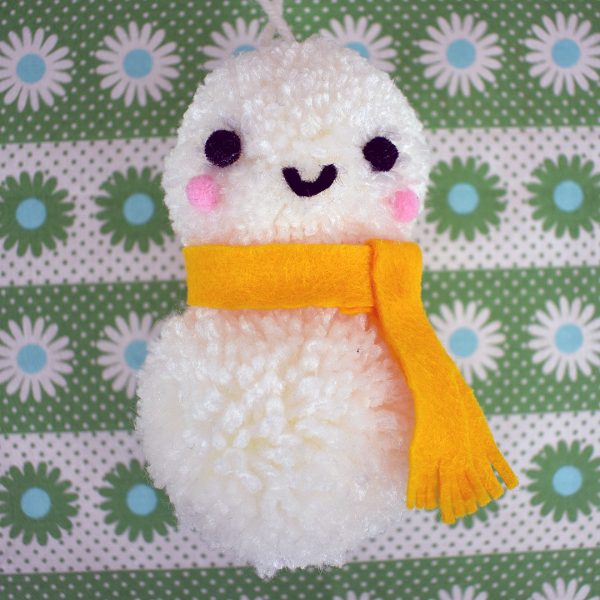
Fold the other piece over the join and trim to size, making small cuts at the bottom for a fringe. Glue at the top join to attach.
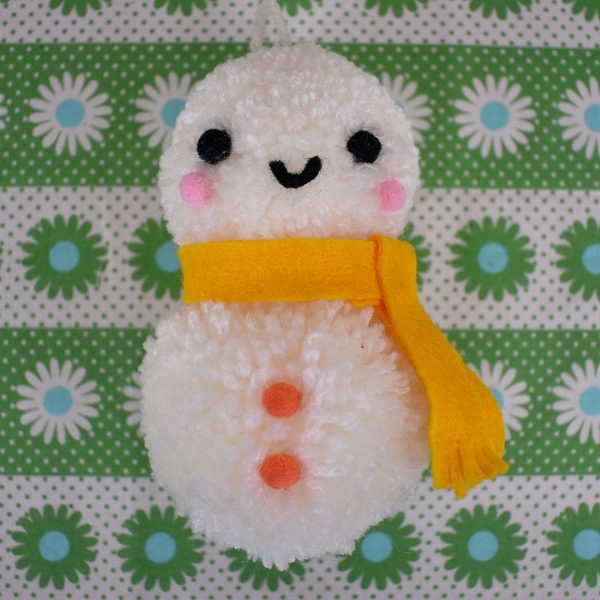
Take 2 or 3 coloured felt balls and arrange as buttons. Glue on as before.
Add arms
My favourite touch! Thread your needle with brown yarn and push through the body from the side. Remove the needle and tie a knot in one end. I like to tie two knots close together and then another that catches both so you get a big knot. Cut to size and knot the other end.
Finish your pom pom snowman
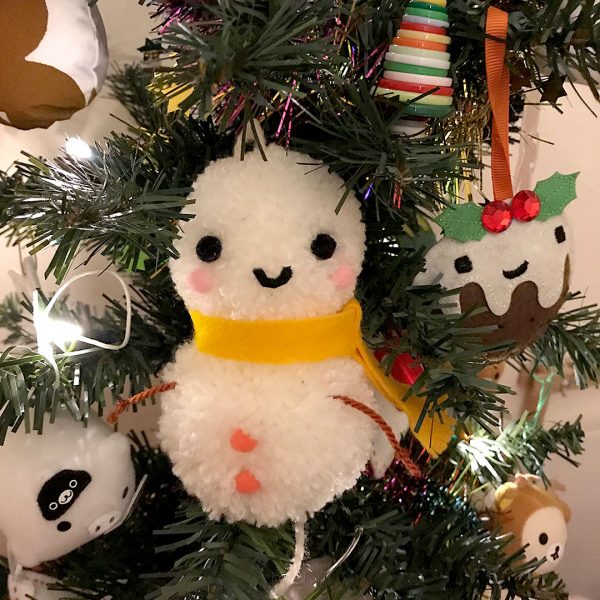
You can now hang up your snowman using the loose ends on top, or tie on a split ring or lobster clasp for a bag charm.
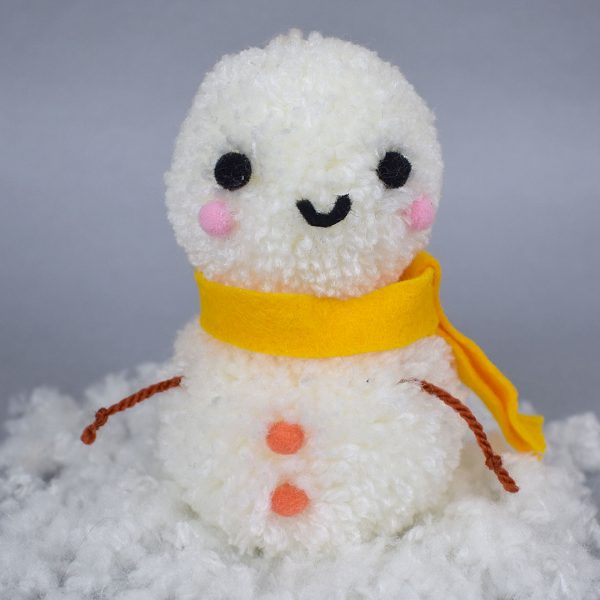
Or cut off the ends entirely and use as a standing decoration. Fun in the fake snow!
We’ll have more SCK Original DIYs coming up before Christmas and you can also check out our Christmas Crafts section for more ideas. Tag @sckawaii on social media if you make something!
This tutorial was created by Marceline for Super Cute Kawaii and the images and instructions may not be reposted without credit and permission. Thank you for respecting the rights of artists and makers.


Leave a Reply