
We’ve been working with Robotime for a while now to try out their miniature kits and this time I’ve taken on an extra-big challenge with the new Oxygen Oasis glasshouse.
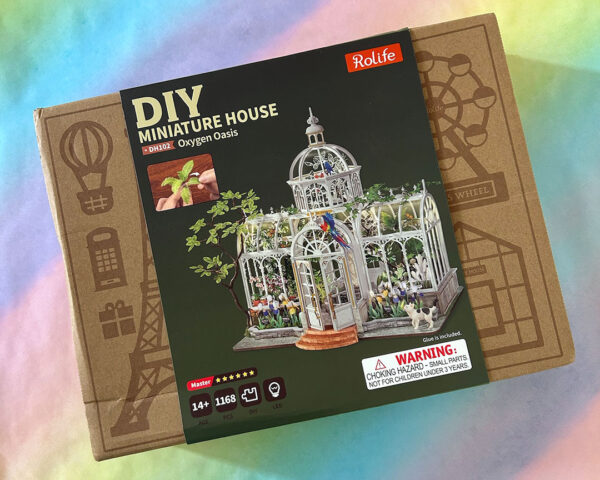
I was offered this kit well before release and was a bit shocked when it arrived and turned out to be 6 star Master level difficulty! To put that in perspective, the Book Nook I made earlier this year was 3 stars and the Christmas Dream Gift Factory (that I made my dad build for me) was 5 stars. I do like a challenge though, so I hoped for the best.
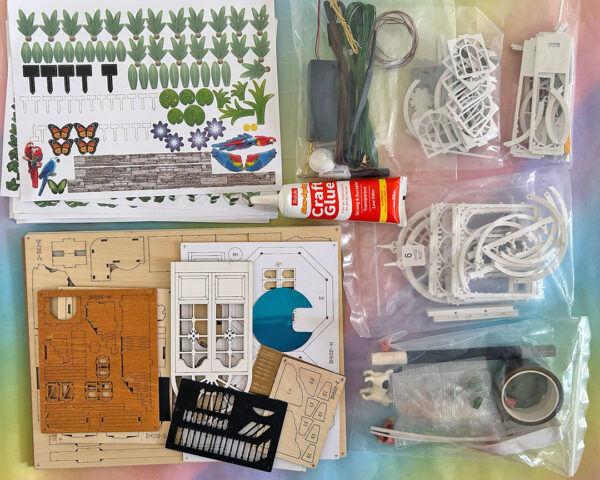
The contents look similar to previous kits with various pieces made from wood, card, paper and plastic, plus wire, crepe tape, and wooly greenery. You also get a bag of tools and supplies including electric lights, screwdriver, tweezers and double-sided tape strips, plus a big tube of craft glue and a paint marker. Not included are scissors, craft knife, ruler and 2 AAA batteries.
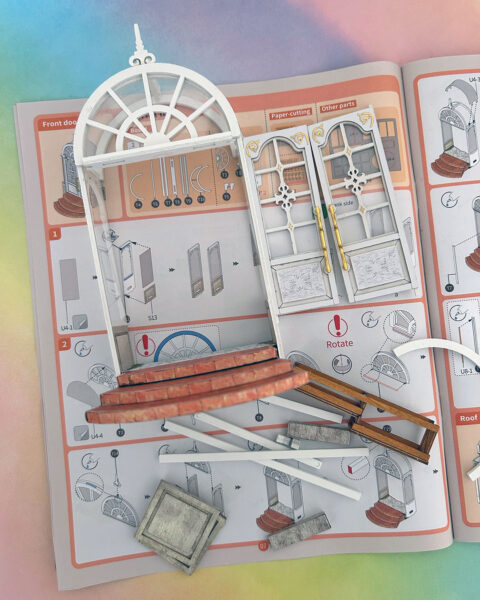
As always, there’s a full colour English instruction booklet with diagrams of each step, and I very quickly realised what makes the difficulty level so high. It’s not that any individual step is difficult but there’s none of the shortcuts you get in easier kits. Rather than clicking together some printed pieces and maybe adding stickers on top, everything is joined with glue and needs to be decorated with paper that you sometimes have to cut out yourself. You really need to pay attention to make sure you’re gluing the correct pieces together in the correct way as there’s no going back.
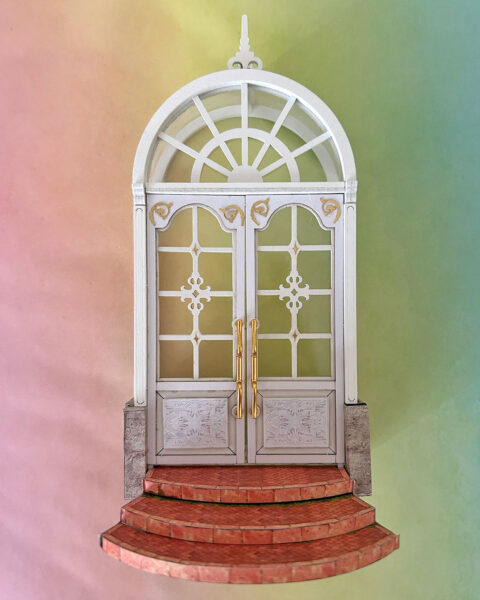
For example, the terracotta steps above are 3 separate wood pieces, each with printed paper glued on the top and sides and then glued together. The glue is slow drying and not very thick so you need to wait for things to dry (ideally overnight) before moving on. If you followed the instructions exactly, you would only be able to do a few minutes of work per day so it’s best to work on multiple sections at the same time, and then leave them all to dry overnight.
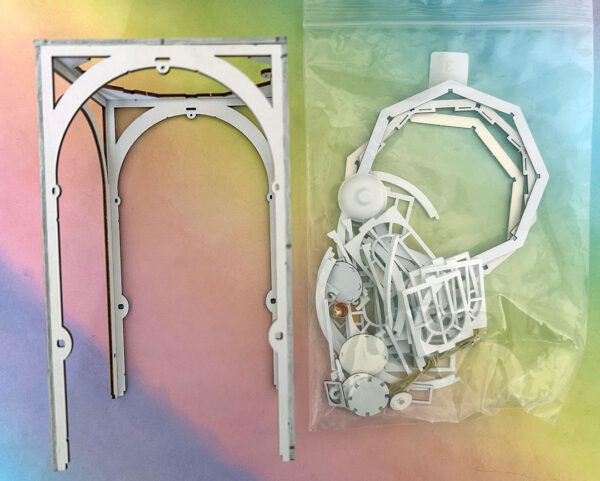
That means you need to be very organised and I found it helpful to put all the pieces for each section in a bag so I didn’t get too confused, though with smaller printed paper pieces later, they can look quite similar, so it’s better to leave them on the sheet until you need them. The paint marker turned out to be for painting the edges of the white wood pieces – it takes a lot of coats to get even close to white, but it makes a difference from a distance – as you’ll see in the final photos.
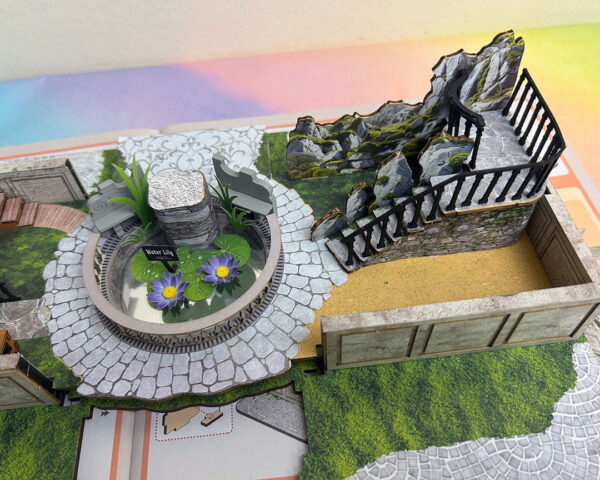
The base garden area was the easiest section to build as most of the pieces click together. There’s still a lot of gluing though, and the railings were my first sign that the glue might not be up to the job. They’re a thin flexible card and I had to hold it in place for minutes until the glue dried enough to keep it mostly upright and then keep adjusting it until it set more firmly. The lily pond is really lovely though, with a mirror at the bottom.
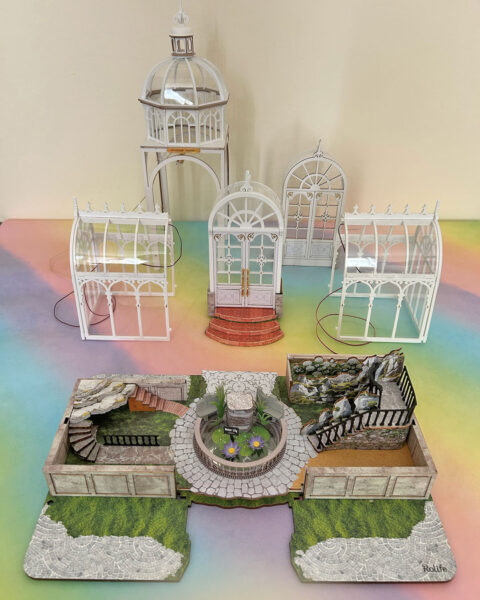
The glasshouse is a mix of wooden pieces to glue together and plastic pieces that click together, plus a lot of clear plastic windows. The dome took maybe 4 or 5 days altogether, waiting for each level to dry before building upwards. You can also see the cables for lighting – there’s a bulb in the dome and strips along the two wings. It all looked really impressive at this point and I felt pretty proud of myself. The next section was to make all the plants to put inside.
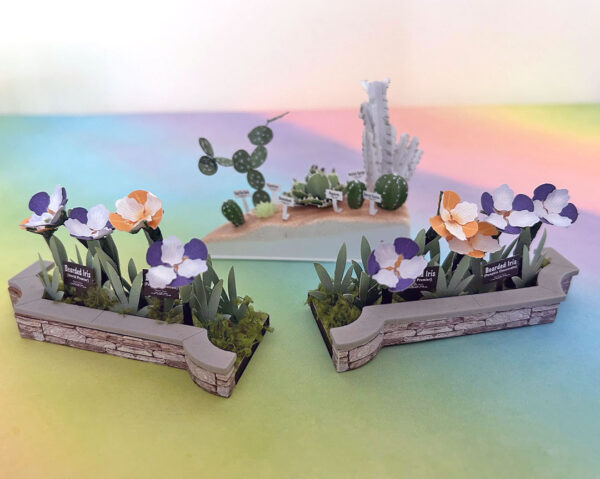
When I review a craft kit, I try to follow the instructions exactly but this turned out to be impossible with the flowers and plants. Trying to glue tiny petals individually on to thin curved pieces of wire just didn’t work – the glue was too runny and would drip off the wire and also saturate the paper so that they would prefer to stick to your fingers or the tweezers instead. I ended up changing the design to something that would hold together so sadly they look nothing like irises.
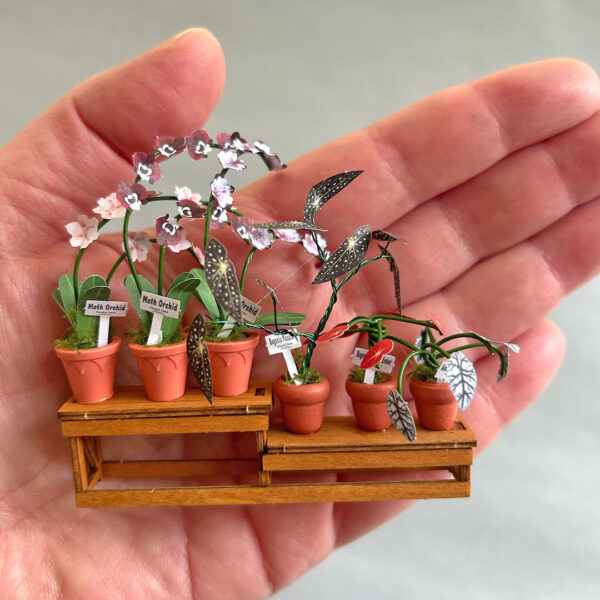
When I turned to the plant pots, there was no alternative but to switch to a different glue – my faithful Gutermann textile glue, which is thicker and faster-drying and worked perfectly. I could add a little dab to each flower/leaf and they’d usually stay attached to the wire first try. I wish I had switched earlier for the irises too. You also add little tufts of moss into each pot and a paper sign so it’s quite fiddly and you definitely need the tweezers. I started using the empty plastic bags as a base to glue on as it stops things getting stuck together and then you can move the whole thing to dry.
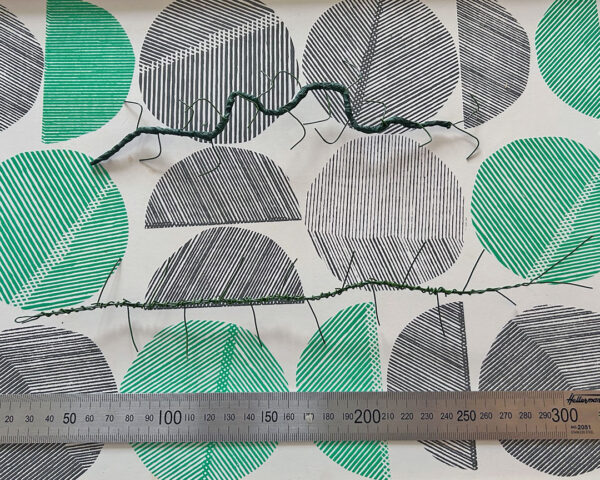
This is not the best photo but shows how all the plants are built. You twist pieces of wire together following a diagram (not printed to scale, so you need a ruler too), cover the main stem in crepe tape and then bend into the correct shape. Then you glue paper leaves on to each branch. I strongly recommend using jewellery pliers if you don’t want bruised fingers as it’s a lot of wire and it needs to be twisted firmly together and the edges can be sharp. At least you don’t need to be too perfect as it all gets covered up with the crepe tape and leaves.

Here’s what those two looked like when finished. The butterfly is a cute little touch. While the instructions give you a basic guide for where to place the leaves, flowers etc. you have a a bit of freedom to arrange them however you think looks best.

There are also 2 big trees made in the same way, with 3 leaves on the end of each branch. I think this whole plants section is the key as to whether you would enjoy this kit or not! No step is difficult but it is complicated and requires a lot of concentration. You can’t really watch a movie while working on it.
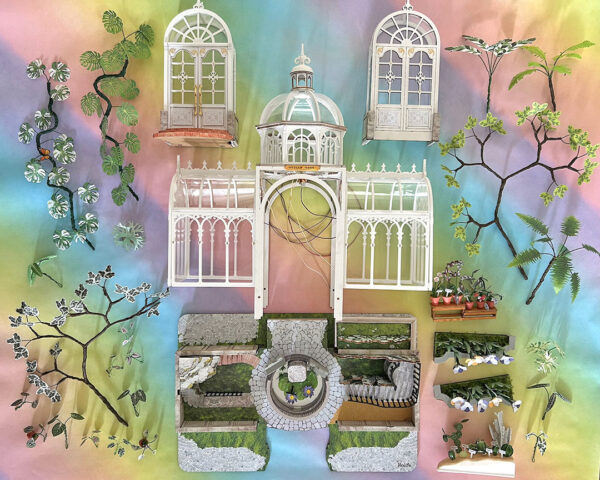
A huge moment when everything was complete and assembly could begin! There were a few times when I had to stop out of frustration and thought I would never reach this point but I would always pick it up again the next day.

You might think I was almost finished but it took another 5 days to assemble everything. All the plants I made are arranged on 2 wooden bases and then glued into place in the back of the garden. I was a little miffed that I spent so long adding all the tiny signs to the left base and they’re completely hidden! There’s also a statue for the lily pond that brings it all together.
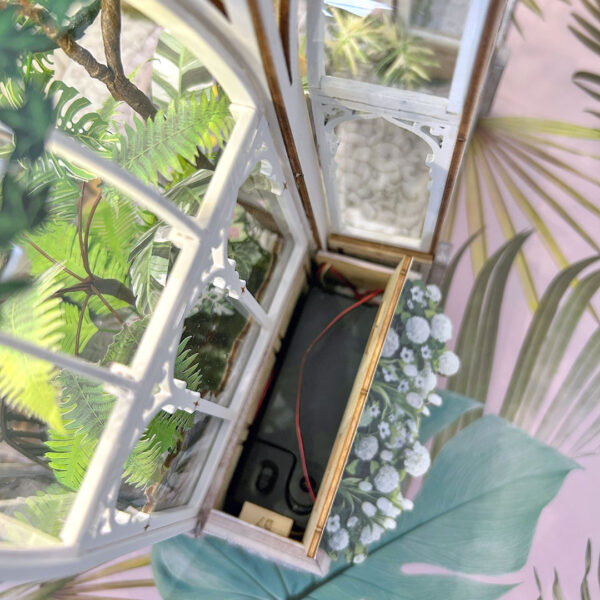
Placing the glasshouse on top took multiple tries as it’s a tight fit and you have to keep adjusting the plants to make sure everything is inside and the tree twists up nicely inside the dome. I forgot to photograph the electrics but the wires are all run neatly inside the dome, threaded out the back and into a battery pack, cleverly hidden inside a flower box outside. You just flip it open to switch on and off. I was very relieved the lights worked first time and it makes a huge difference.
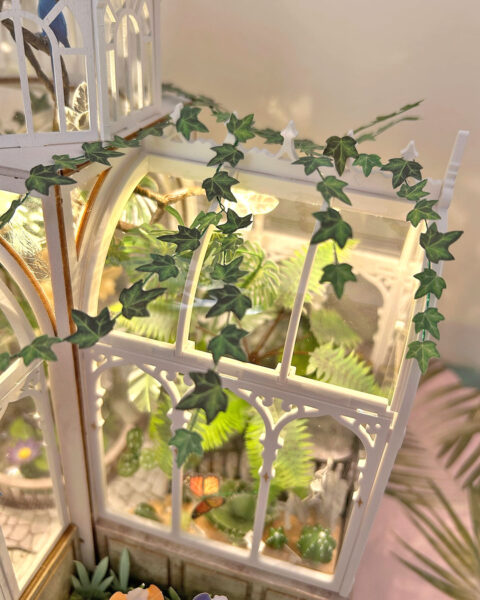
If you thought I was done building plants, there was still one to make – some climbing ivy to decorate the roof. Again, you’re given a guide to how to arrange it but you can twist the wires into whatever shapes look most appealing – or to cover any messy bits. One of the big trees is also placed outside and the final touches are a few parrots and butterflies, plus a plastic cat!
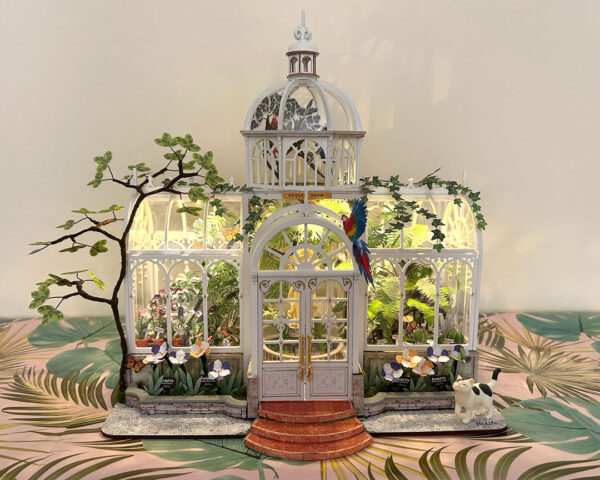
Here’s the finished glasshouse! I’m so impressed with myself for finishing this and for making something that looks like the box image (except for my weird irises). It was definitely a huge challenge and required a lot of patience, concentration and stubbornness. I can really only recommend this kit to someone who has some experience with these kind of kits and is confident in their own skills to know when to follow the instructions exactly and when a bit of improvisation is needed. If you’re looking for a relaxing project, or need a lot of hand-holding, try something easier!
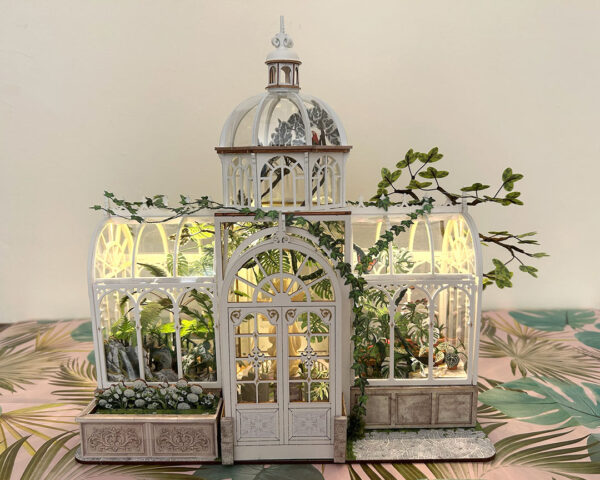
And the back view. It looks good from every angle, thanks to the ivy and all the plants inside. As an avid visitor of botanic gardens and glasshouses, it feels very realistic. It’s maybe not ideal for display though as it’s quite fragile and the leaves make it difficult to dust. A display case or shelves would be the best option. I have no idea where I’m going to put mine.
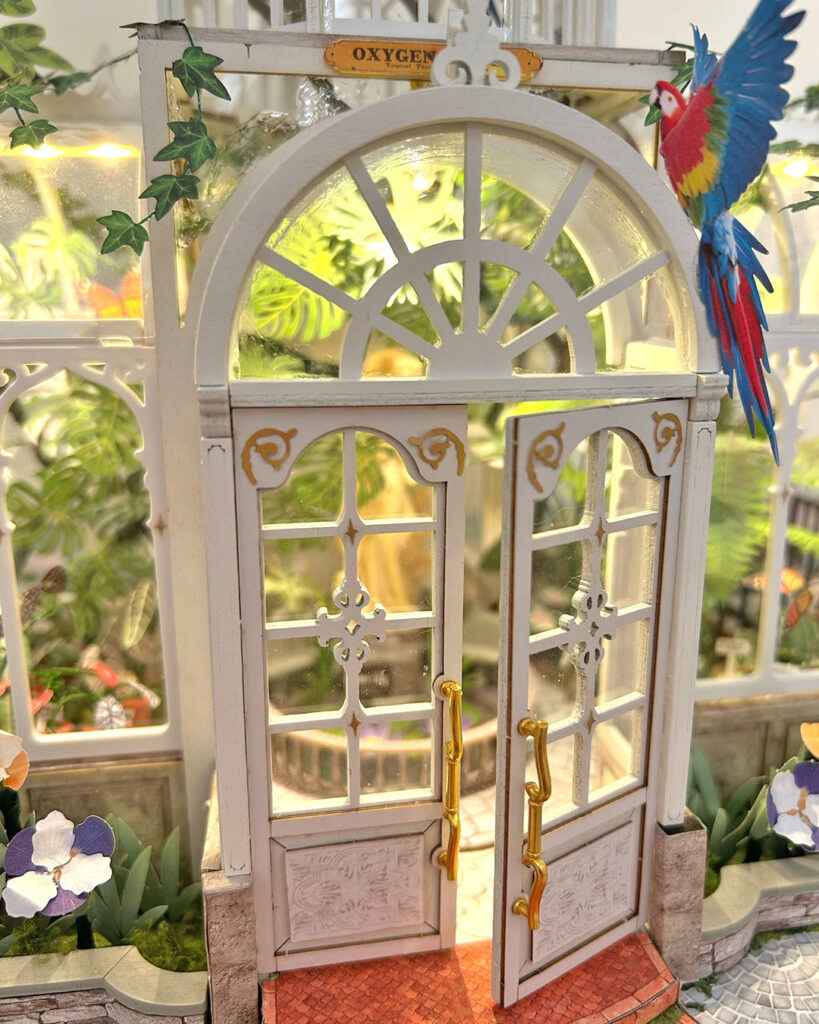
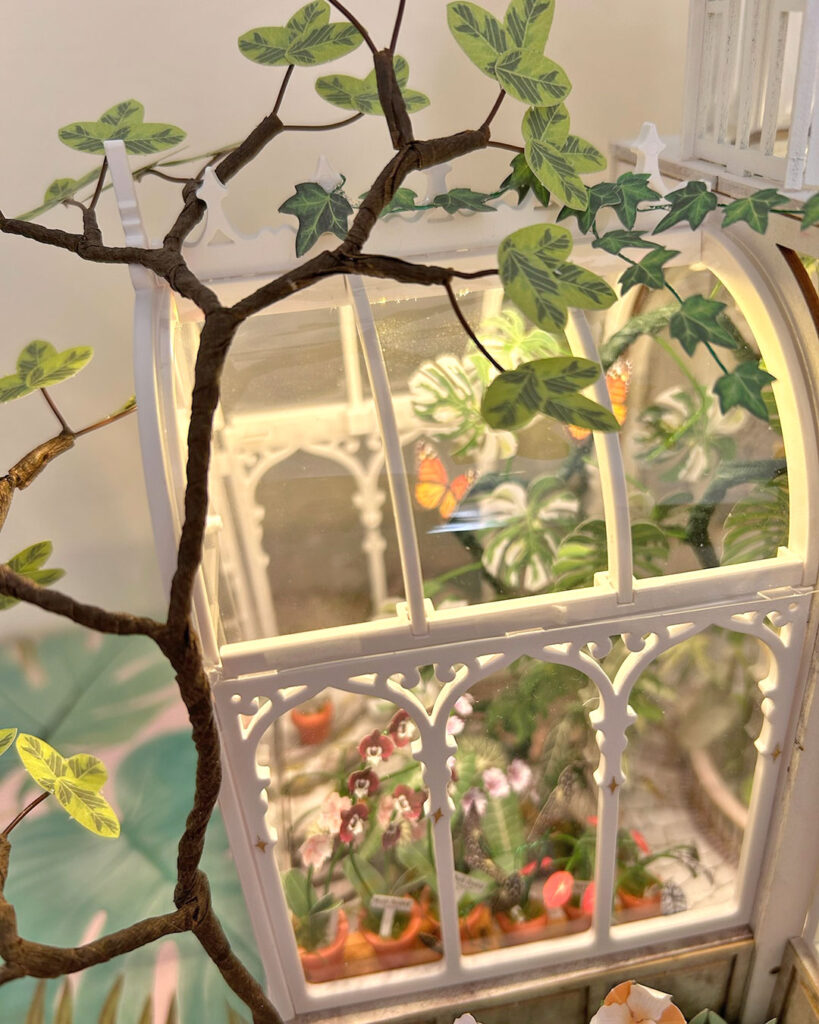
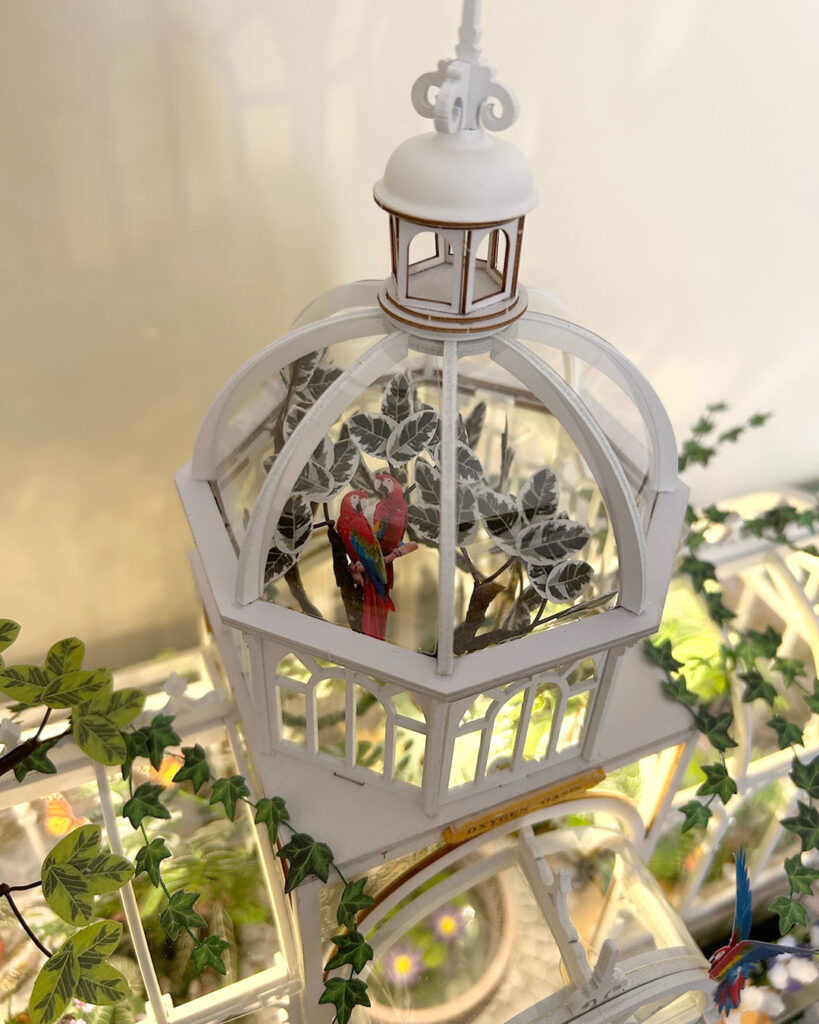
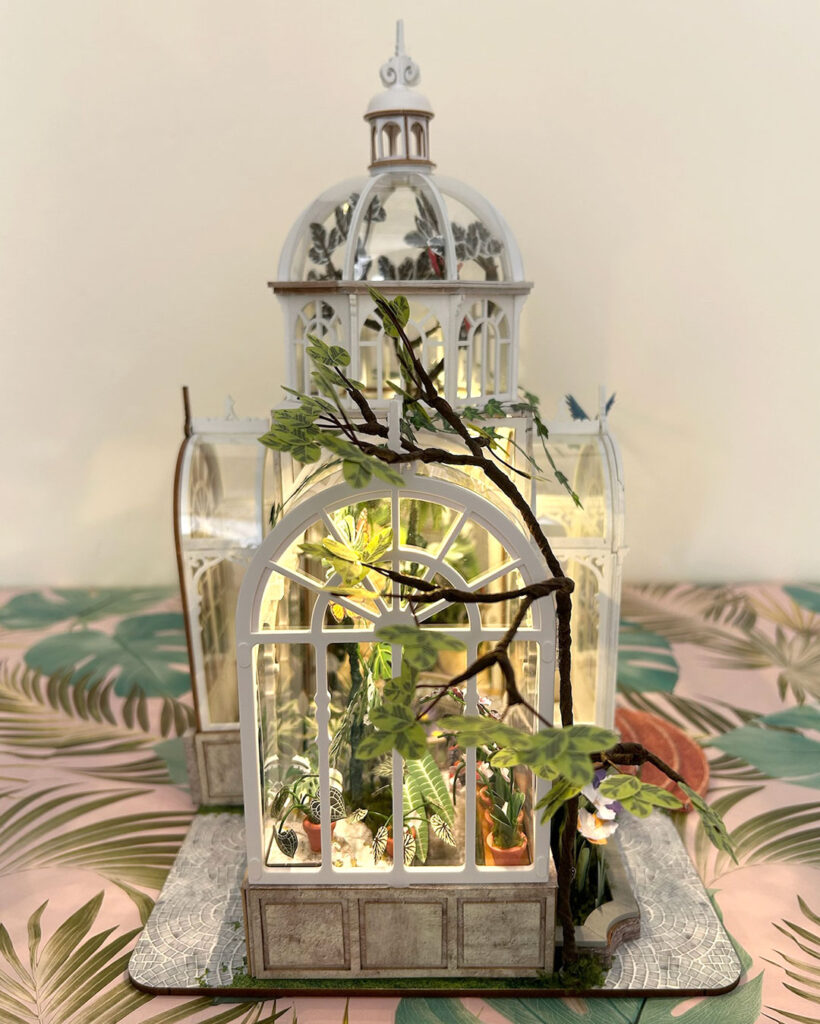
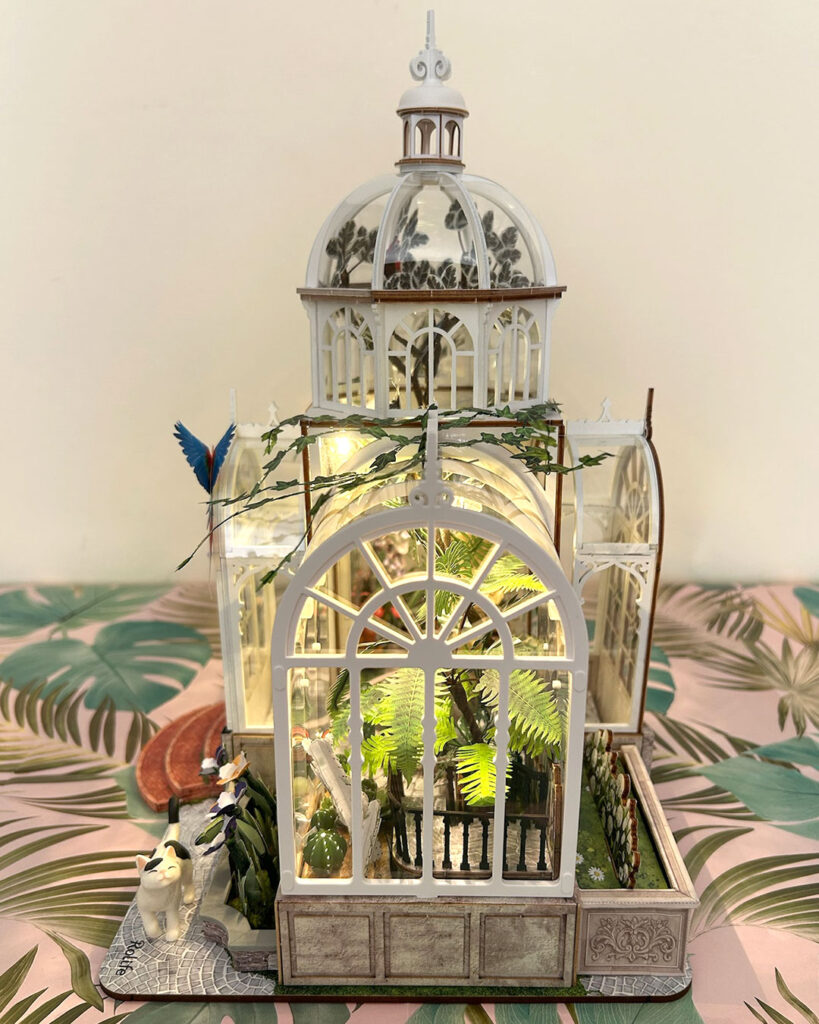
Click/swipe though the slideshow to see some details. I mostly had to glue the front doors together for stability but you can crack one open a bit.
The Oxygen Oasis kit is available to to preorder now for shipping later in August. It’s priced at £47.99/$56.99, which feels like really good value, considering how many hours it will take to complete. If you’d prefer something easier or more kawaii, there’s lots of fun new releases including more Super Creator rooms & shops and a Moomin collab series. SCK readers get 10% off any order from the Robotime online shop with the code supercutekawaii.
Which kits would you like us to try next?
(Kit was provided by Robotime for review but all words, photographs and opinions are my own.)












Leave a Reply