
It’s another edition of SCK Tries where we try out a DIY to see how it works in real life and whether we’d recommend you give it a go. This time I’m trying Noodoll’s new DIY plush kit.
The Original DIY
We’re big fans of Noodoll’s cute characters and during lockdown they came up with the fun idea of a Make your own Ricemonster kit! This includes everything you need to create your own unique customised plushie friend at home. Since I love ignoring instructions and doing my own thing, it seemed like a perfect crafty activity for me.
Materials & Process

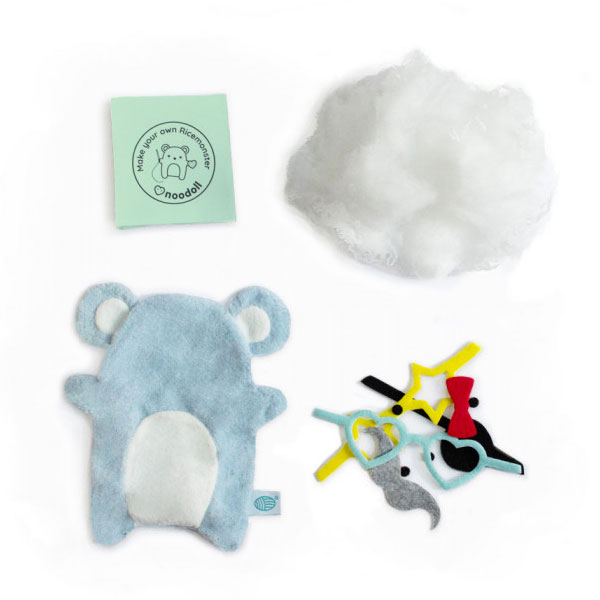
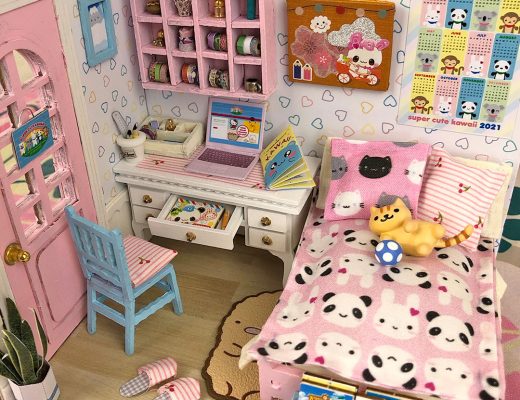
Each kit includes a blank unstuffed Ricemonster plush, some felt accessories, felt scraps, loads of stuffing and a simple instruction booklet, all packed inside a branded mesh bag you can reuse for grocery shopping. All you need is some glue or a needle & thread, plus any extra bits for your own customisation ideas. There’s a few different characters available, but obviously I chose the pink bunny!
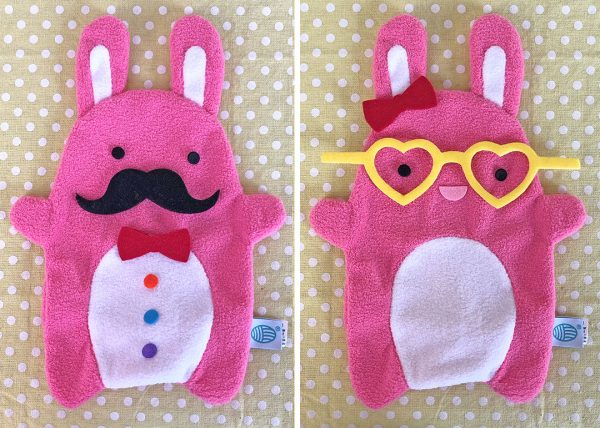
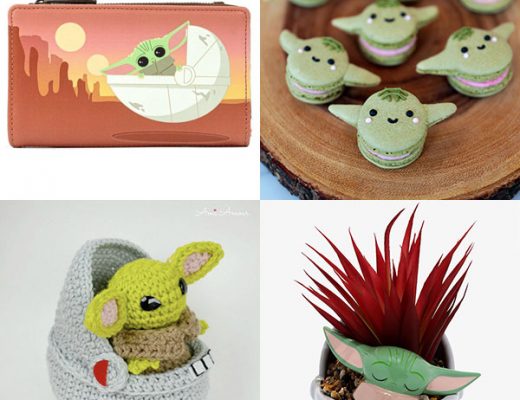
The accessories include things like glasses, eyepatch, bows, moustache, eyes etc. in a thick sturdy felt and it’s fun to try out different combinations. Above are 2 you could make very easily without any extra materials. I had to do something special though and decided that big white tummy was perfect for a rainbow heart design, Care Bears style.
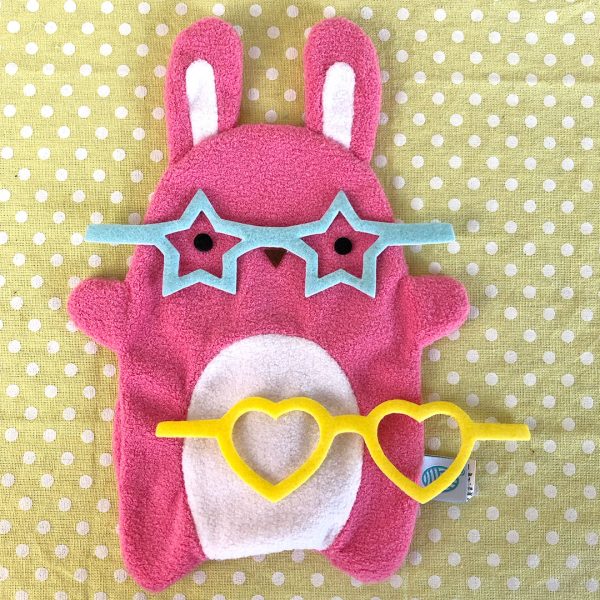
This was my rough plan, using a triangle of brown felt for a nose and the heart glasses as a template. I initially planned to embroider a heart but after doing the mouth I gave that up quickly. There’s only a small gap in the side for the stuffing so getting a needle in there is a bit tricky. The fabric is quite fluffy too so even using all 6 strands of embroidery thread, the stitches can disappear a little.
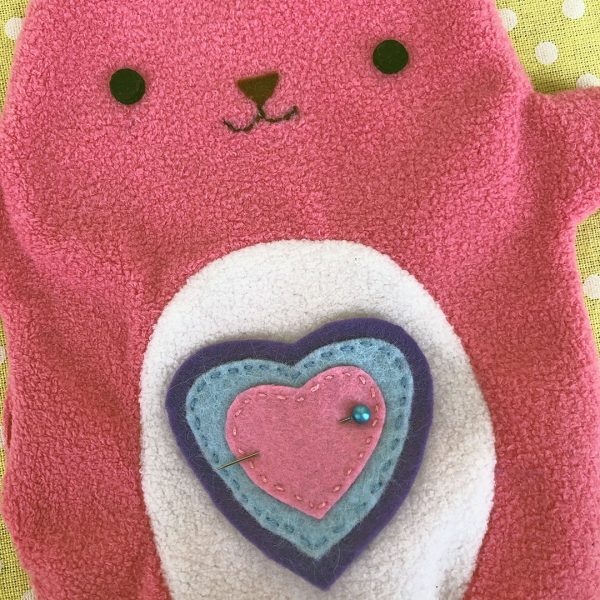
In the end, I made a layered felt heart so I only had to stitch around the outer edge. I also traced the bow shape on to purple felt and sewed a button on top. For the eyes (and glasses later), I used a strong fabric glue (I like Gutermann HT2) which worked perfectly. I then stuffed it with as much filling as I could manage (it will take a lot!), sewed up the gap and added the glasses.
The End Result
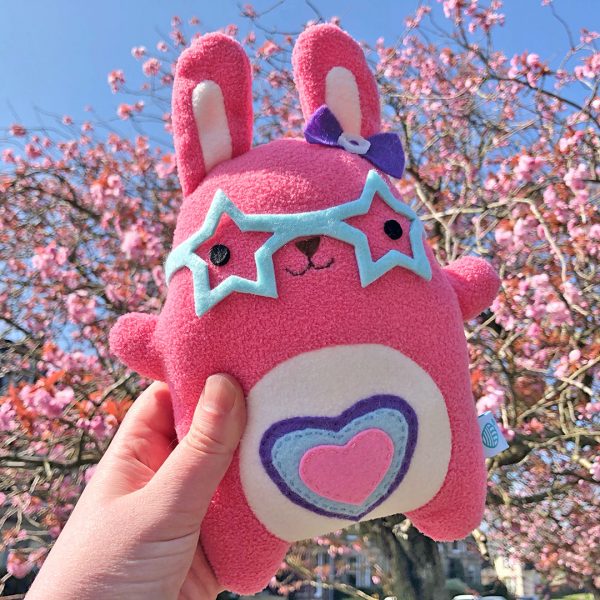
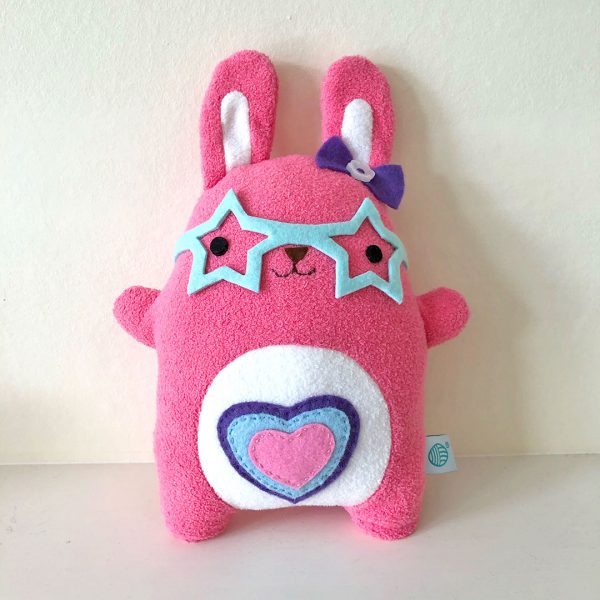
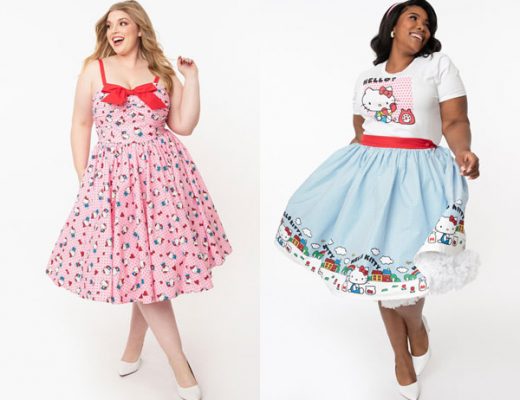
Here’s my finished bunny, Blossom! I think she turned out really cute and I’m very happy with all the matching colours. The face is a little wonky which makes it look more handmade and I love that no-one will have one the same as me.
My only issue was that I didn’t realise how much the shape would change after stuffing. The heart would look better a little higher up and the eyes are no longer centred in the glasses. The instructions say to do all the decorating before stuffing but I would recommend waiting to glue on features so you can place them better. If you’re a real perfectionist and adding sewn features, you probably want to stuff it, mark your decorations and then unstuff.
I’d definitely recommend this kit to anyone looking for an easy quick project. If you just use the included felt + glue, it could be done in less than an hour, and even with my extra additions it only took an afternoon altogether. You can buy the kit exclusively from Noodoll (UK – ships worldwide).
(This is not a sponsored post but SCK has worked with Noodoll previously)
Marceline is the co-founder and editor of Super Cute Kawaii and the author of The Super Cute Book of Kawaii. She lives by the seaside in Scotland in a flat full of kawaii, creating cute character goods as Asking For Trouble, working on endless craft projects and playing Nintendo.
2 Comments
Bekki
May 5, 2021 at 4:08 pmI love her heart tummy. She’s very cute
Lilia
May 5, 2021 at 4:47 pmI really love her I would definitely cuddle up with her in bed!!!