
After buying a couple of miniature pastel green trees for Christmas this year, I decided to collect ornaments to theme them with kawaii pastel items. It’s definitely put me on a hunt for inspiration, and after seeing the adorable Cinnamoroll munyogurumi snowman plush on the Sanrio Japan website, I knew I had to make a small version of the plush as my first ornament!
As a person on the go, I’m all for quick, fun DIYs, and the good news is that this one is super simple and doesn’t require much time or many advanced materials—this makes it ideal as a last-minute project to add to your own tree or give as a gift!
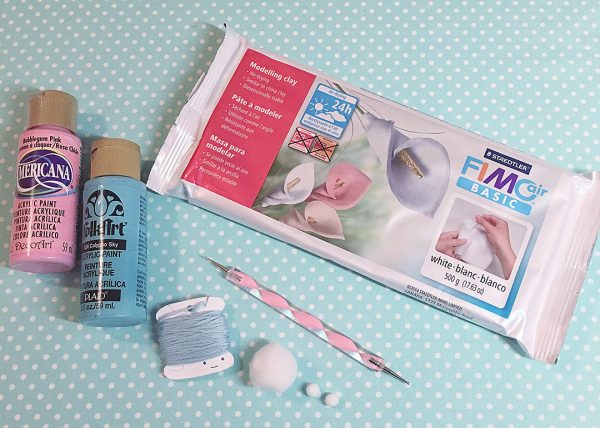
What you’ll need:
- white, light blue, and light pink air dry clay (polymer clay can also be used)
- light blue and light pink acrylic paint
- a paint brush, dotting tool, or tooth pick
- light blue embroidery thread
- (2) 7mm white pompoms
- (1) 10mm white pompom
- glue
- eye pin
- twine or hook
- varnish (optional)
Instructions
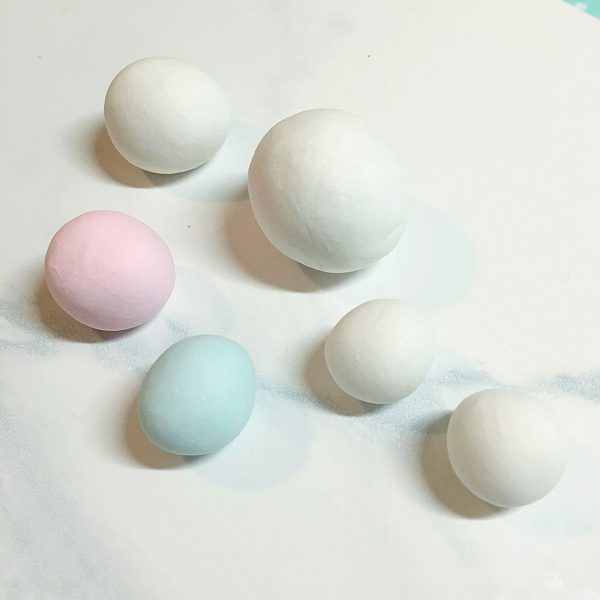
If you’re working with air dry clay, start off by separating your white clay into sections and coloring them accordingly. I ended up with 4 pieces of white clay (1x 2cm, 1x 3cm, 2x 1.5cm), 1 piece of blue clay (1.75cm) and 1 piece of pink clay (2cm).
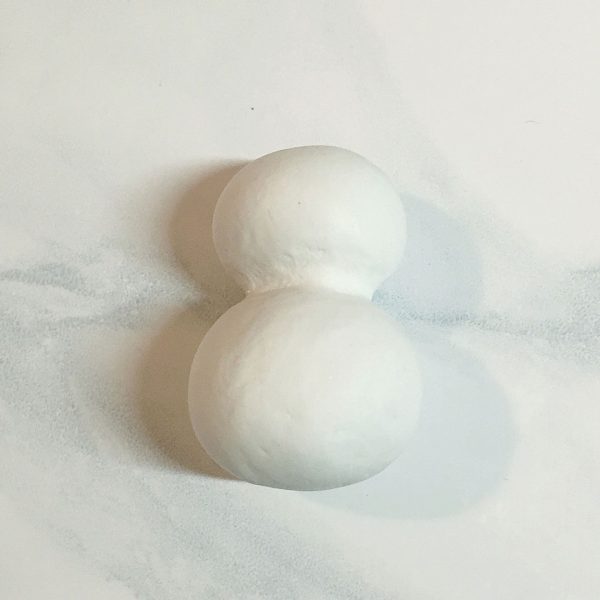
Form your two largest pieces of white clay into a rough snowman shape, taking care to elongate the top piece just a little to form Cinnamoroll’s head shape.
Add a little bit of water to the pieces then attach them with the oblong piece on top. Use a clay tool or something like the end of a paintbrush to blend the head onto the body to further secure it. The result doesn’t have to be perfect since Cinnamoroll’s cape will hide it!
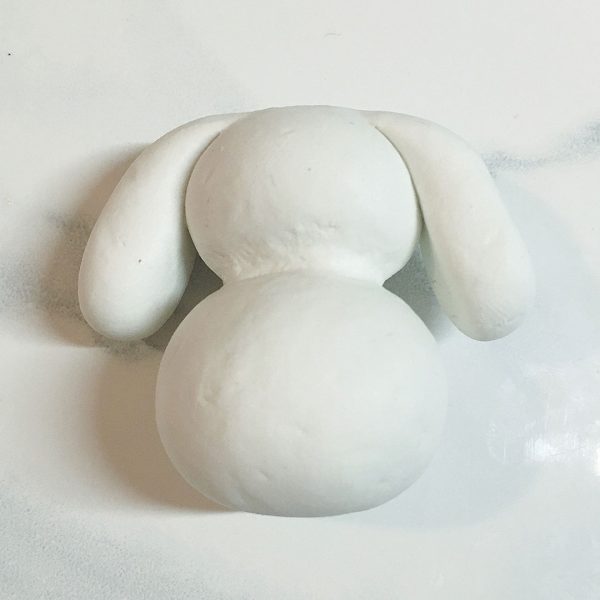
Form the two 1.5cm balls of white clay into teardrop shapes to make Cinnamoroll’s iconic ears. Flatten them enough so they fit against the head, then use a little water to attach the narrow ends to the head. Leave the bottom halves unblended.
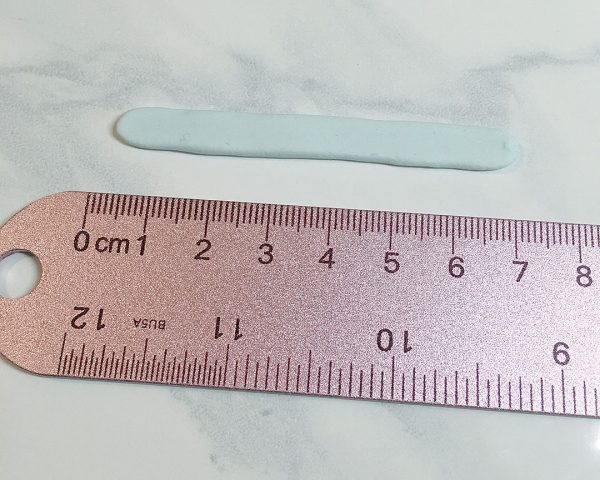
Next are her accessories! The cape can be made by simply rolling out your ball into a semi-rectangular piece (70mm x 6mm x 2mm) and rounding the edges.
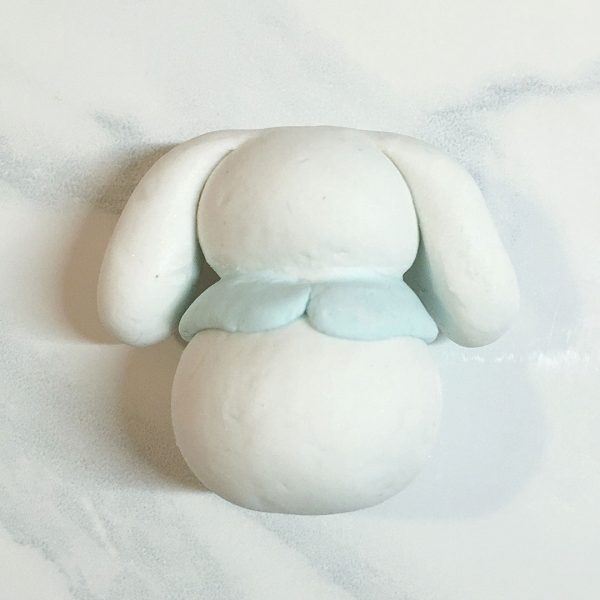
Apply a thin layer of water to the inside of the cape and wrap it around the neck. Blend until it’s secured, and you have something that resembles the plush.
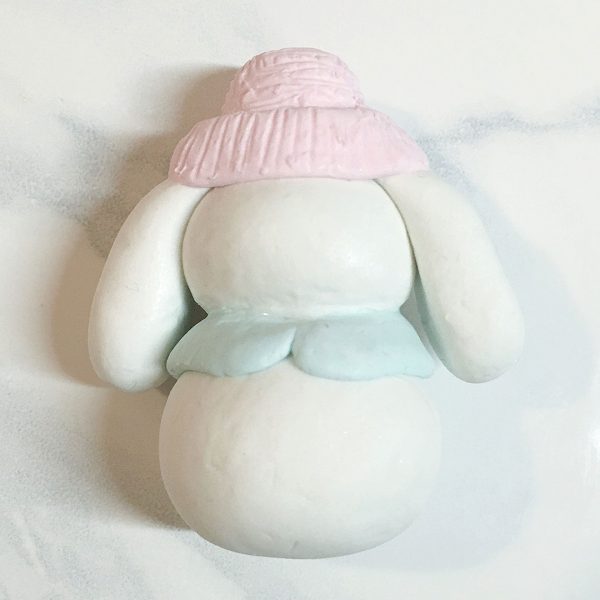
For the hat, form a half-oval, then hollow out the bottom so that it fits around the top of Cinnamoroll’s head. Apply a small amount of water again and attach the hat base.
With the second piece of pink clay, repeat the cape instructions so that you have a similar-looking strip that’s about 4cm long. Attach it to the bottom of the hat using some water, cut any excess, and blend the two ends together. Add the knit texture by using a toothpick to draw crisscrossing lines.
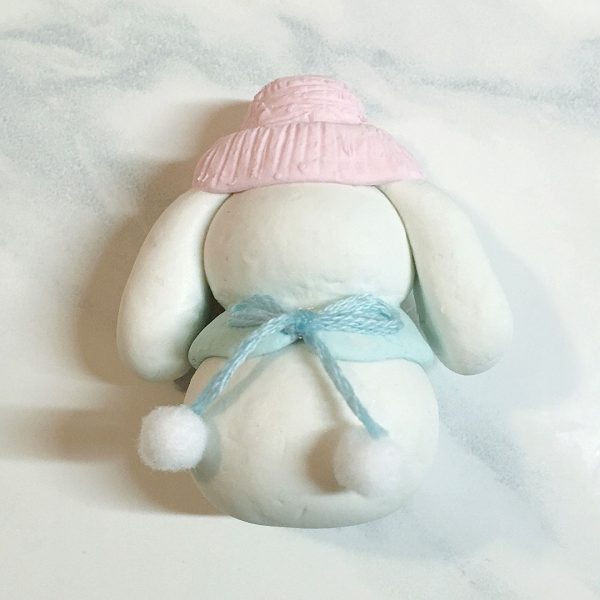
Cut a piece of your embroidery thread about 4cm long and tie a small bow with it. Trim the tails until the bow is a proportionate size, then glue a 7mm pompom to each tail (I used superglue with a fine tip applicator to make it easier). Glue the bow to the front of the cape.
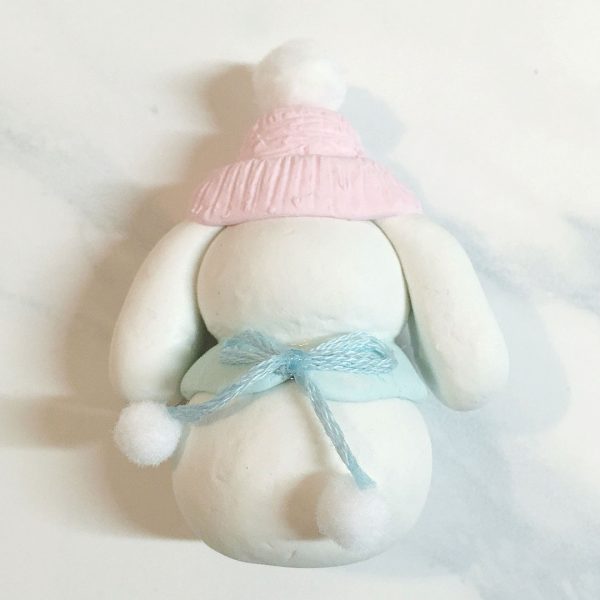
Glue your 10mm pompom to the top of the hat. (Pro tip: you can always make a smaller size by cutting down large ones like I did!)
Use more glue to insert the eye pin right behind the pompom on the hat. Attach your hook or twine.

Then paint on Cinnamoroll’s kawaii face using the blue paint for the face and pink paint for the blush.
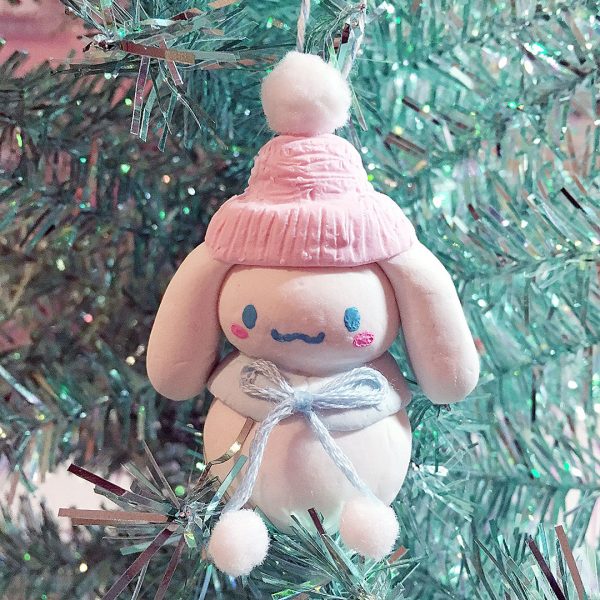
Leave to dry and you’re done! At this point you can also glaze it to add a layer of protection.
Is your Christmas tree up? What is your theme (if you have one)?
We’ve got cute DIYs coming up every day this week and you can also check out our Christmas Crafts section for more ideas. Let us know if you make something!
This tutorial was created by Andi for Super Cute Kawaii and the images and instructions may not be reposted without credit and permission. Thank you for respecting the rights of artists and makers.


Leave a Reply