
While I have been aware of the very adorable stationery collection, I recently ran across San-X’s Rilakkuma Happy Natural Time video, which is so cute it’s on a whole new level.
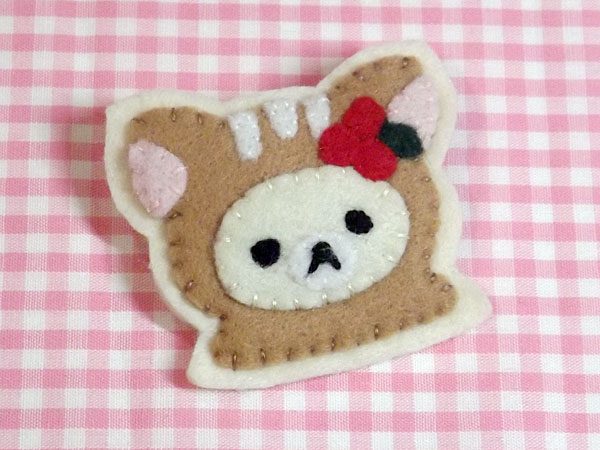
I love the natural style of it (it’s probably one of my all-time favorite Rilakkuma series) and I thought Korilakkuma in a sweet fawn hood would make for a cute autumnal accessory!
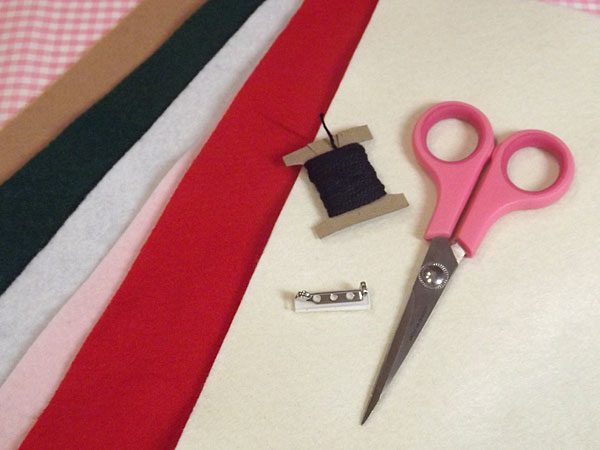
What you’ll need
- Printable template – download from Ko-Fi (and consider a donation to support SCK)
- felt – cream, light brown, white, pink, red, green
- black embroidery thread OR black felt
- sewing thread to match each felt color
- sewing needle
- scissors
- brooch finding
- hot glue
- sewing pins (optional)
Instructions
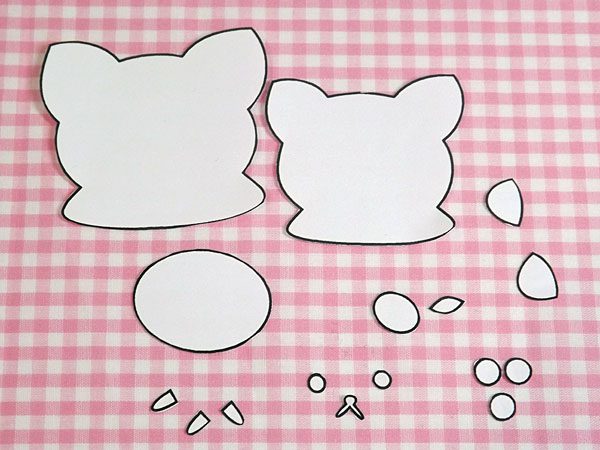
Start out by downloading and printing the PDF template linked above. Cut out each of the shapes and lay them out beside your felt.
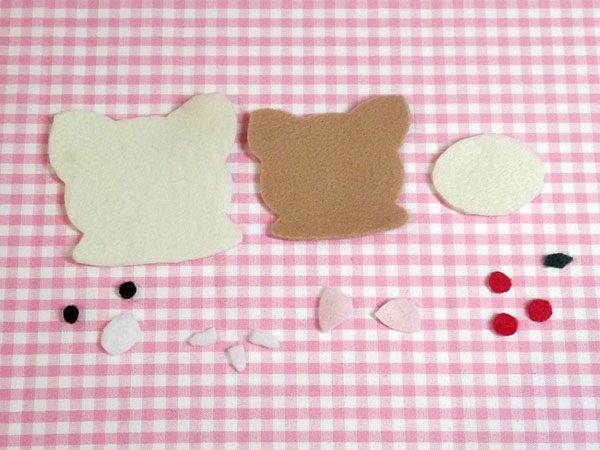
I used cream for the base and head, light brown for the hood, pink for the ears, white for the stripes and snout, red for the berries, and then green for the leaf. I decided to embroider Korilakkuma’s face and use the cut-outs to help with placement, but you could also cut the eyes and mouth out of black felt.
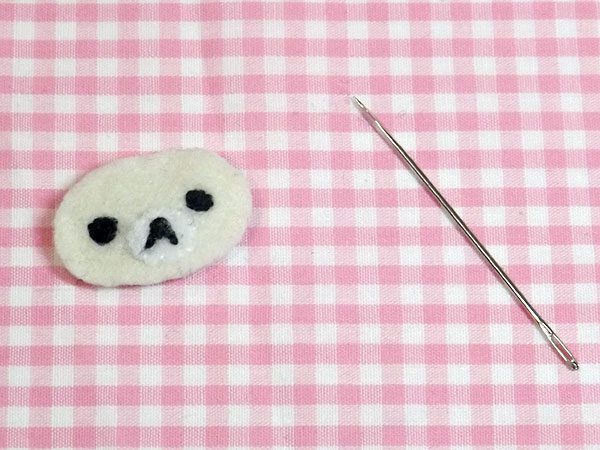
Once everything is cut out, it’s time to start sewing! Using a top-to-bottom approach and a reference photo of Korilakkuma, sew on the snout to the head using a whip (basic) stitch, then embroider the mouth onto the snout, then the eyes. Reference photos are important here to ensure the placement is as close to accurate as possible.
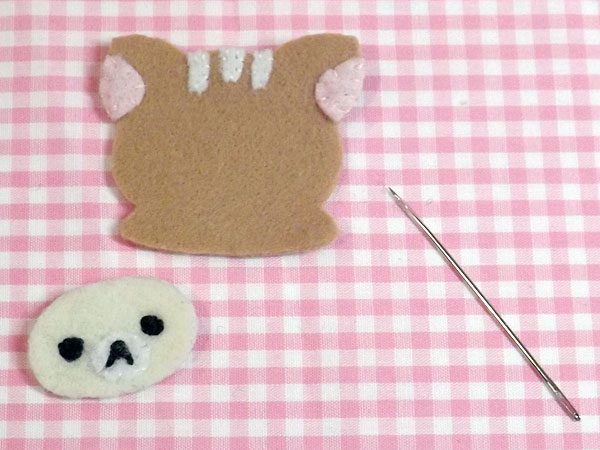
After the head, move onto the hood. I sewed the pink ear parts on using an embroidery stitch on the outer halves, and a whip stitch on the inner halves. Sew on the white stripes on the top center portion of the hood using a whip stitch.
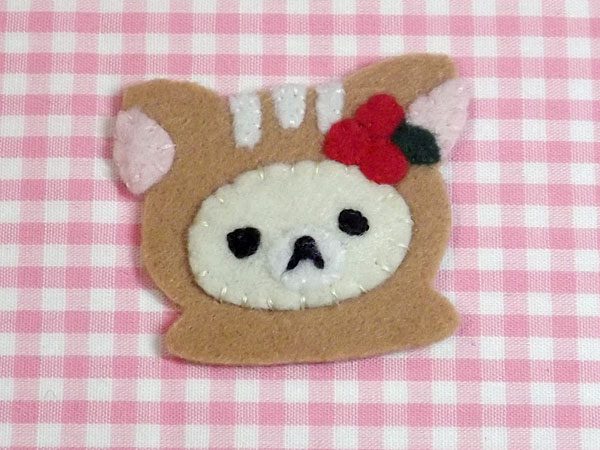
You should now be nearly finished! Attach the head to the center of the hood using a whip stitch, and then sew on the berries and leaf below the right ear, using the same stitch.
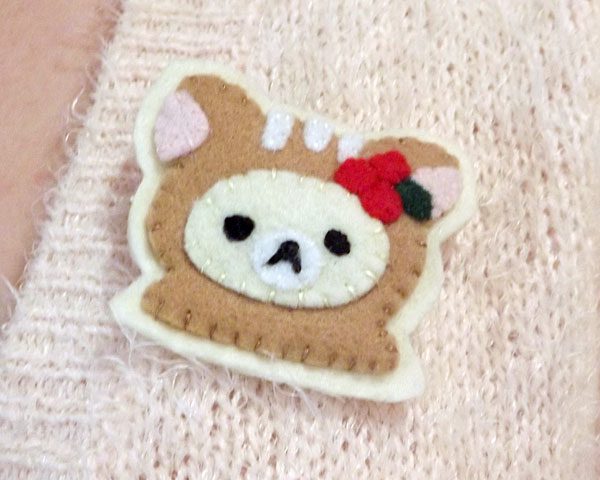
Now just sew Korilakkuma to the base using – you guessed it – a whip stitch. I didn’t want the thread to contrast on the pink of the ears, so when I got to those sections, I only pierced through the light brown felt layer, and angled the needle to come out from under the pink layer.
Finish by hot gluing the brooch finding to the back, or you could use a small piece of felt to glue a safety pin in place. Isn’t Korilakkuma the cutest?
If you decide to try this out, comment below or tag @sckawaii on social media – we’d love to see your creations! You can also check out all of SCK’s original tutorials for more crafty ideas.
This tutorial was created by Andi for Super Cute Kawaii and the images and instructions may not be reposted without credit and permission. Thank you for respecting the rights of artists and makers.


Leave a Reply