
We’re working with Robotime to try out their cutest kits and this time it’s a Fairytale Amusement Park Book Nook to display on your shelves.
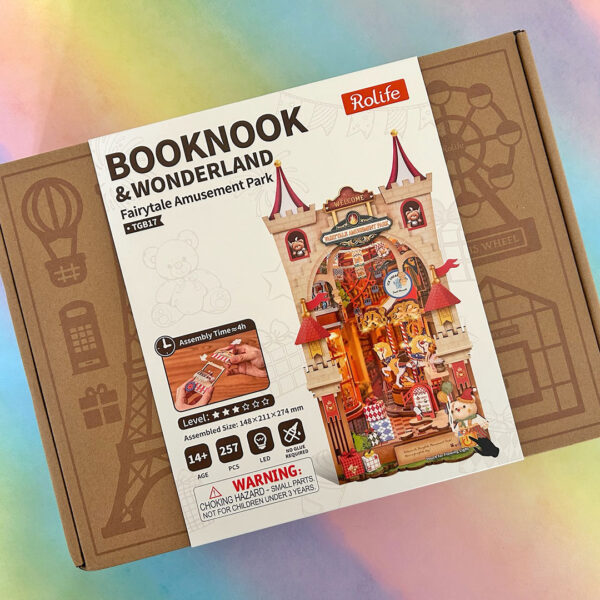
I’ve been intrigued by book nooks for a long time, so I was very happy to see Robotime’s new Fairytale Amusement Park Book Nook kit. The idea is that you display it on your bookshelves and it fits in between books, or as a bookend, to add a little bit of cuteness and interest to your display. With lots of themes available, you can find one to match your favourite genre and feel like it’s a doorway into a little miniature world.

While these book nooks are part of the Rolife range of cuter and easier kits, this looked quite intimidating compared to the Rolife kits I’ve reviewed recently. There’s a lot of printed wood sheets, plus more with card, paper, plastic and stickers, and small plastic decorations. You also get a bag of tools and supplies including electric lights, screwdriver, tweezers and double-sided tape strips. All you need to add are scissors and a USB-C cable.
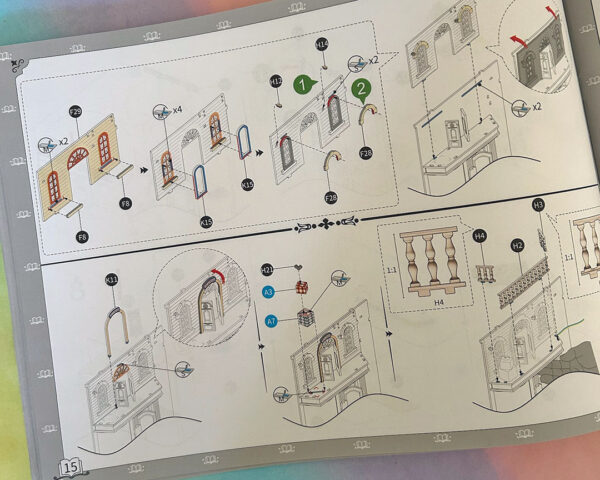
As always, there’s a full colour English instruction booklet, and If you’ve read any of my previous Rolife reviews, the process is very similar. The instructions are very clear with diagrams of each step, but you do really need to pay attention with this kit. There are often lots of parts to find from different sheets, and multiple steps to join them together and add decorations. This kit seemed to have a lot more potential for mistakes and I had to be careful to make sure I was placing pieces in the correct holes and the right way around. It’s best to read each step fully before you start joining things and compare the pieces to the diagram.
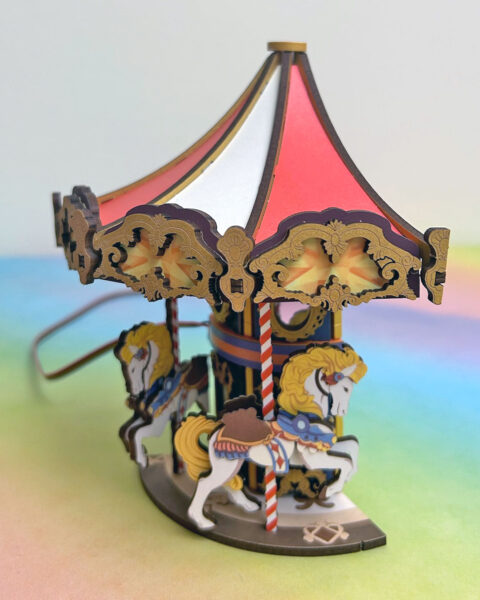
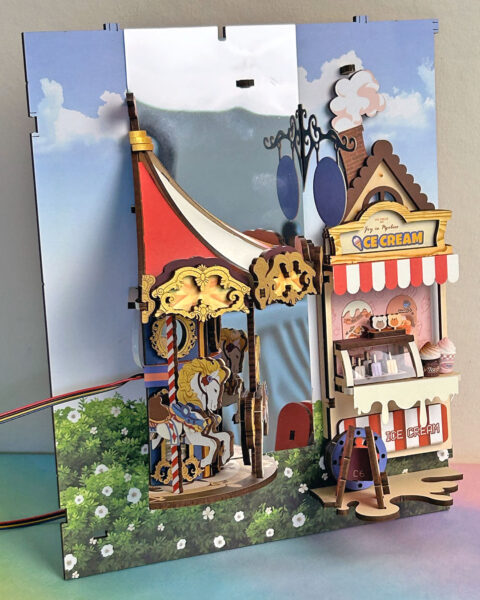
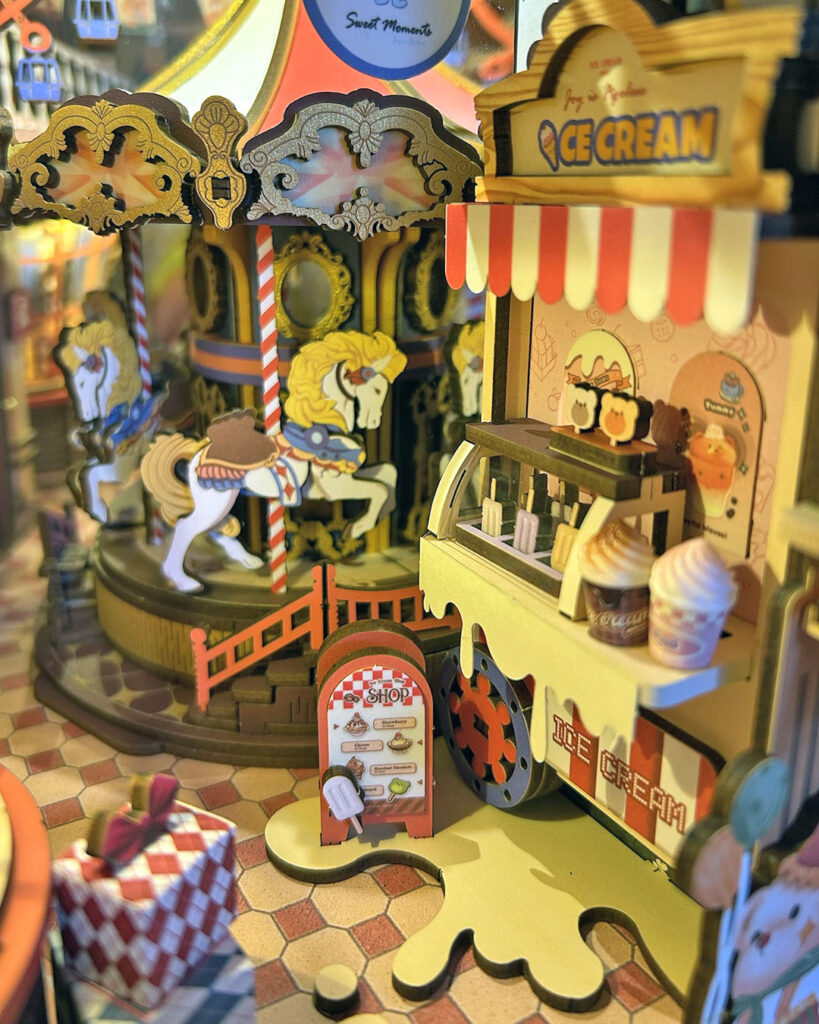
One thing I really like about Robotime’s kits is that they are all a little bit different to build. This one involved building elements and then adding them on to flat walls before joining everything into a box. There are also light strips that have a flashing sequence to add some extra interest, and mirrors to create the illusion of depth. This wall with a carousel and ice cream cart was my favourite to build with so many fun details.
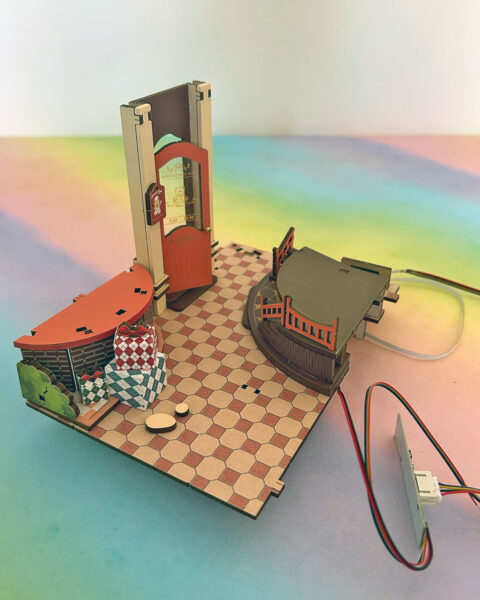
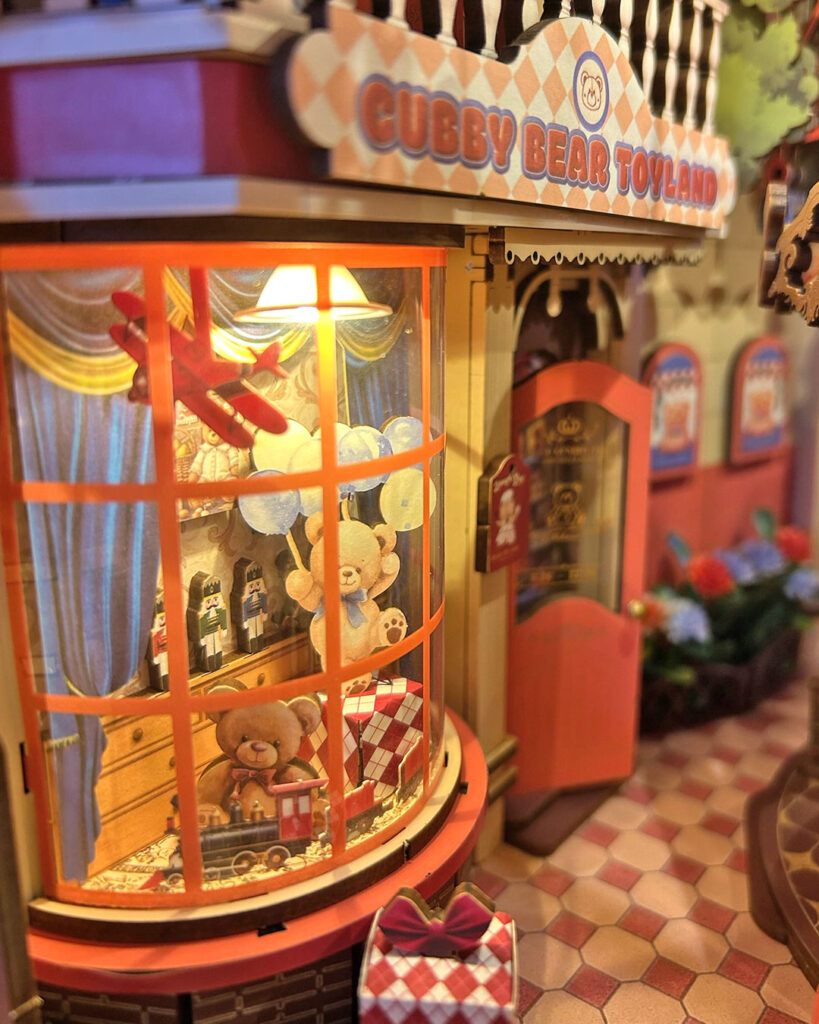
The order you build things doesn’t make it very obvious how it all fits together but slowly it starts to become clearer as you add more elements to each wall. There were some new challenges in this kit, like little plastic flowers and curved ‘glass’ windows. That shop display window caused me the most stress as there are loads of little toys inside, plus an electric lamp, and every time I managed to get all the tabs of the bendy plastic fitted into place, I would find that something had fallen over inside.
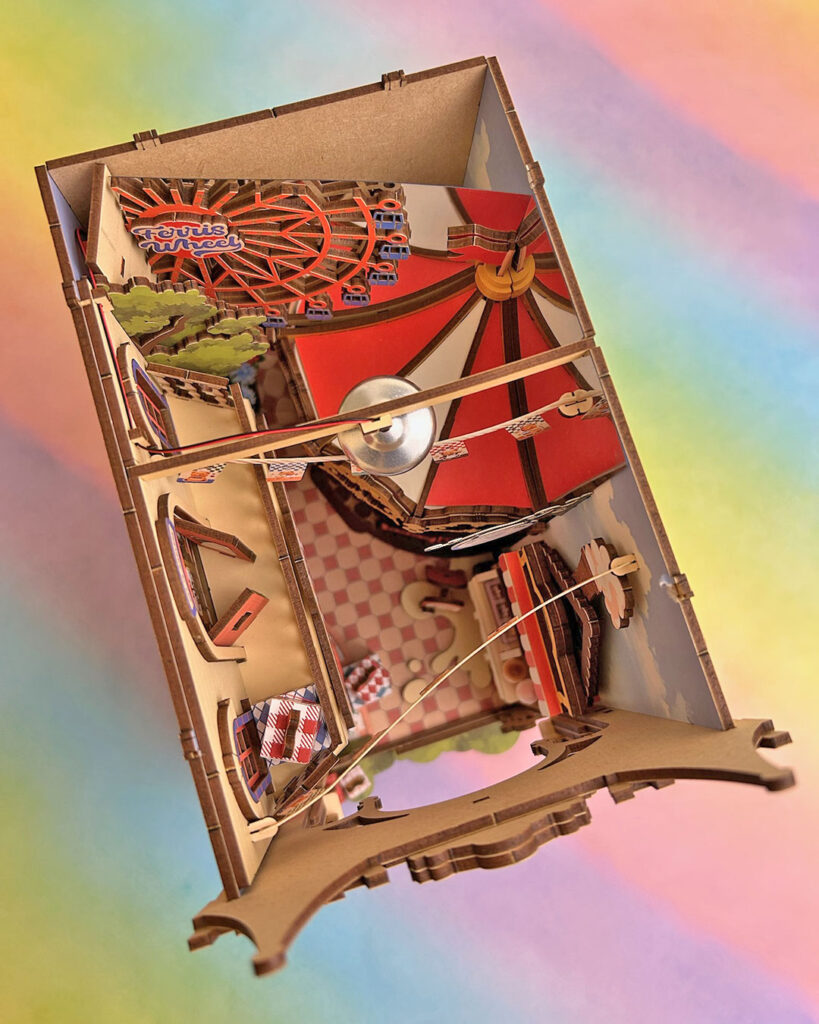
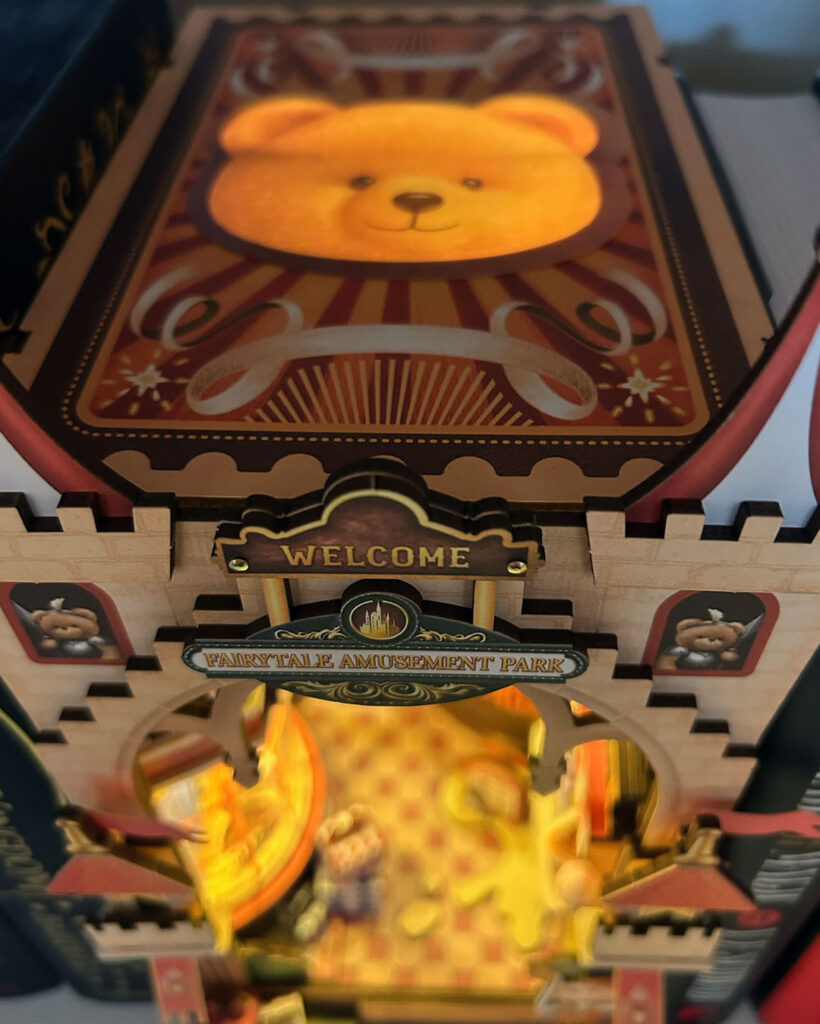
The moment when you join everything into a box is very exciting and I finally got to see how everything worked together. It’s a very clever design for such a deep box – the angled wall at the back also has a mirror, which makes the carousel look fully round and like the path continues through the back wall.
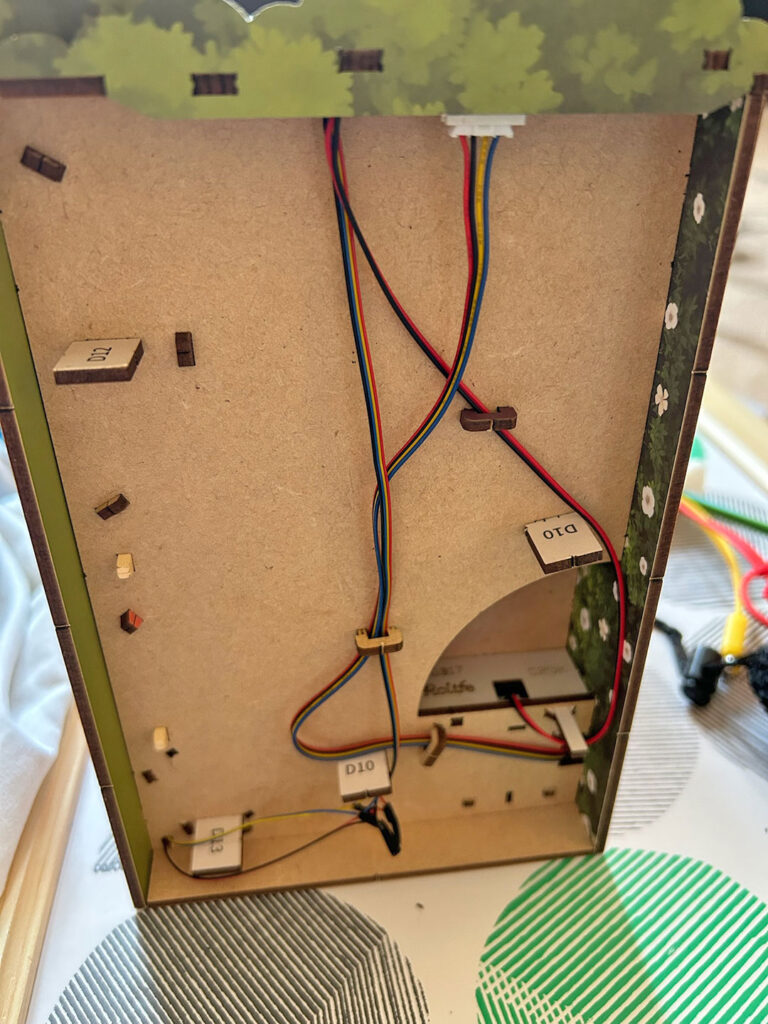
Underneath, you can see all the electrics to connect the lights. This was the most confusing part for me as I never really understood how this would all join together while I was building it. It’s done very cleverly though, with a channel at the back of the box to hide them and all the little wooden pieces to wind the cable around to keep them in place. Unfortunately at this point, I discovered that the flashing sequence no longer worked. It did work during the initial test so it must be a connection issue but I can’t figure out where. I’d have to take the whole thing apart and since some of the wires are stuck together with electrical tape, I decided just to leave it for now. I’d recommend you keep testing the connection during the build to avoid this.
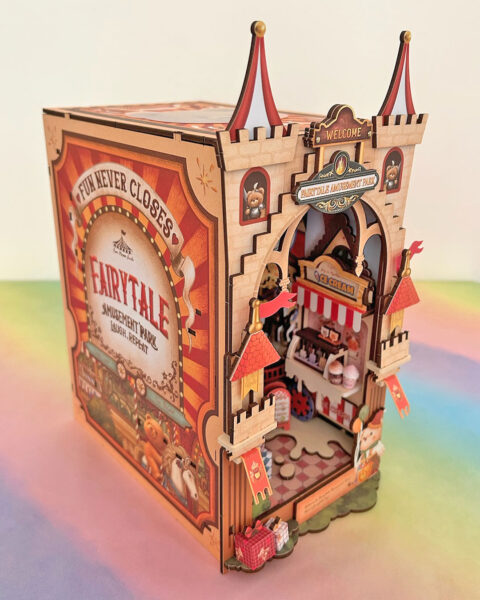
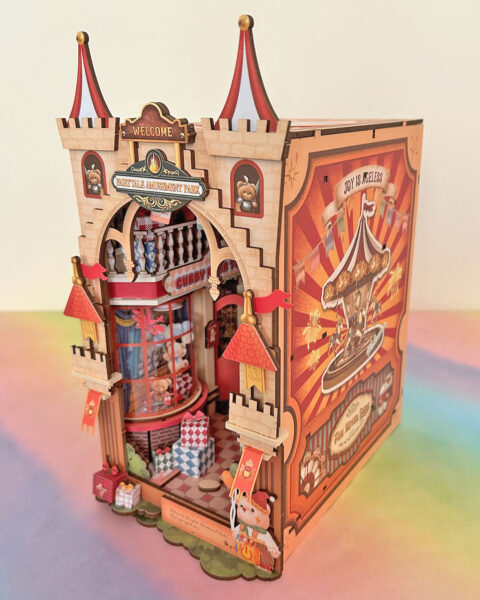
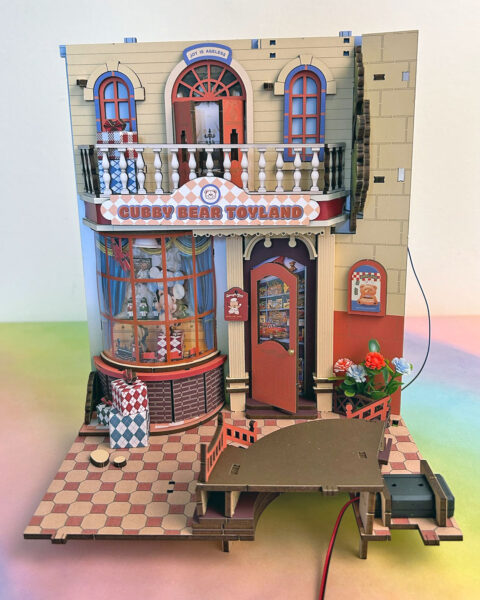
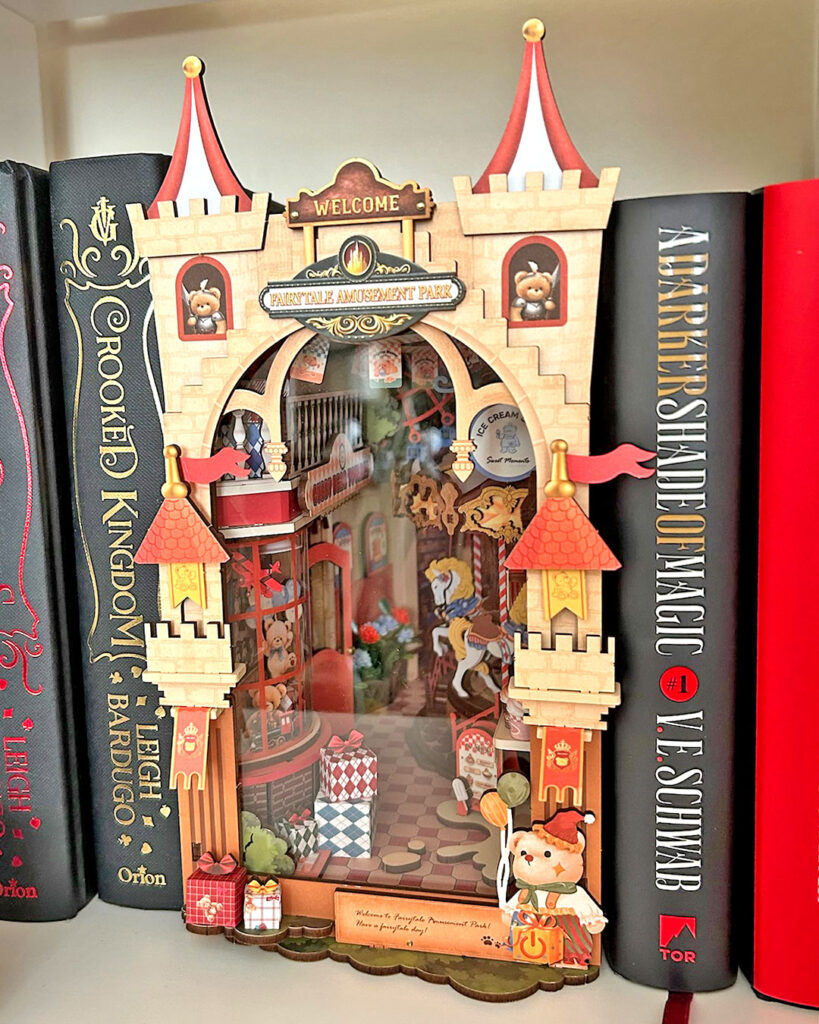
The outer walls and top all have printed designs so that it looks cute in every direction. That means you can also use it as a bookend or just as a decoration. It really does look best in a shelf full of books though, so that’s what I did.
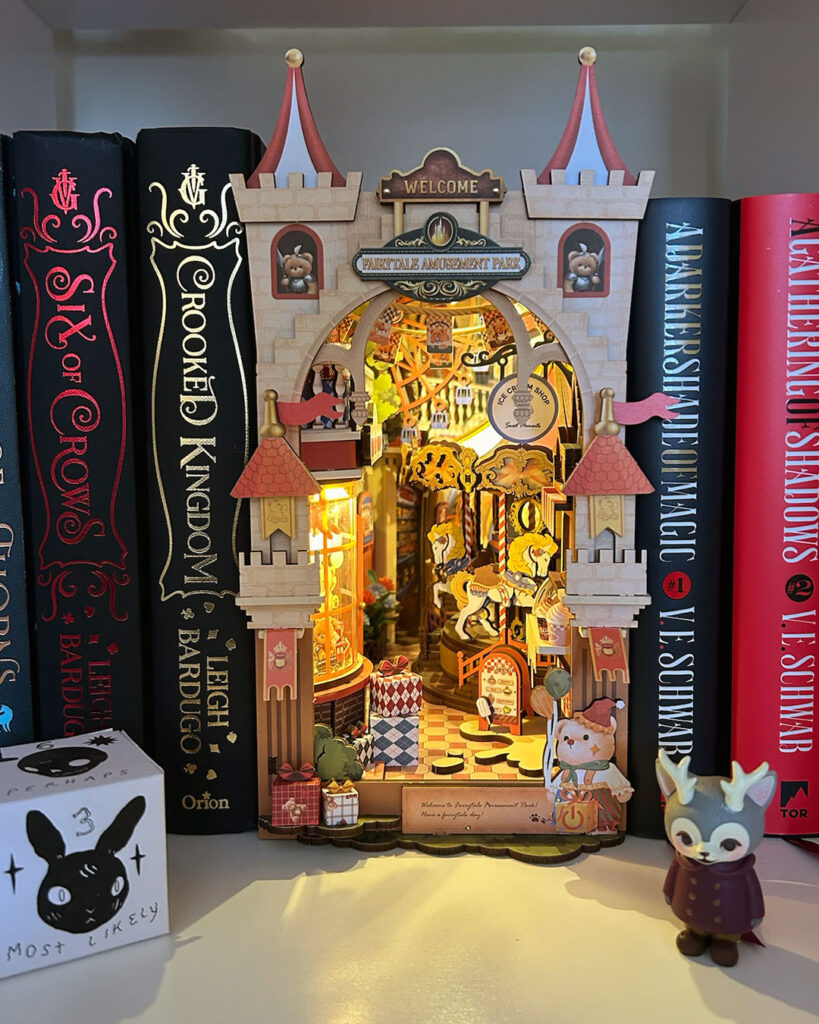
Look how cute it is! The front piece being a little wider means it overlaps the books so they feel like a wall joining everything together. It definitely looks best with fancy hardbacks as the book nook is quite tall. You also need quite deep shelves so that you can run the cable behind, and hide a battery pack if you’re not close to a main socket. The lighting makes it all feel extra special and will add a little cosy glow to your room at night. There’s a power button on the front (under the bear) that lets you turn the lights on and off and switch to the flashing sequence (if you got it working!).
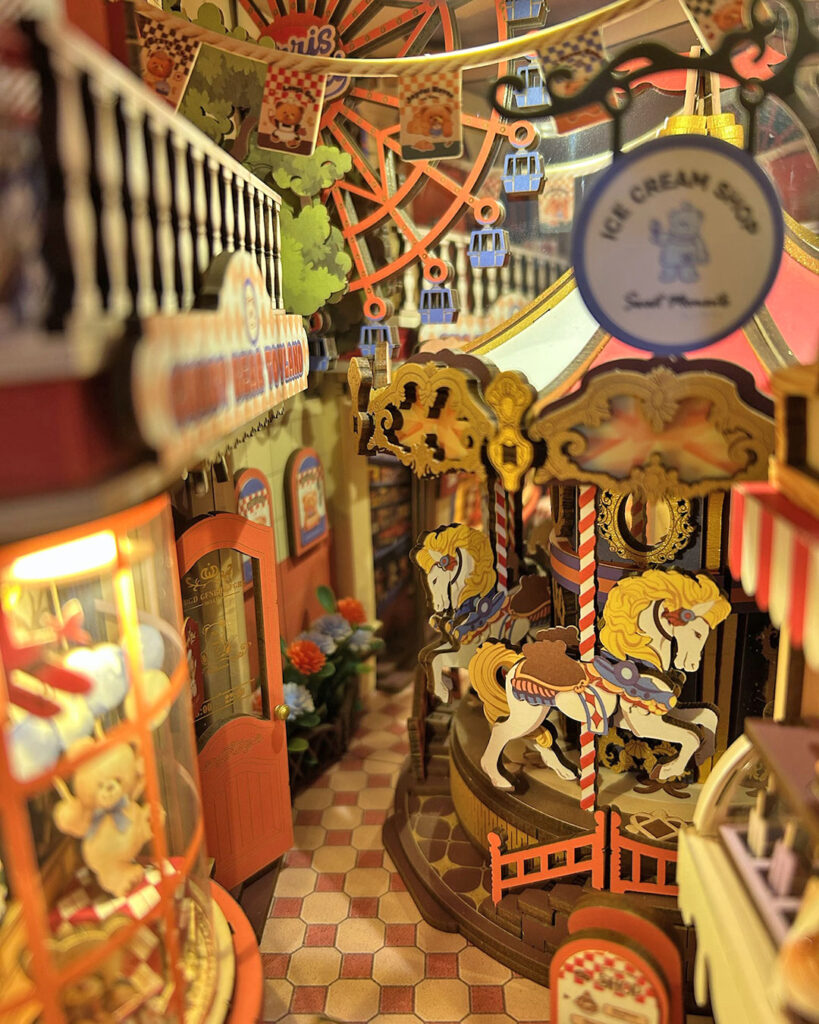
Click/swipe through the slideshow to have a look at some of the details.
Overall, I really enjoyed building this kit, though there were a few parts that were very frustrating, and it’s a shame that I don’t know why the lights aren’t working correctly. This book nook has a difficulty rating of 3/5 and that seems reasonable – you could absolutely build this as your first kit, as long as you follow the instructions carefully. I also appreciated that it comes with a clear panel that slides into the front to prevent dust getting inside. It definitely makes my book shelves look extra cute.
You can get a closer look at how to build the kit in Robotime’s video, and see the flashing light sequence in action. The Fairytale Amusement Park Book Nook is priced at £42.99/$49.99 and there are lots more cute Book Nook kits to choose from too, including a library, cafe, greenhouse, Tokyo street and Venice canal. Everything is available now from the Robotime online shop, which ships worldwide from China. If you’d like to try them, SCK readers get 10% off any order with the code supercutekawaii.
Which kits would you like us to try next?
(Kit was provided by Robotime for review but all words, photographs and opinions are my own.)


Leave a Reply