
I stumbled upon mini carvable foam pumpkins in a local dollar store this year and I immediately knew I wanted to recreate a Gudetama in a pumpkin figurine I’d seen online.
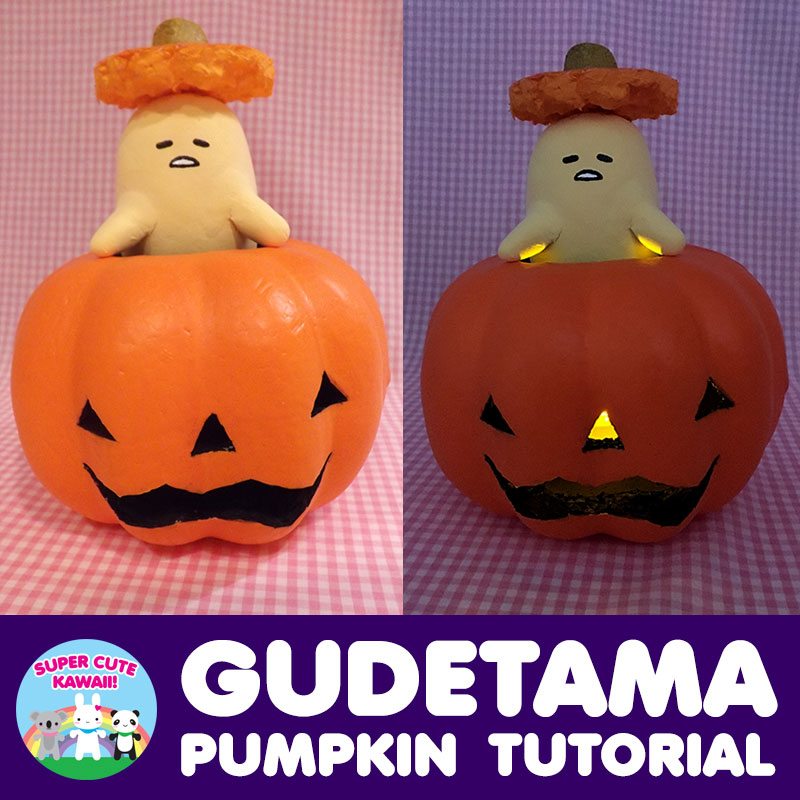
Smaller and a lot less messy than real pumpkins, this project is also one you can keep for more than one Halloween!
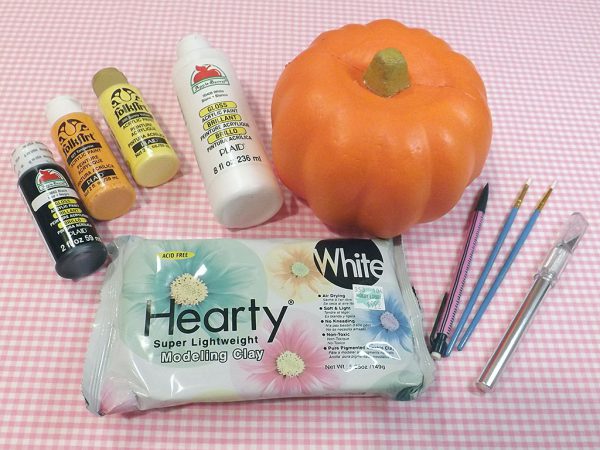
What you’ll need
- mini foam pumpkin
- air dry clay
- yellow, orange, white and black acrylic paint
- paint brushes
- craft knife
- pencil
- hot glue or other fixative
- battery-operated tea light (optional)
Instructions
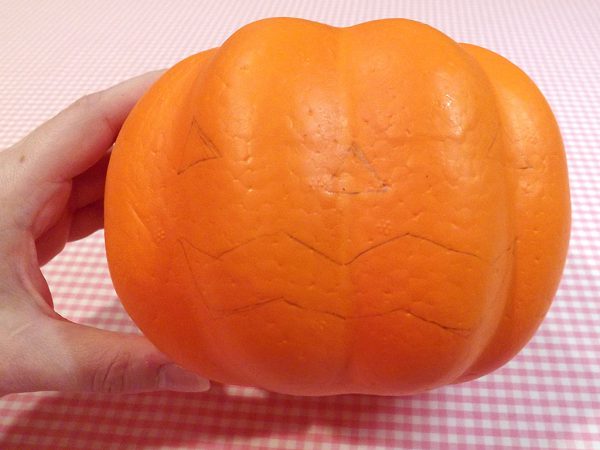
First, start by drawing out the pumpkin’s face and a small circle on top with a pencil. It doesn’t have to be perfect, but I used the aforementioned figurine as a reference.
Make sure the top circle is large enough to fit Gudetama.
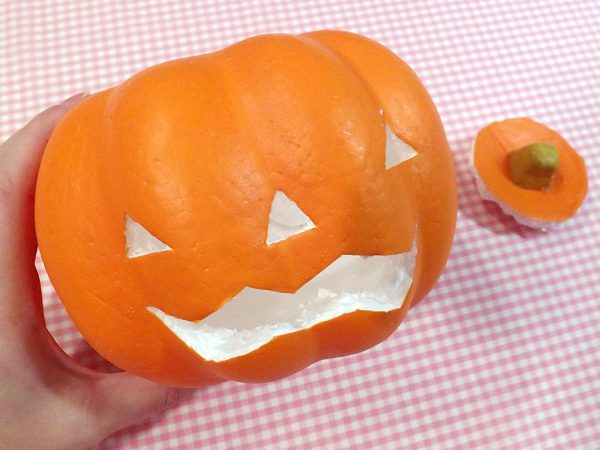
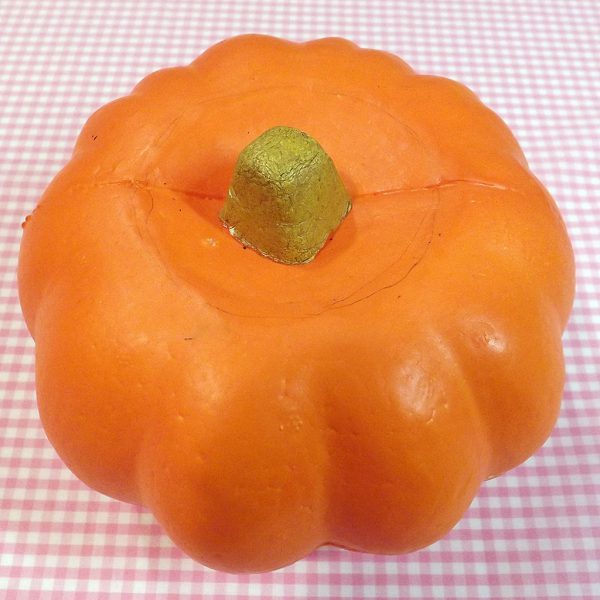
Cut out the face and top circle with your craft knife. If you don’t want to light up your pumpkin, you could even skip skip carving the face and paint it on instead.
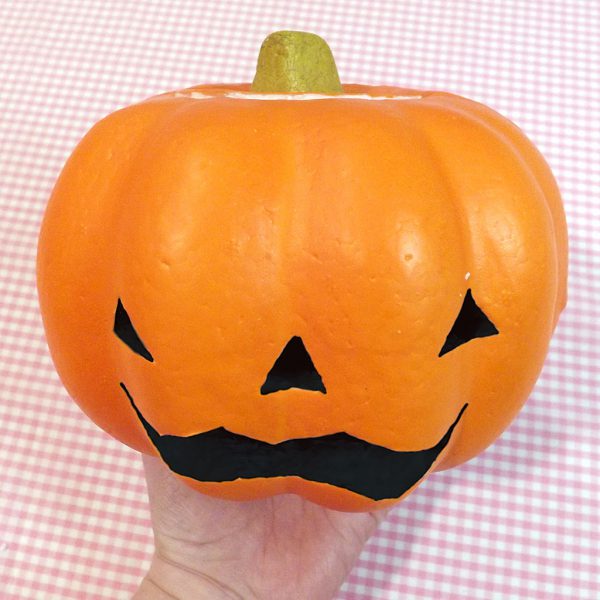
I decided to paint the inside and edges to cover the white foam. You could just use orange to cover everything, but I used black on the face and insides to make it a little spookier.
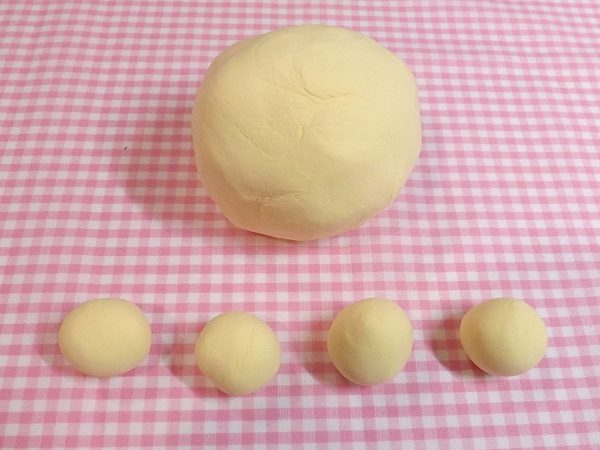
Once the paint’s dry, it’s now time to make Gudetama! I started with about half the package of clay, which is 100g, or about a snowball size. Mix in small dabs of yellow and orange paint until you get close to Gudetama’s color. There’s not an exact amount to follow since it will differ depending on paint and clay brand, so just use small amounts until you gradually build it up to the proper color.
Make sure the clay is thoroughly mixed and kneaded, then take 4 pieces and roll them into balls about 1cm in diameter. These will be for Gudetama’s arms and legs; set these aside in something like an airtight container or bag so they don’t dry out.
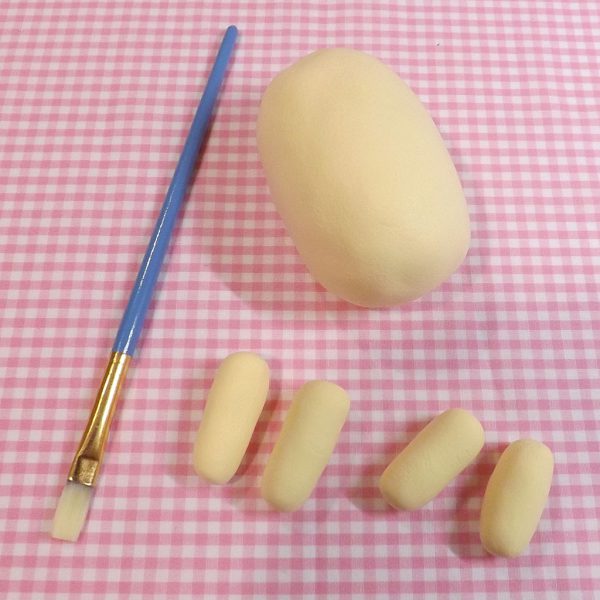
Shape Gudetama’s body into a fat oval that’s small enough to fit through the top of the pumpkin. You can shape its bottom too if you wish; I skipped it since it won’t be seen.
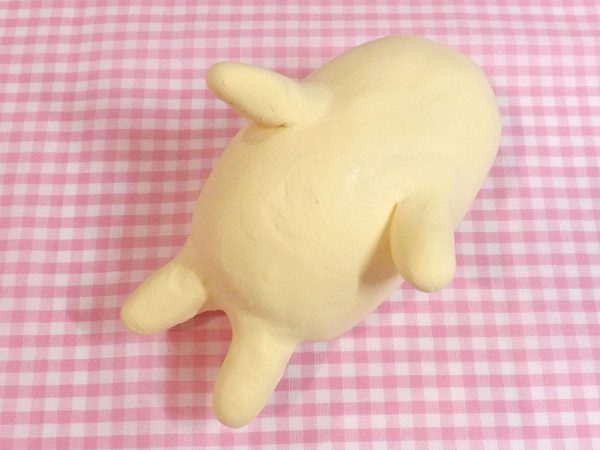
Take the 4 pieces and roll them into arms and legs, and place them on Gudetama. Using a tiny amount of water and your finger, smooth the edges out to securely attach them. Also make sure Gudetama’s arms are long and angled enough to keep it propped up in the pumpkin.
You can also water to smooth out any imperfections, although be sure to be sparing with it. Too much water will make the clay messy and hard to work with.
Lightly press the pumpkin top into Gudetama’s head to create an indentation, but do not glue anything yet. Let the piece dry for about a day (note: dry time may vary depending on the brand of clay you use.)
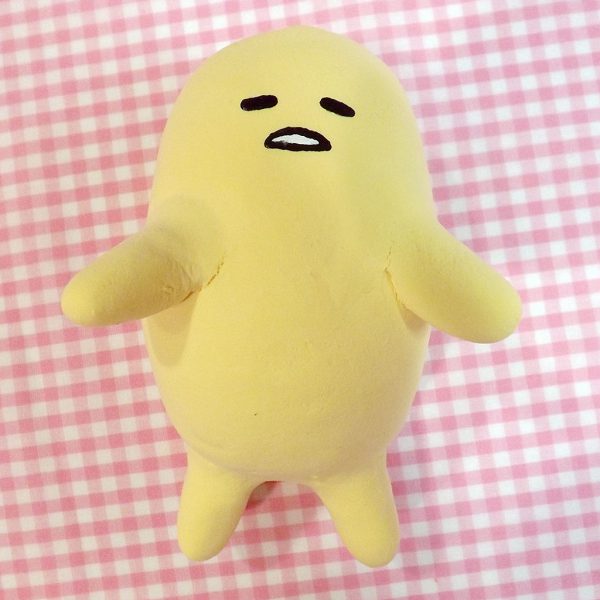
Once Gudetama is cured enough to handle, use fine paint brushes or something like a toothpick to paint on the small features; you may find it helpful to lightly trace the face on with pencil first. The face is very simple; two thin black ovals for the eyes, and a slightly larger white half-oval with a thin black outline for the mouth. Let the paint dry, and hot glue the pumpkin lid into the indentation you made earlier on Gudetama’s head.
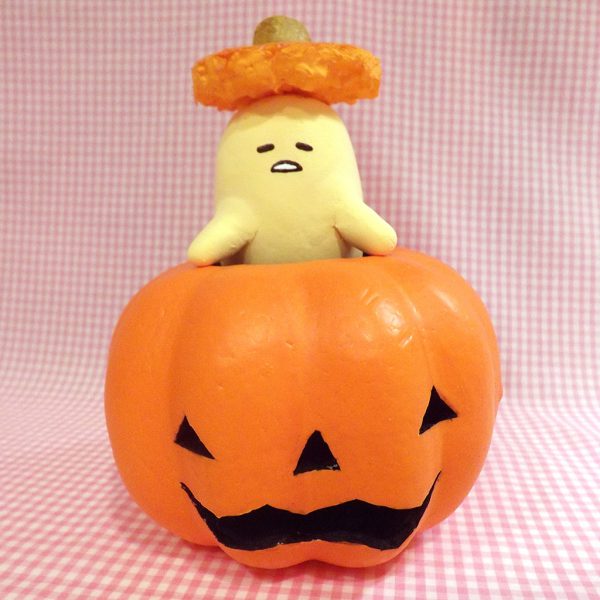
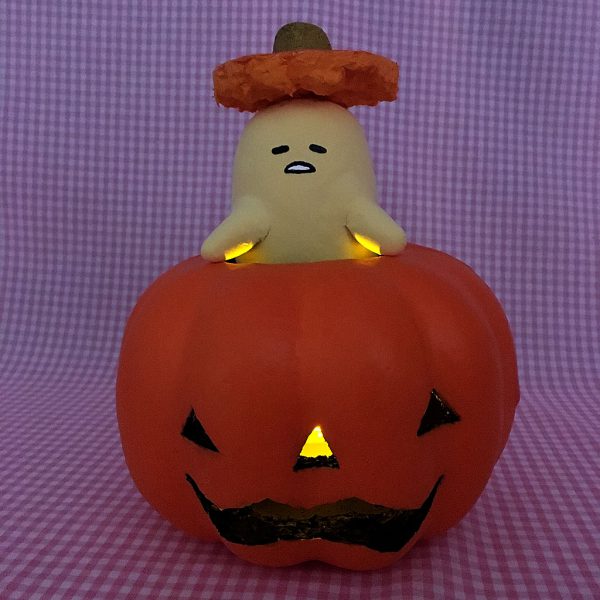
Your pumpkin is finished! You can add a battery-operated tea light if you wish, like I did here. DO NOT use a real tea light or place near open flames. If you don’t plan on adding a light, you can glue Gudetama onto the edge of the pumpkin for extra security.
If you decide to try this out, comment below or tag @sckawaii on social media – we’d love to see your creations! You can also check out all of SCK’s original tutorials for more crafty ideas.
Pusheen Pumpkin
If Gudetama isn’t your favourite, you can still use this tutorial to create another kawaii character. Chelsey DIY was inspired to make a pastel Pusheen version!
This tutorial was created by Andi for Super Cute Kawaii and the images and instructions may not be reposted without credit and permission. Thank you for respecting the rights of artists and makers.
Andi lives in the countryside of Georgia in a house packed with kawaii decor and vintage toys. When she’s not barricaded in her pink craft room creating something, she can be found reading, playing Animal Crossing games, or baking something to satisfy her massive sweet tooth. Andi is currently taking a mental health break, but hopes to be back in 2023.
1 Comment
Tara tsulor
October 21, 2017 at 1:49 amI’m going to have to try and make this. I’ve seen the pumpkins at the dollar tree so it should be an inexpensive craft and super cute. Thanks