

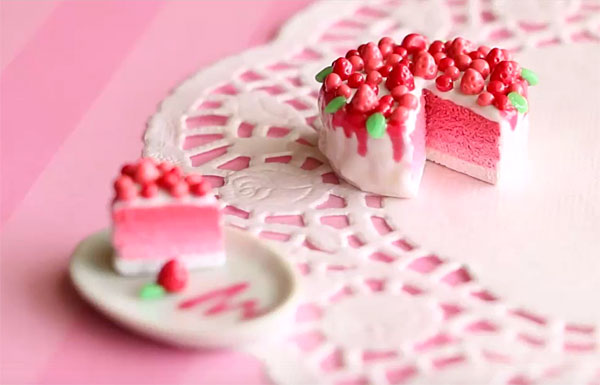
Hello everyone, Frainy here with a polymer clay tutorial themed for Valentine’s Day. I’m showing you how to make a cute cake roll charm.
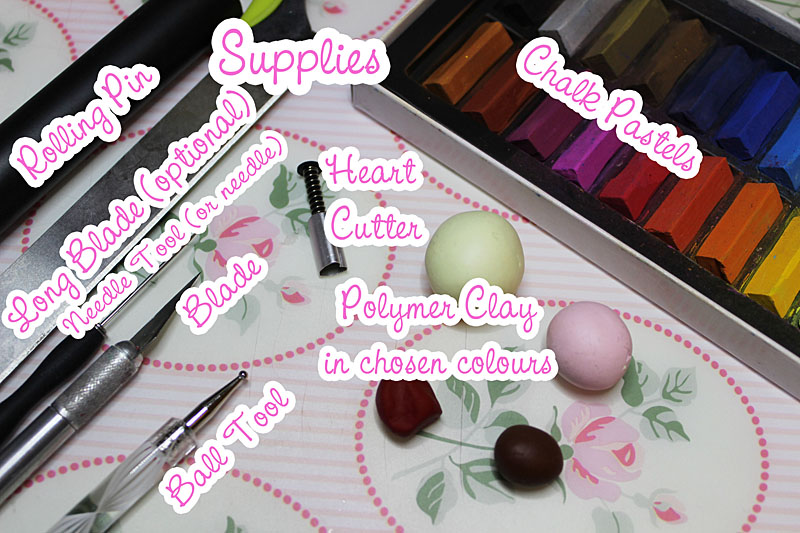
Supplies
- Polymer clay in chosen colours (I used pink and cream)
- Rolling pin
- Heart cutter
- Blade
- Long blade (optional)
- Needle tool (or needle)
- Ball tool
- Chalk pastels
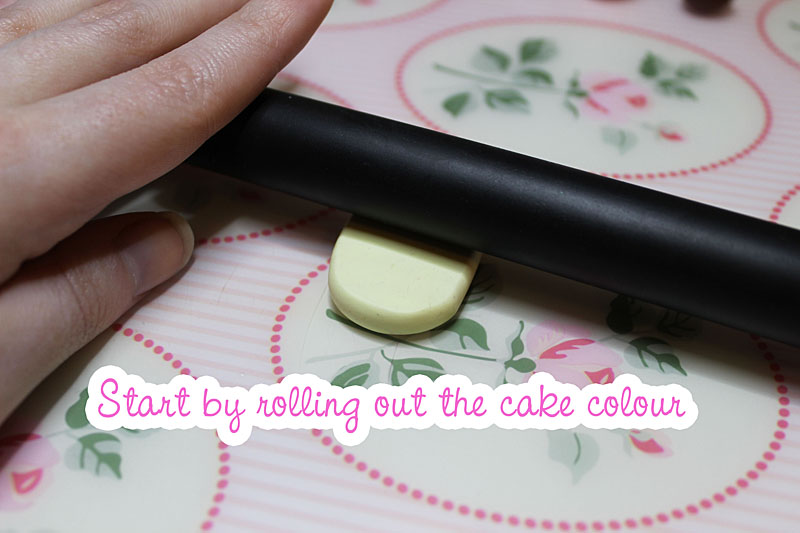
Start by rolling out the cake colour.
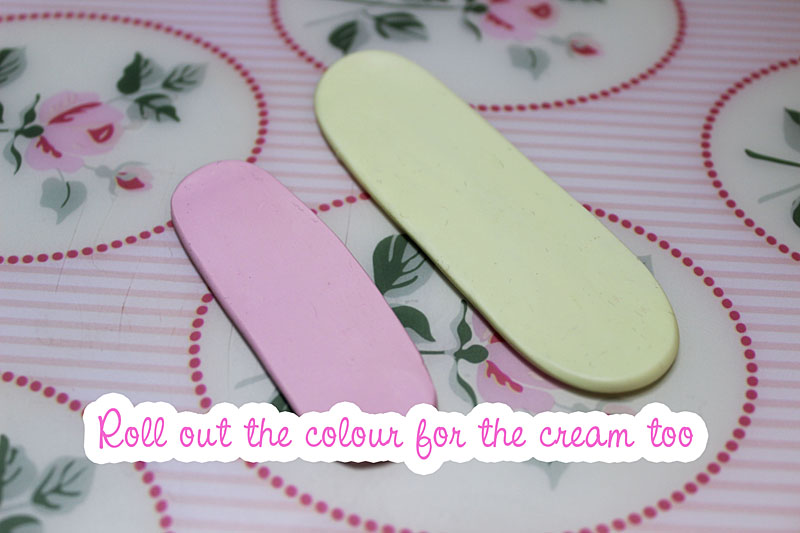
Roll out the colour for the cream too.
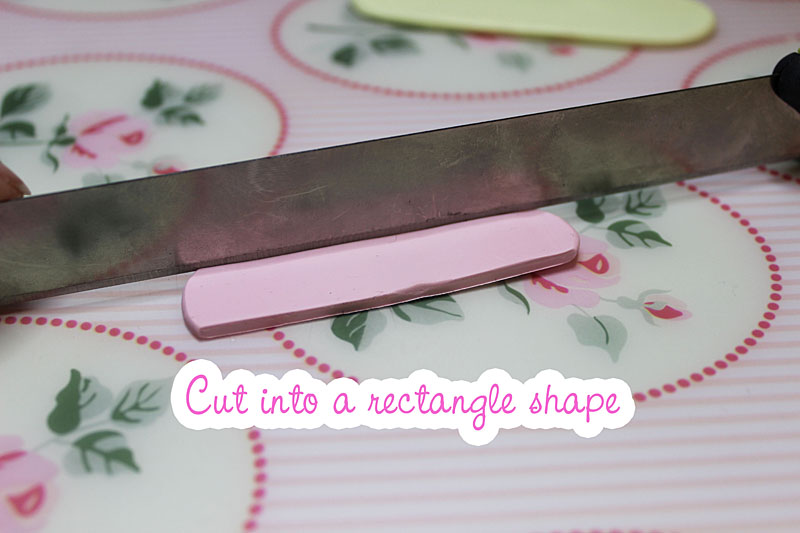
Cut into a rectangle shape.
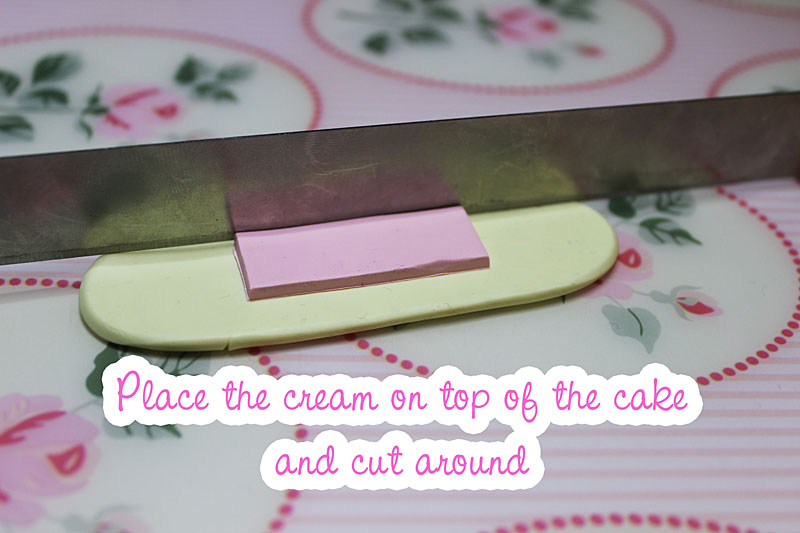
Place the cream on top of the cake and cut around.
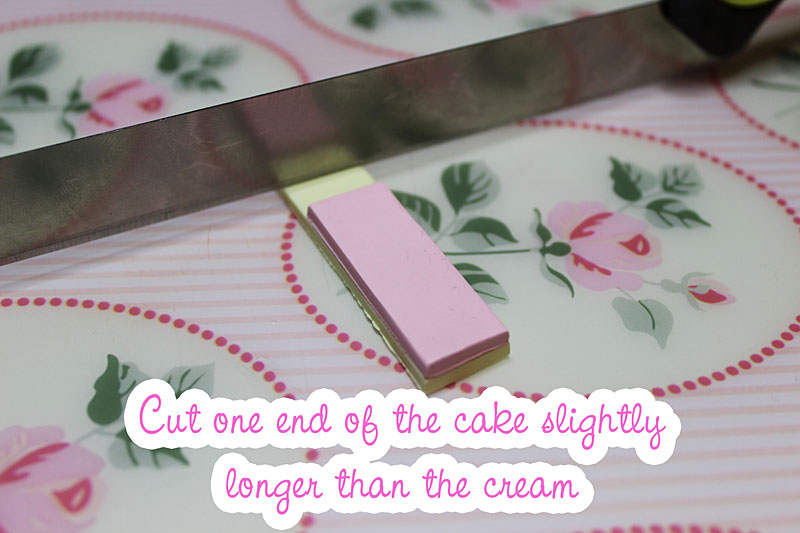
Cut one end of the cake slightly longer than the cream.
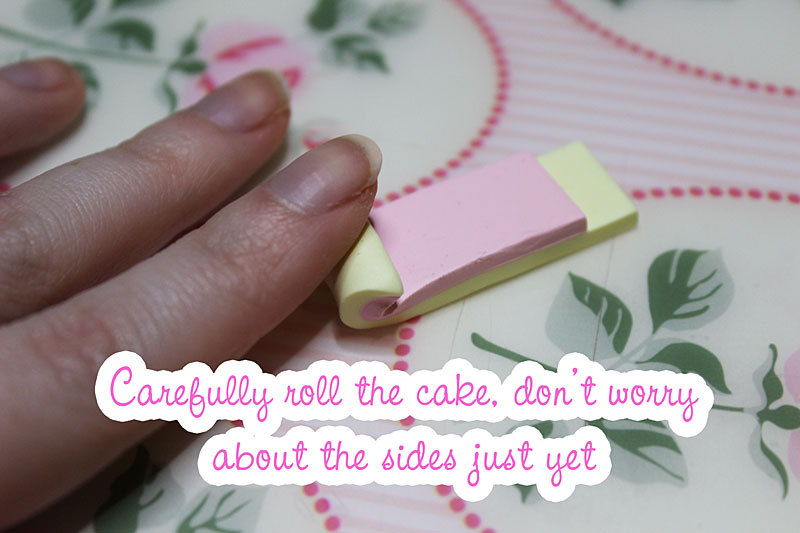
Carefully roll the cake, don’t worry about the sides just yet.
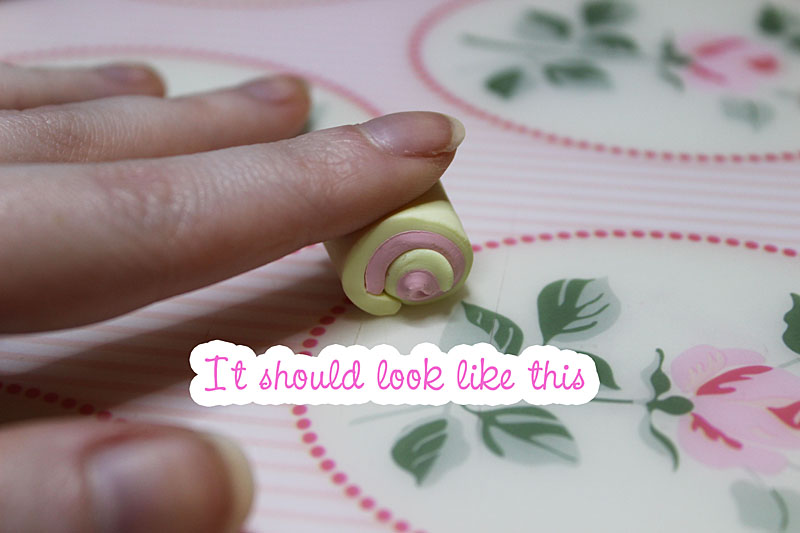
It should look like this.
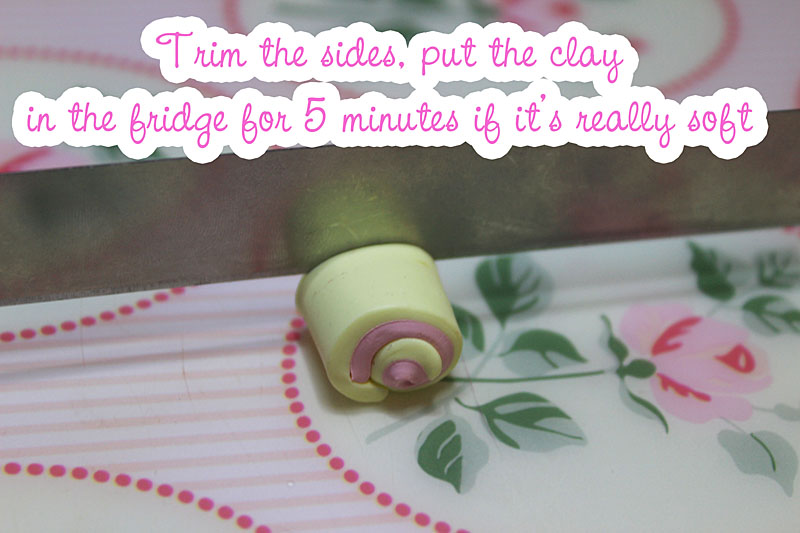
Trim the sides. Put the clay in the fridge for 5 minutes if it’s really soft.

It should look like this.
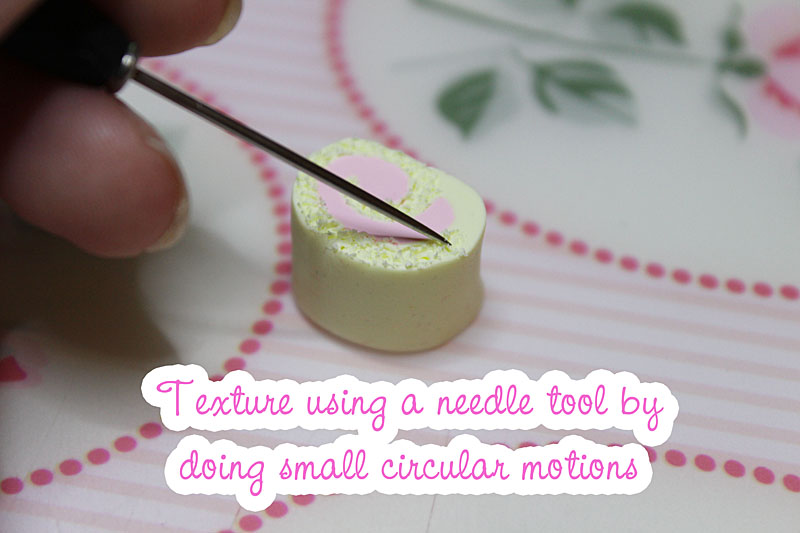
Texture using a needle tool by doing small circular motions.
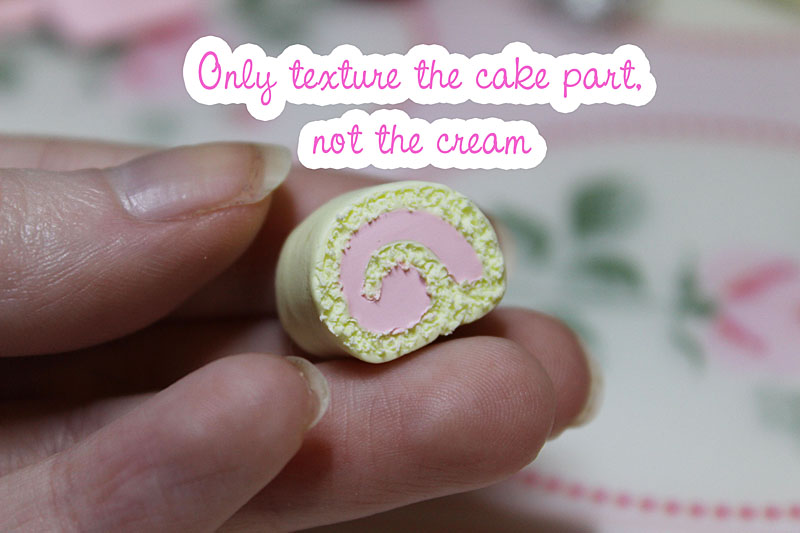
Only texture the cake part, not the cream.
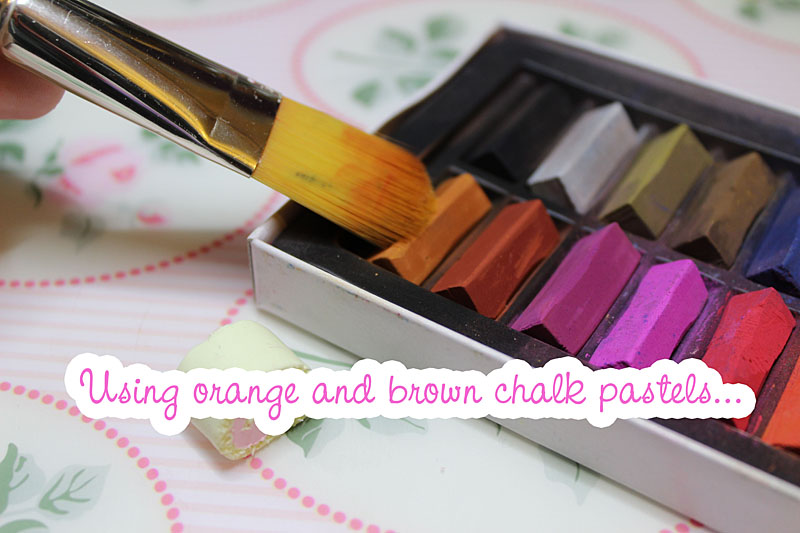
Using orange and brown chalk pastels…
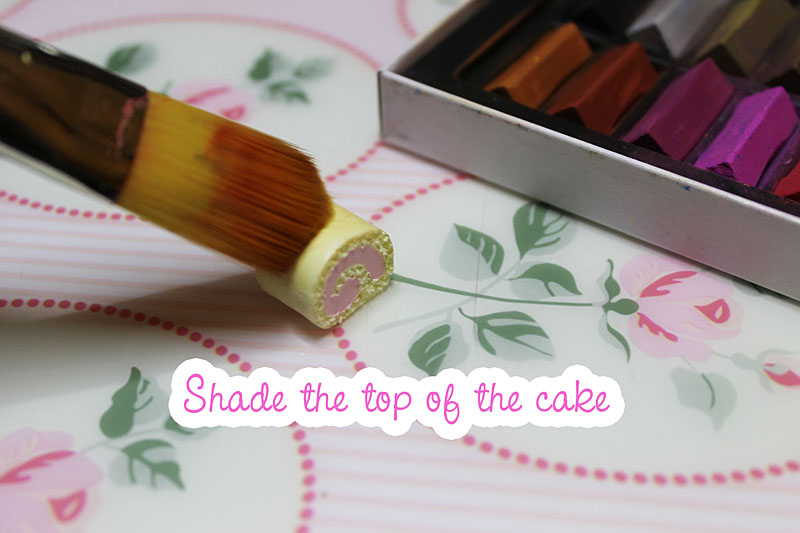
…shade the top of the cake.
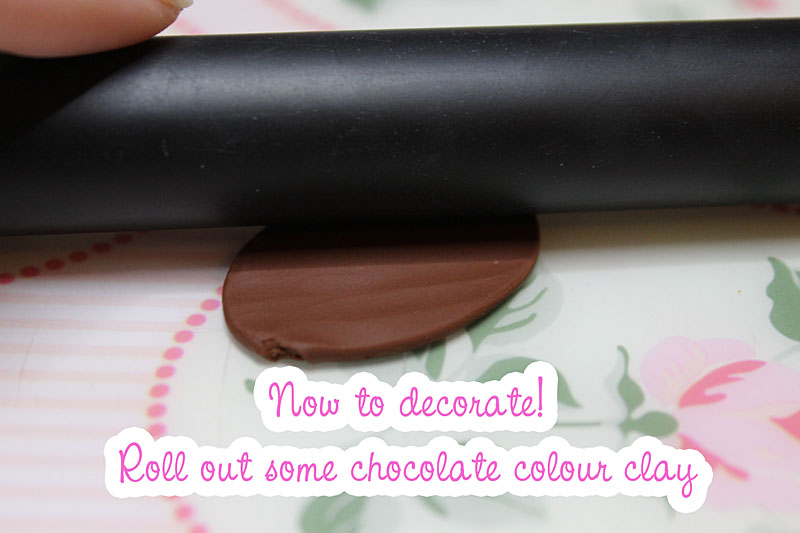
Now to decorate! Roll out some chocolate colour clay.
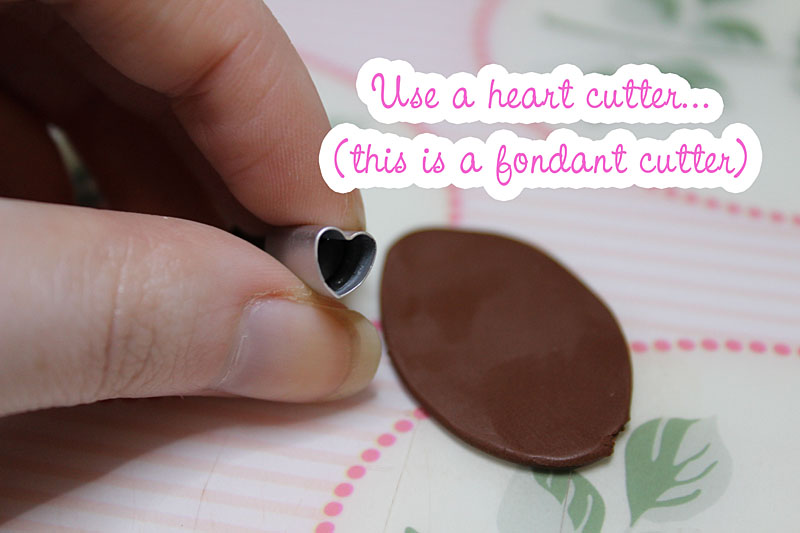
Use a heart cutter…

…to make a small chocolate Valentine’s heart!

Make a strawberry by rolling a ball of clay into a teardrop shape.

Use a needle tool to texture.
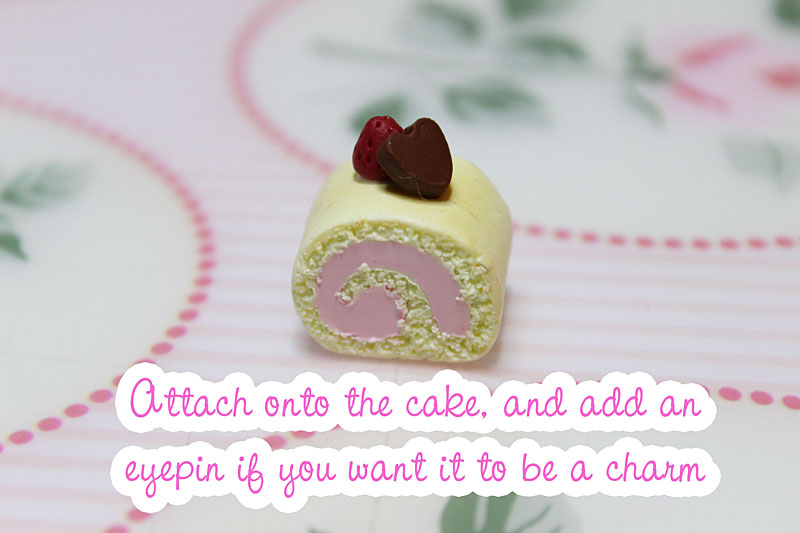
Attach onto the cake, and add an eyepin if you want it to be a charm.

Bake it and you’re done!
If you decide to try this out, comment below or tag @sckawaii on social media – we’d love to see your creations! You can also check out all of SCK’s original tutorials for more crafty ideas.
This tutorial was created by Frainy for Super Cute Kawaii and the images and instructions may not be reposted without credit and permission. Thank you for respecting the rights of artists and makers.
Sarah (AKA Frainy) loves to craft and create cute things. She lives in the North East of England and loves to collect plushies, anime figurines and dolls. She works with a variety of different crafting materials such as polymer clay and resin, and makes videos on Youtube showing off her latest projects.


No Comments