
Learn how to make a kawaii cupcake from polymer clay with this photo tutorial. This style of clay cupcake is inspired by my friend xoxRufus on YouTube!
Breakdown of supplies:
- Polymer clay can be bought from many craft shops and online, I used Sculpey Premo in Ecru for the cake, Sculpey 3 in Ballerina and Chocolate for the icing and the face.
- The cupcake base mould can be found on Etsy.
- Liquid Clay, or Translucent Liquid Sculpey can also be bought from craft shops or online. Ebay is one of the best places for craft supplies!
- The sprinkles are micromarbles which were bought online but you can also make your own sprinkles by rolling out polymer clay, cutting it up and baking it.
- Pretty much all the tools I use have been bought from craft shops, Ebay, or other places online.
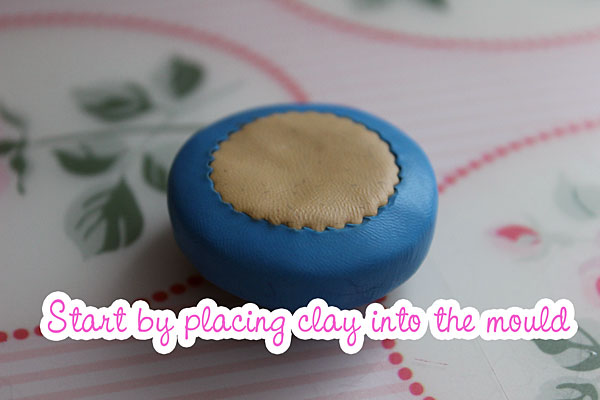
Start by placing clay into the mould.
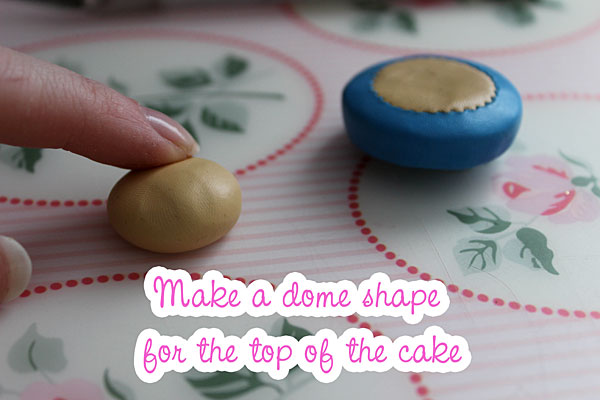
Make a dome shape for the top of the cake.
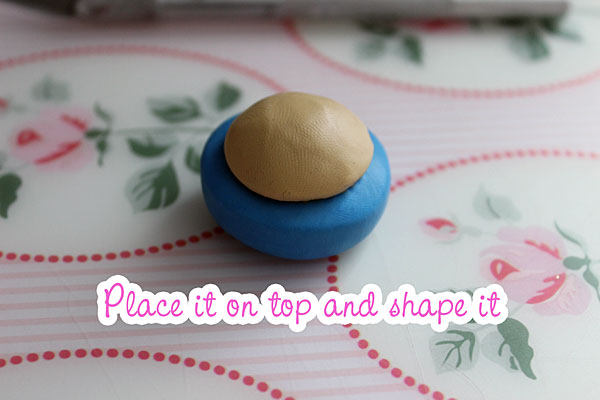
Place it on top and shape it.
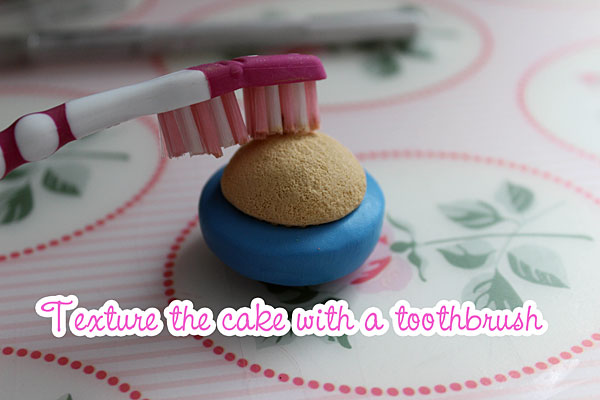
Texture the cake with a toothbrush.
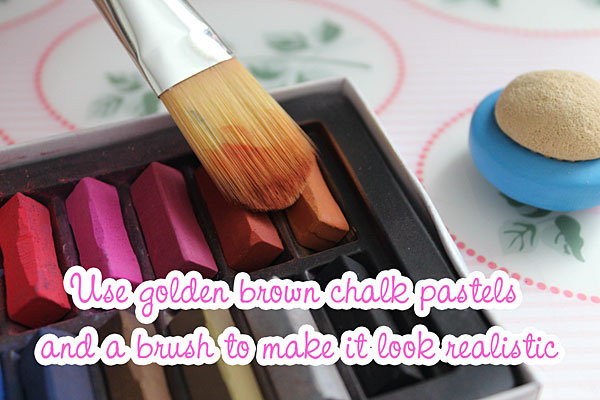
Use golden brown chalk pastels and a brush to make it look realistic.
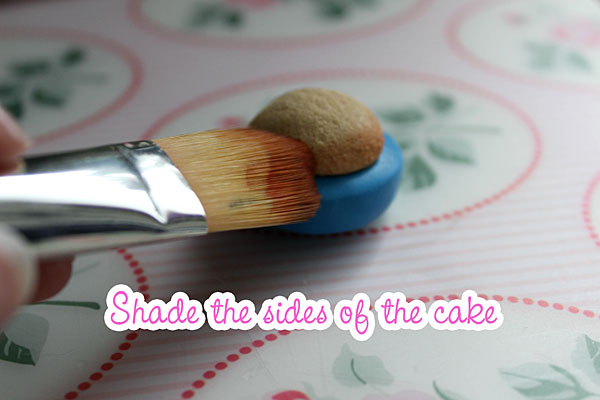
Shade the sides of the cake.
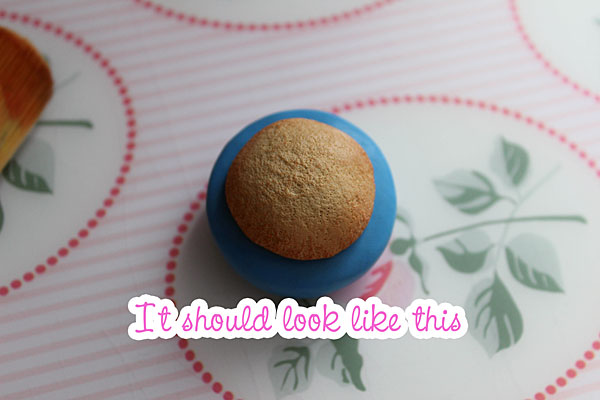
It should look like this.
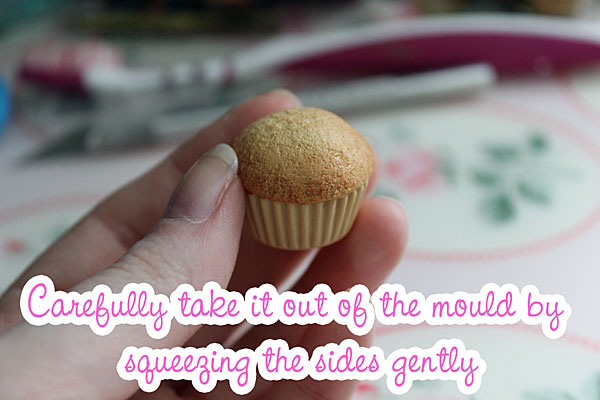
Carefully take it out of the mould by squeezing the sides gently.
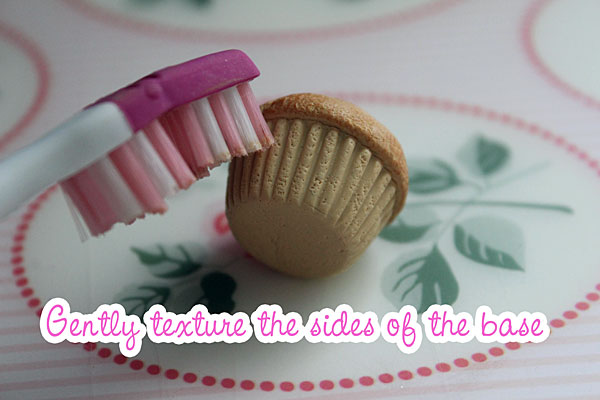
Gently texture the sides of the base.
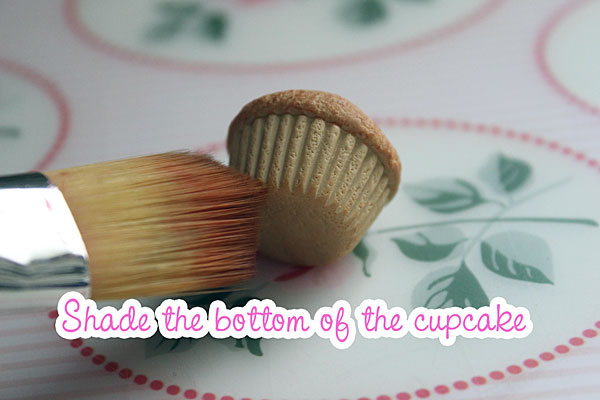
Shade the bottom of the cupcake.
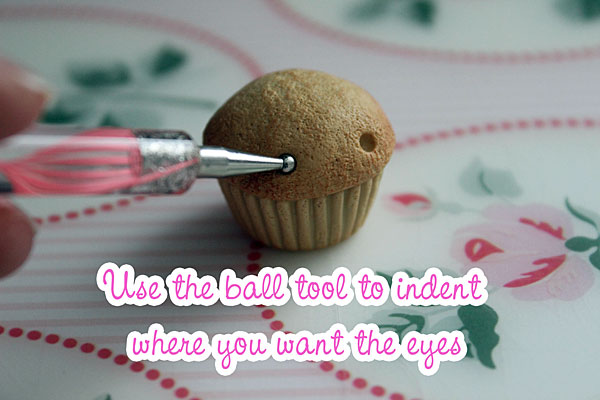
Use the ball tool to indent where you want the eyes.
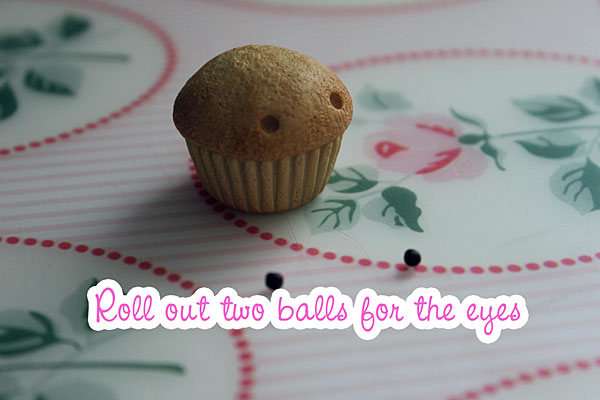
Roll out two balls for the eyes.
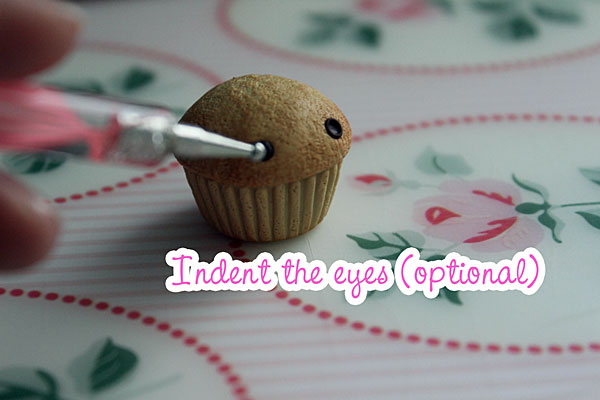
Indent the eyes (optional).
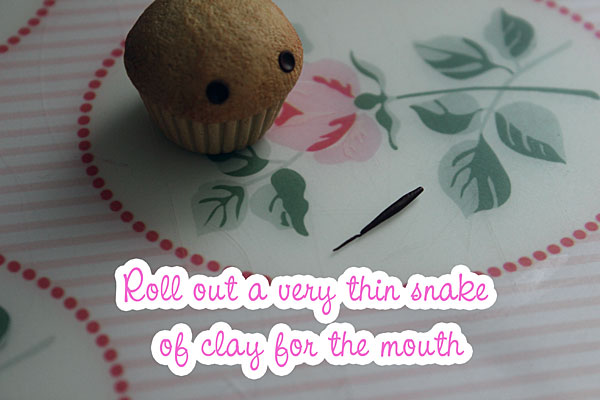
Roll out a very thin snake of clay for the mouth.
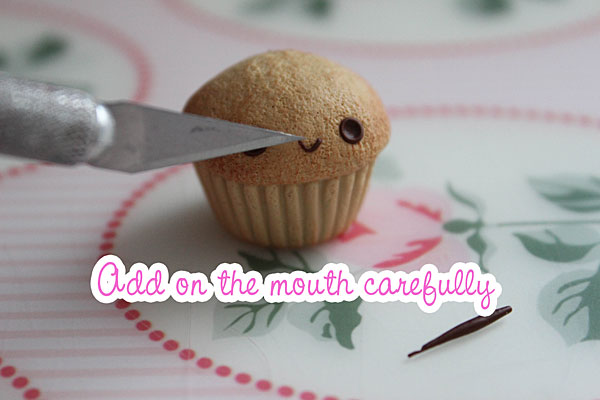
Add on the mouth carefully.
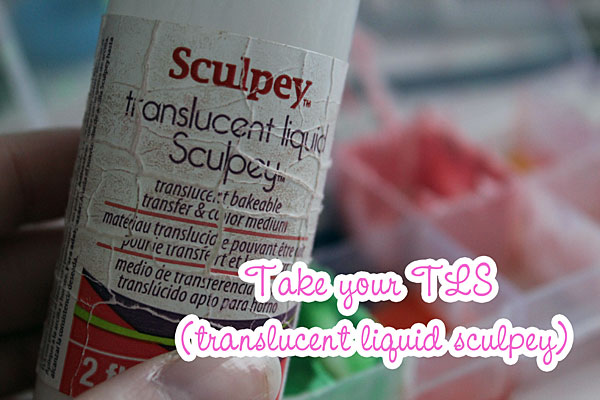
Take your TLS (translucent liquid Sculpey).
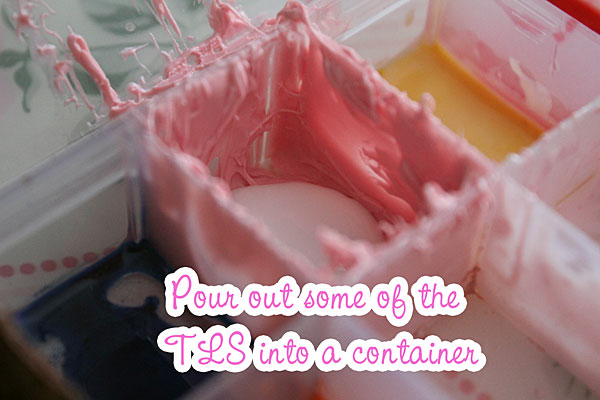
Pour out some of the TLS into a container.
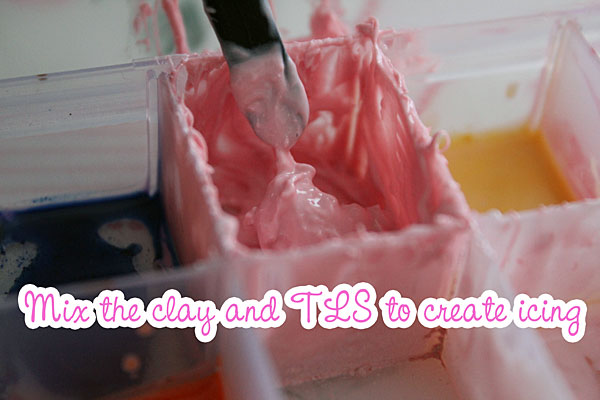
Mix the clay and TLS to create icing.
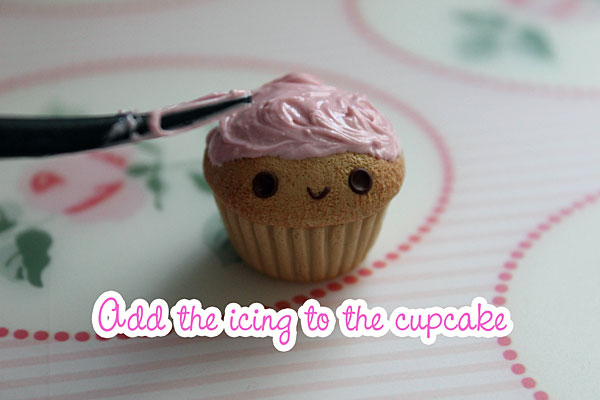
Add the icing to the cupcake.
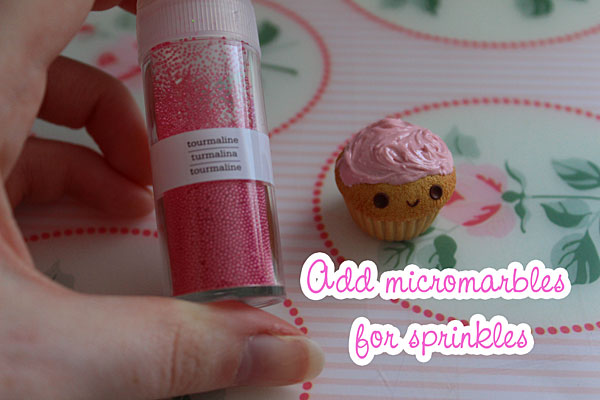
Add micro marbles for sprinkles.
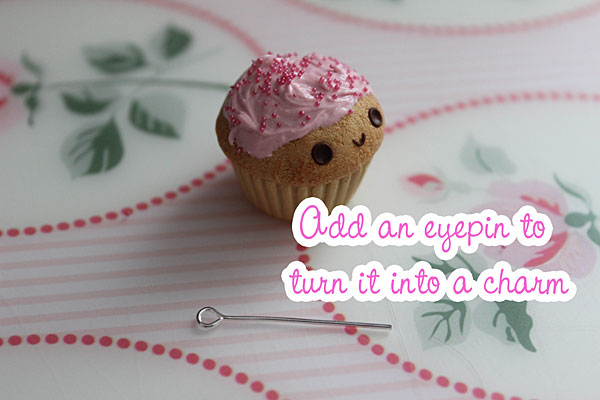
Add an eyepin to turn it into a charm.
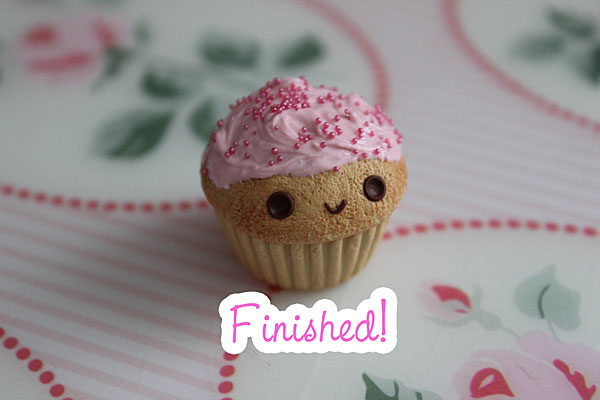
Bake it to the package’s instructions and you’re finished! You can glaze it with a craft glaze if you like, or just leave it matte.
I hope you enjoyed this tutorial, it’s my first picture tutorial, as I’m used to making video tutorials on my Youtube Channel, Frainy xo.
If you decide to try this out, comment below or tag @sckawaii on social media – we’d love to see your creations! You can also check out all of SCK’s original tutorials for more crafty ideas.
This tutorial was created by Frainy for Super Cute Kawaii and the images and instructions may not be reposted without credit and permission. Thank you for respecting the rights of artists and makers.
Sarah (AKA Frainy) loves to craft and create cute things. She lives in the North East of England and loves to collect plushies, anime figurines and dolls. She works with a variety of different crafting materials such as polymer clay and resin, and makes videos on Youtube showing off her latest projects.

7 Comments
GillianOwens
September 18, 2014 at 6:17 pmI love this tutorial. It makes polymere clay stuff seem so easy! I never tried it, but it is tempting… I also subsribed to your channel and I reaaally wanna try out the chibi-in-a-pumpkin-costume-charm! :3
Rosita
September 18, 2014 at 8:29 pmloved it, thank you!
Emma
September 19, 2014 at 7:09 pmI really loved this post, and I’m keen to give it a try! I love the use of the toothbrush texturing, and I have to get myself some of those micro marbles!
Shara
September 21, 2014 at 3:10 amSo cute! I like seeing tutorials like this…
Kya
October 5, 2014 at 5:34 amThat is awesome. Thanks for sharing. :D
Rachael C
October 5, 2014 at 12:45 pmThis is a brilliant post. More more please!
Louise
October 13, 2014 at 12:09 pmBrilliant tutorial! Such a cute cupcake ^_^